[Community] Space Engineers: 3022

Space Engineers: 3022

Server release Friday the 30th of September!

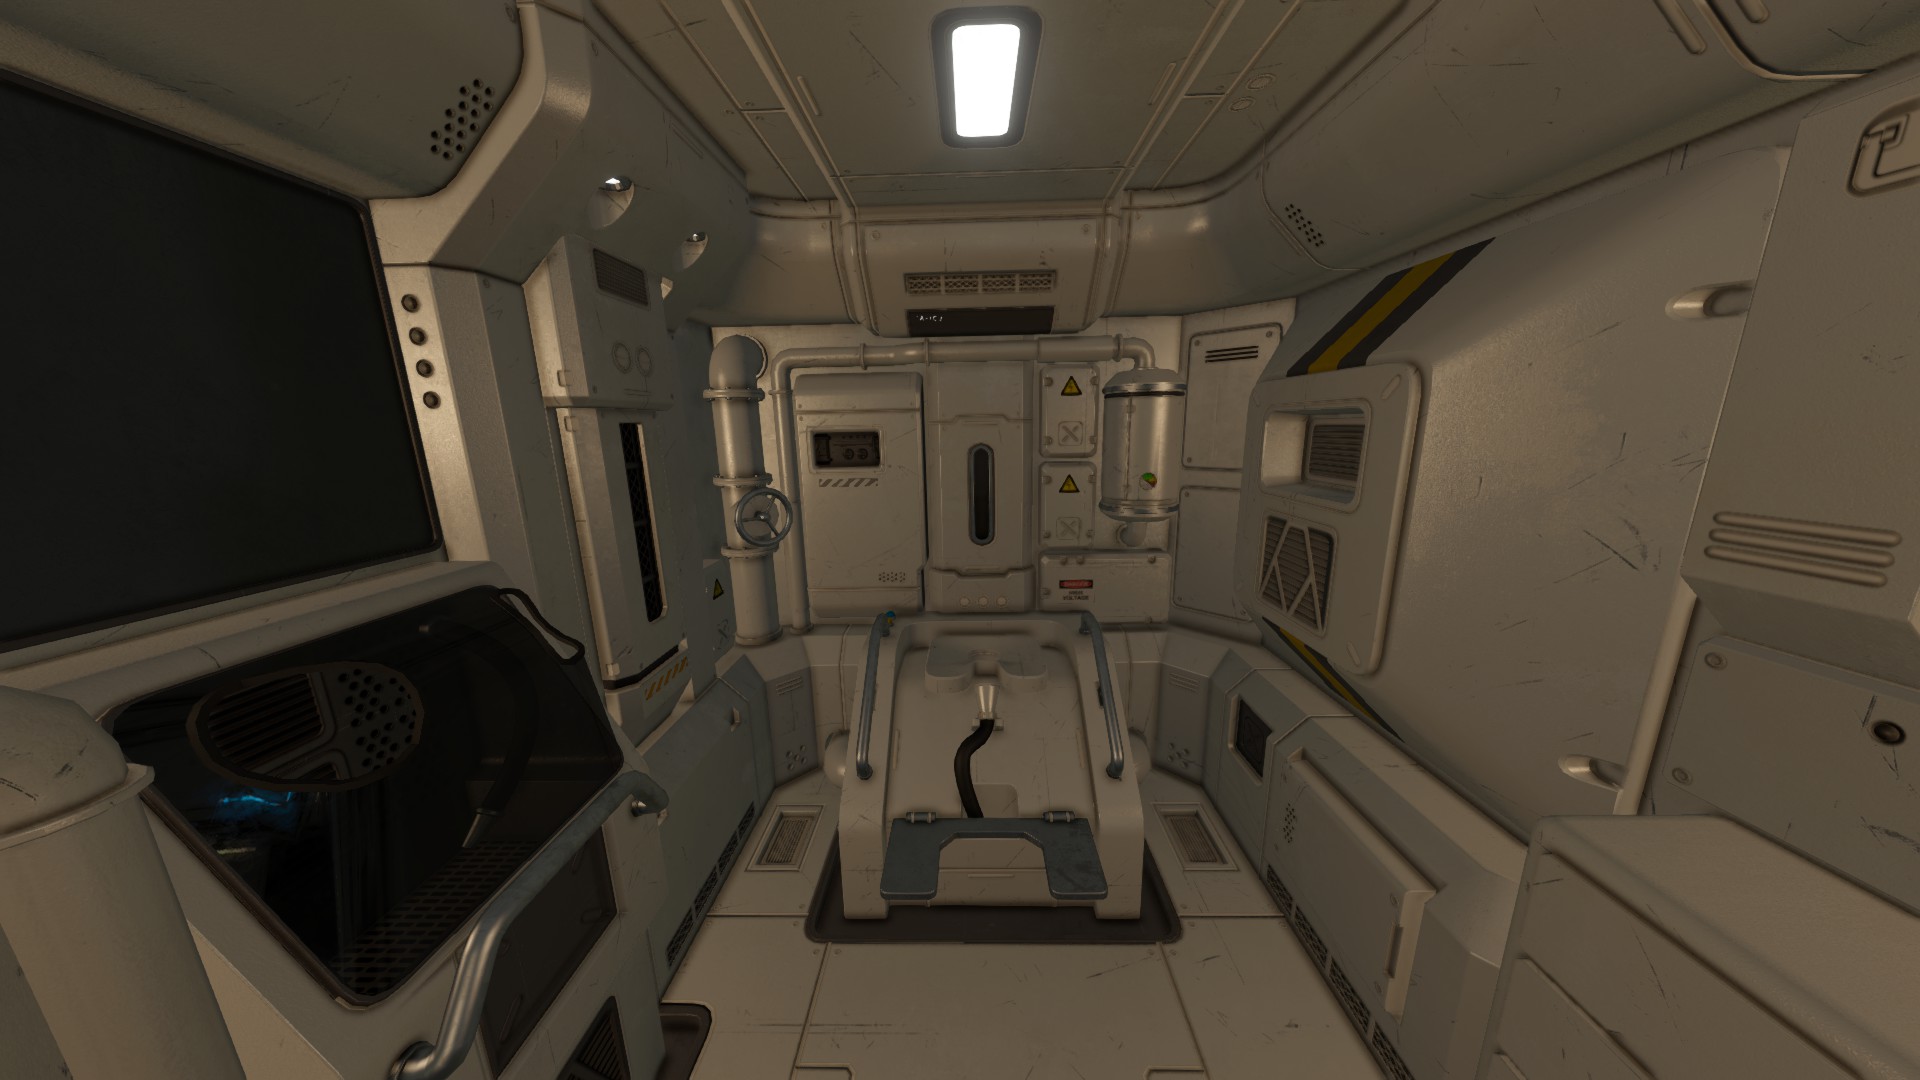
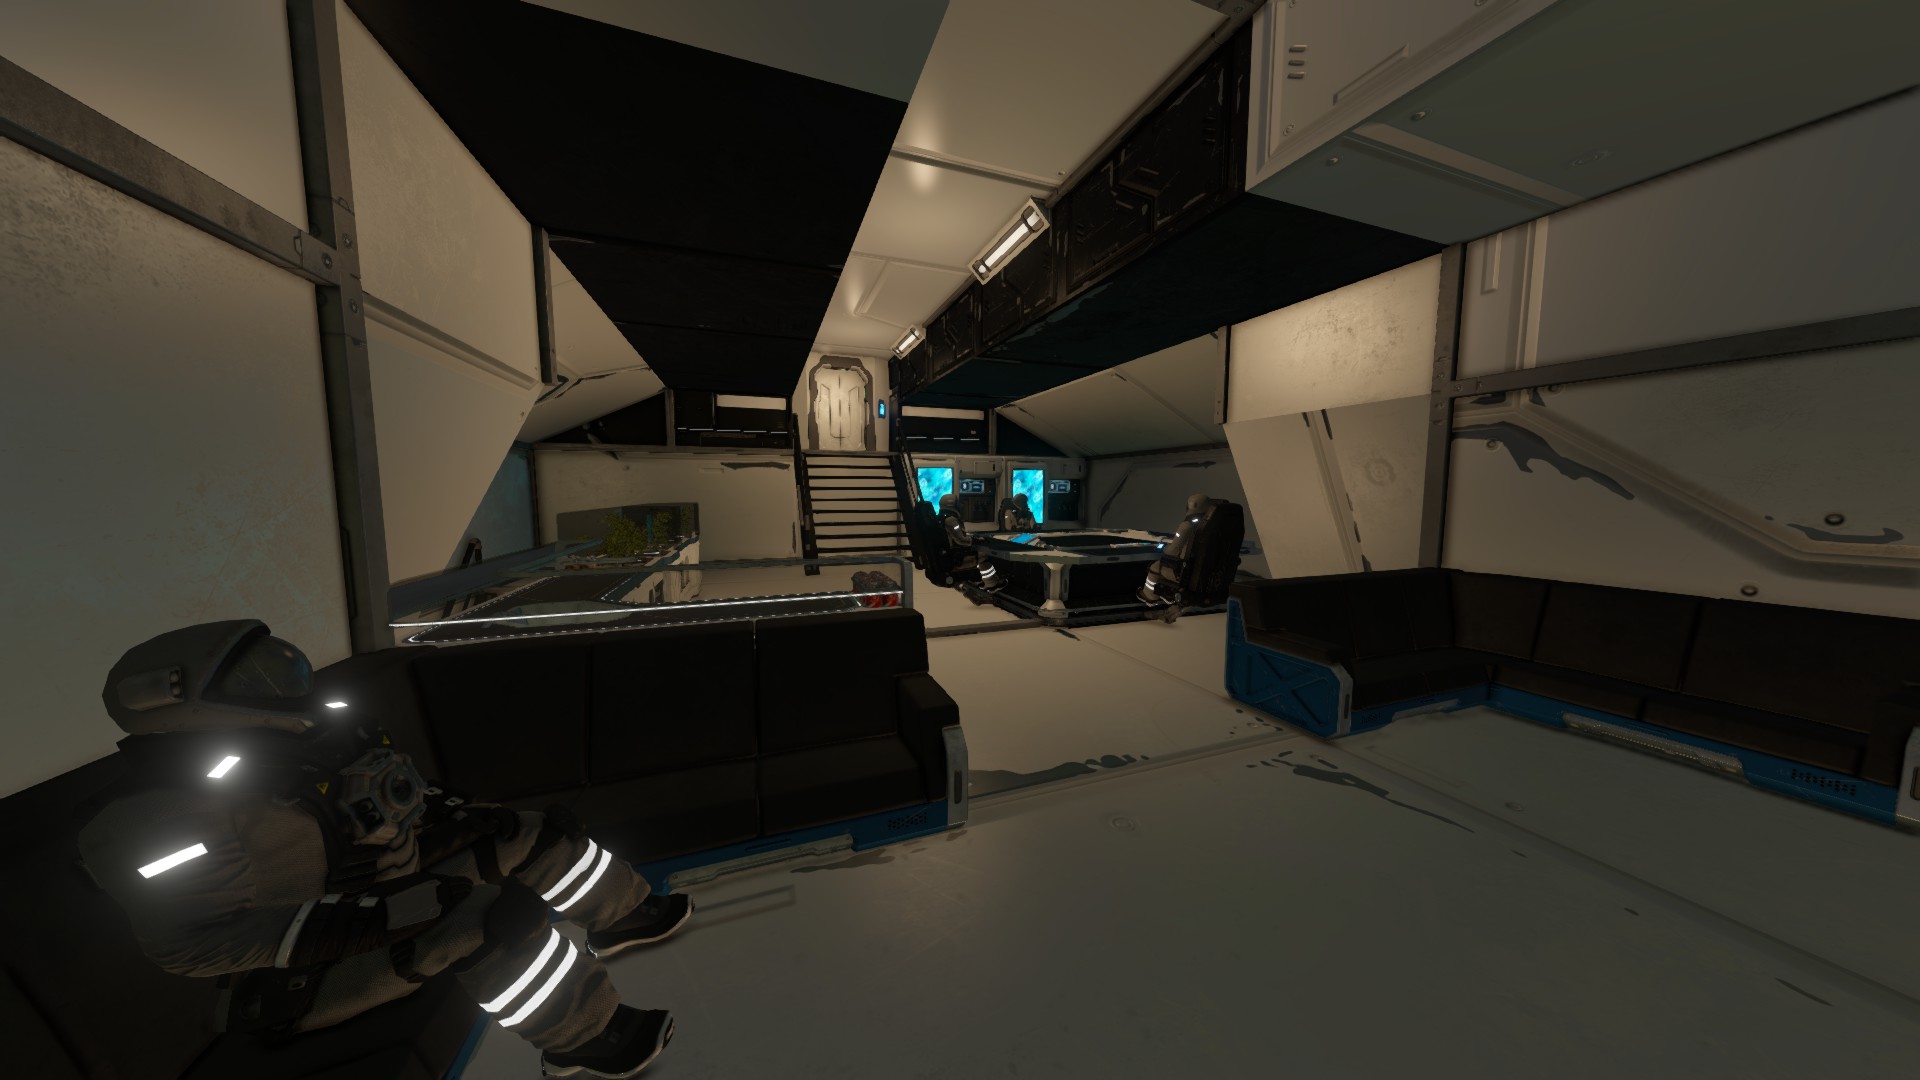
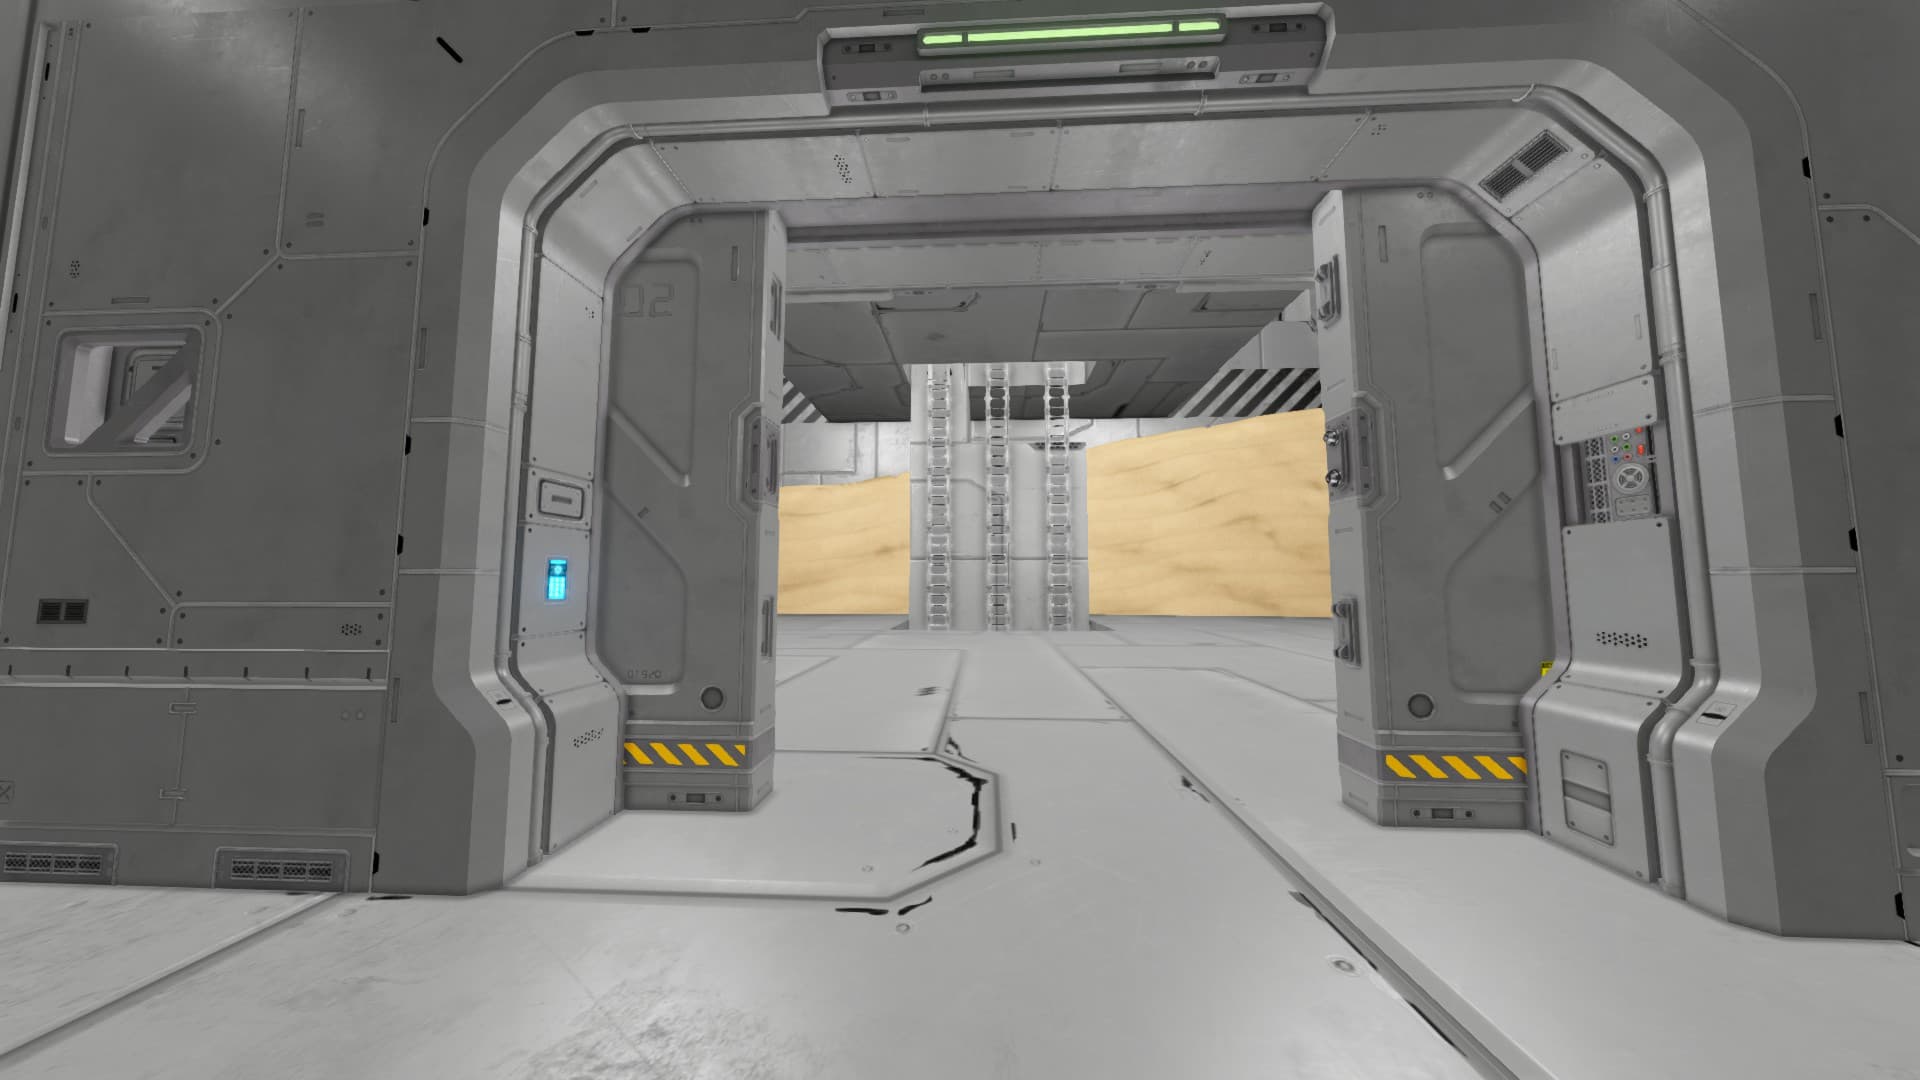
A large PvE dedicated Space Engineers server split into an earth and space stage, with a growing set of 70+ mods. Available at launch for private community members only.

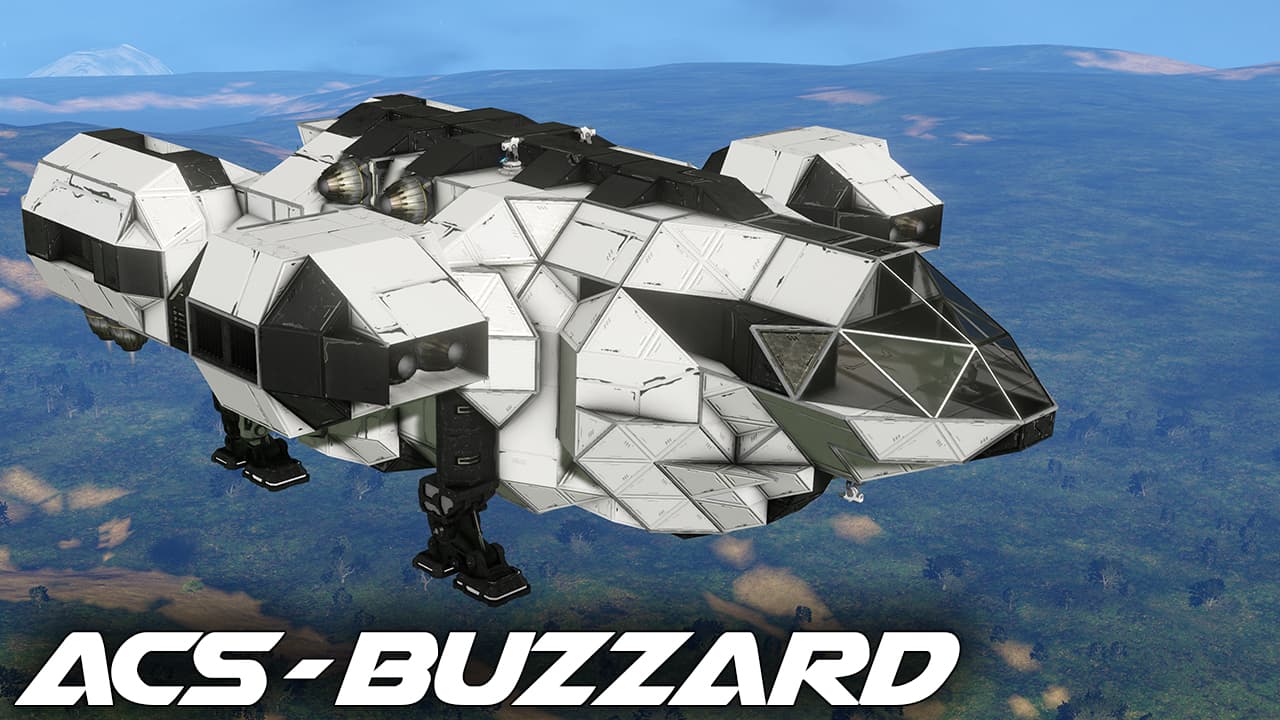
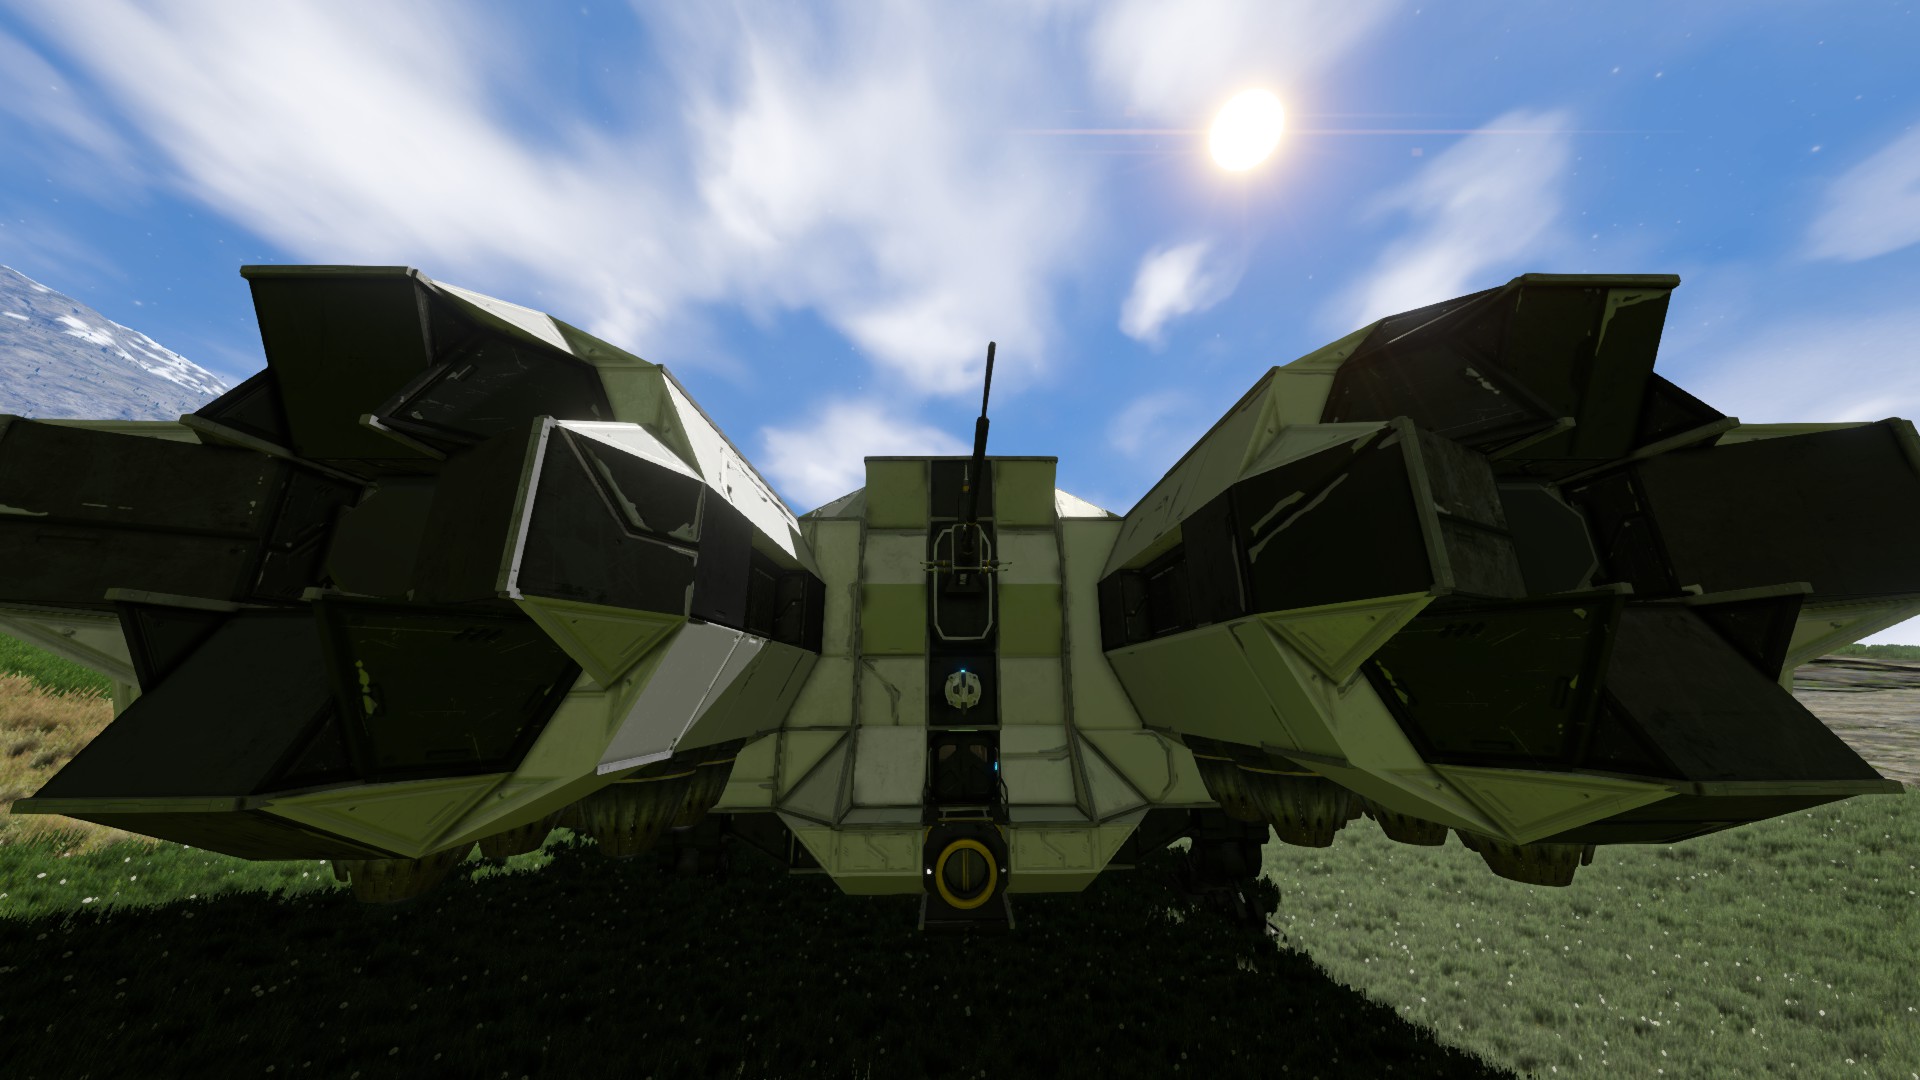
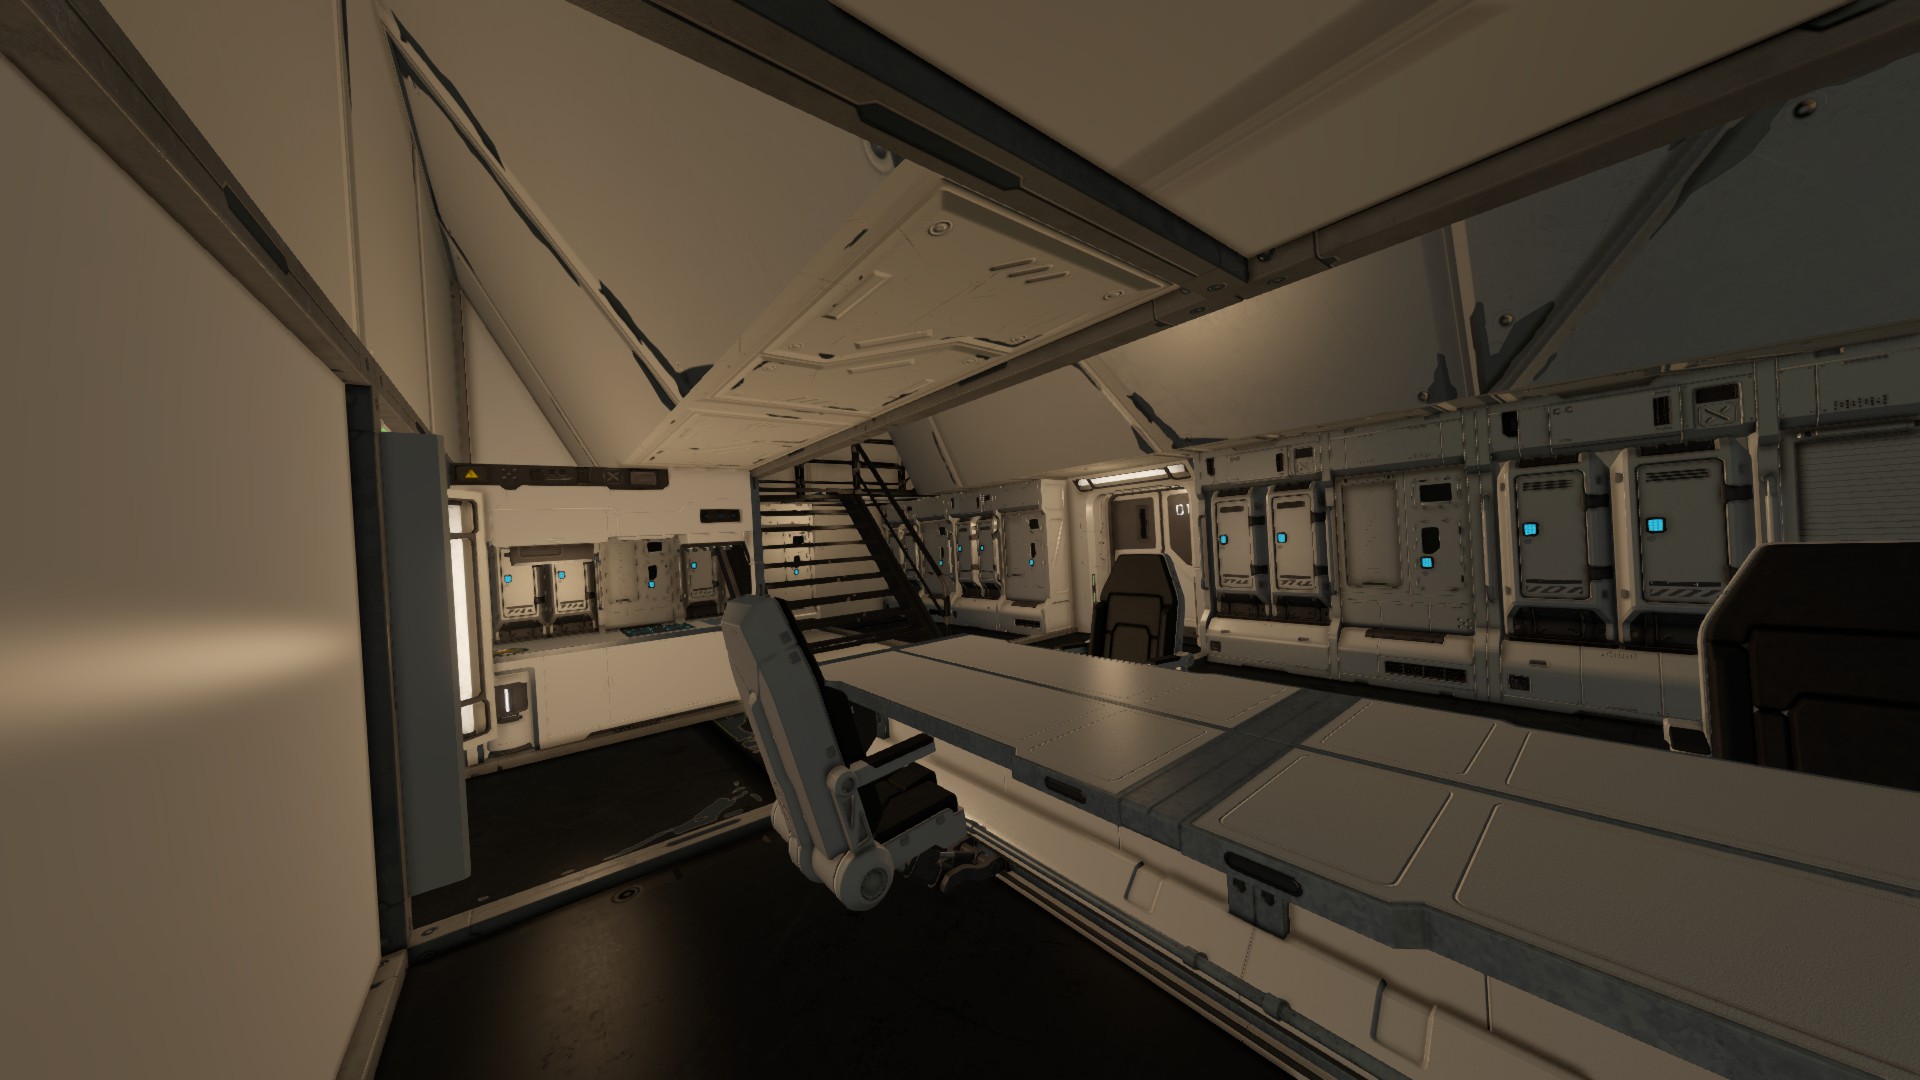
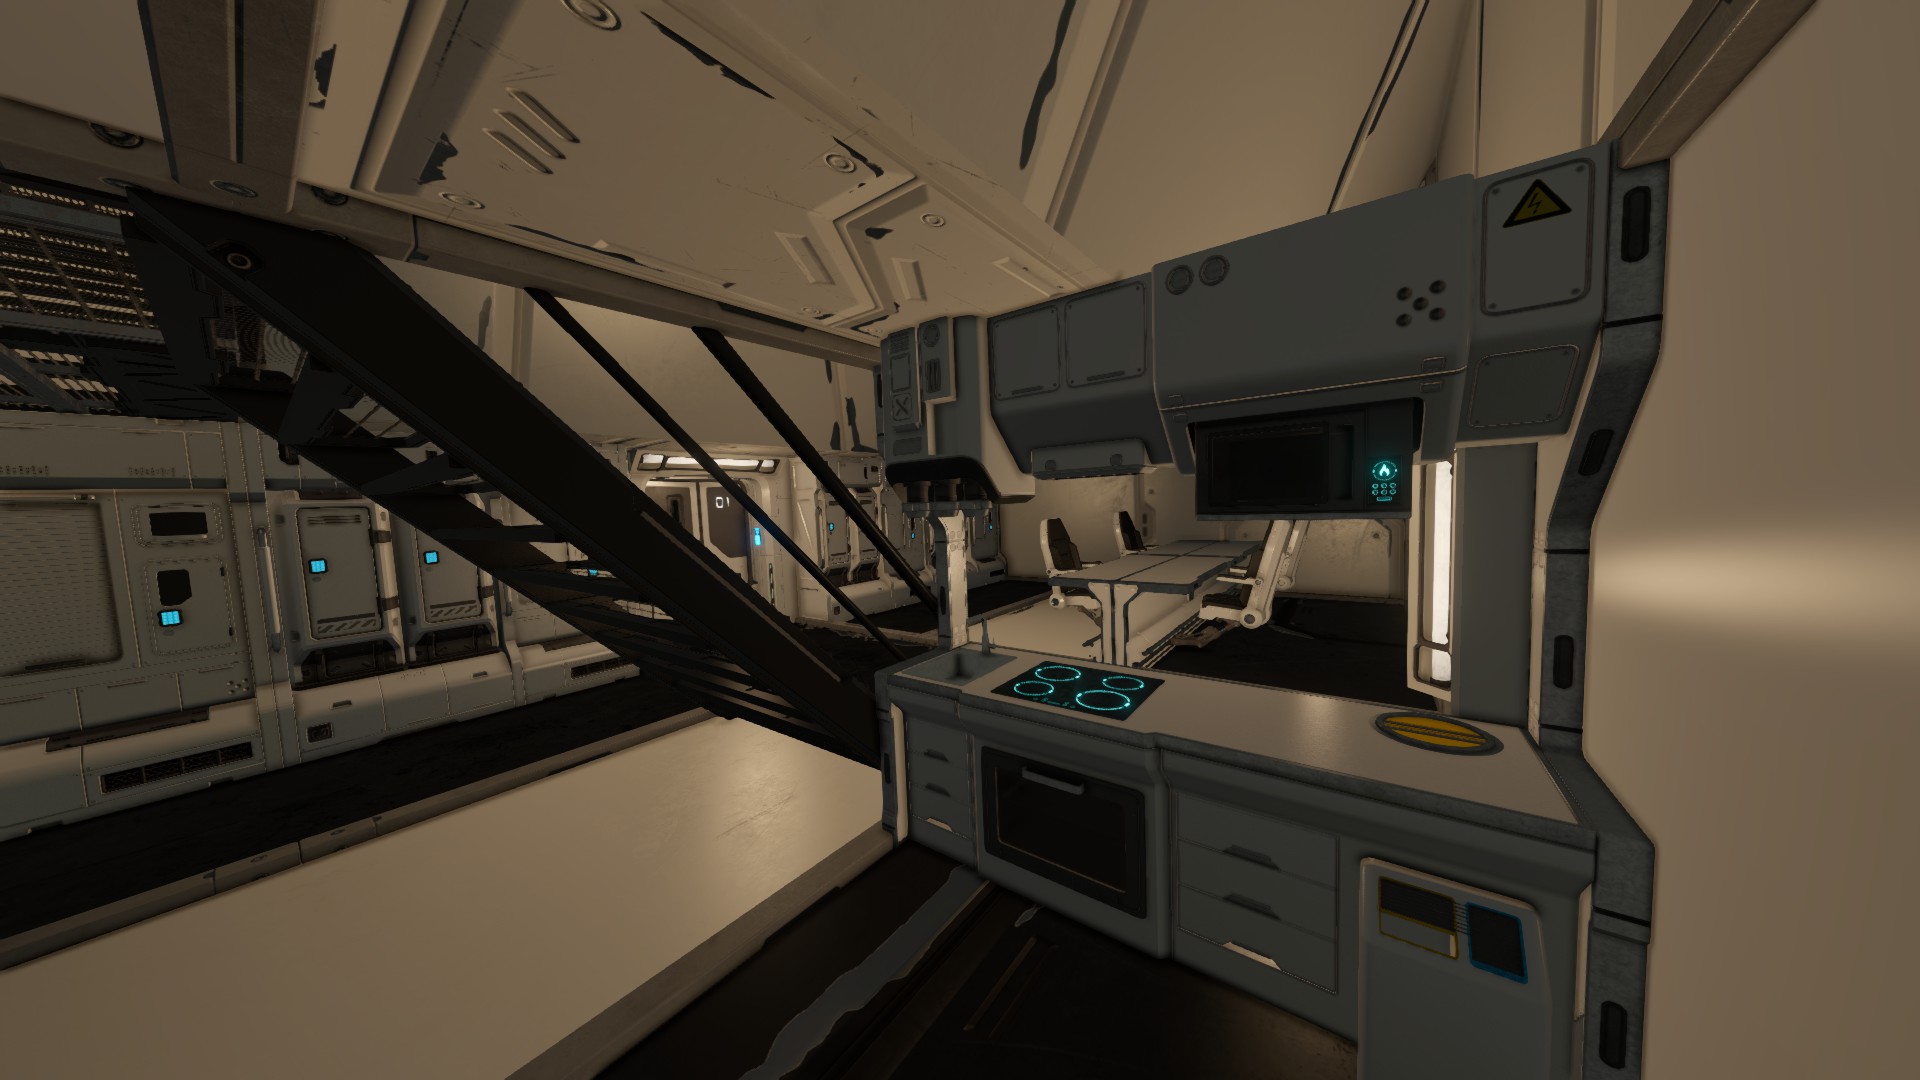
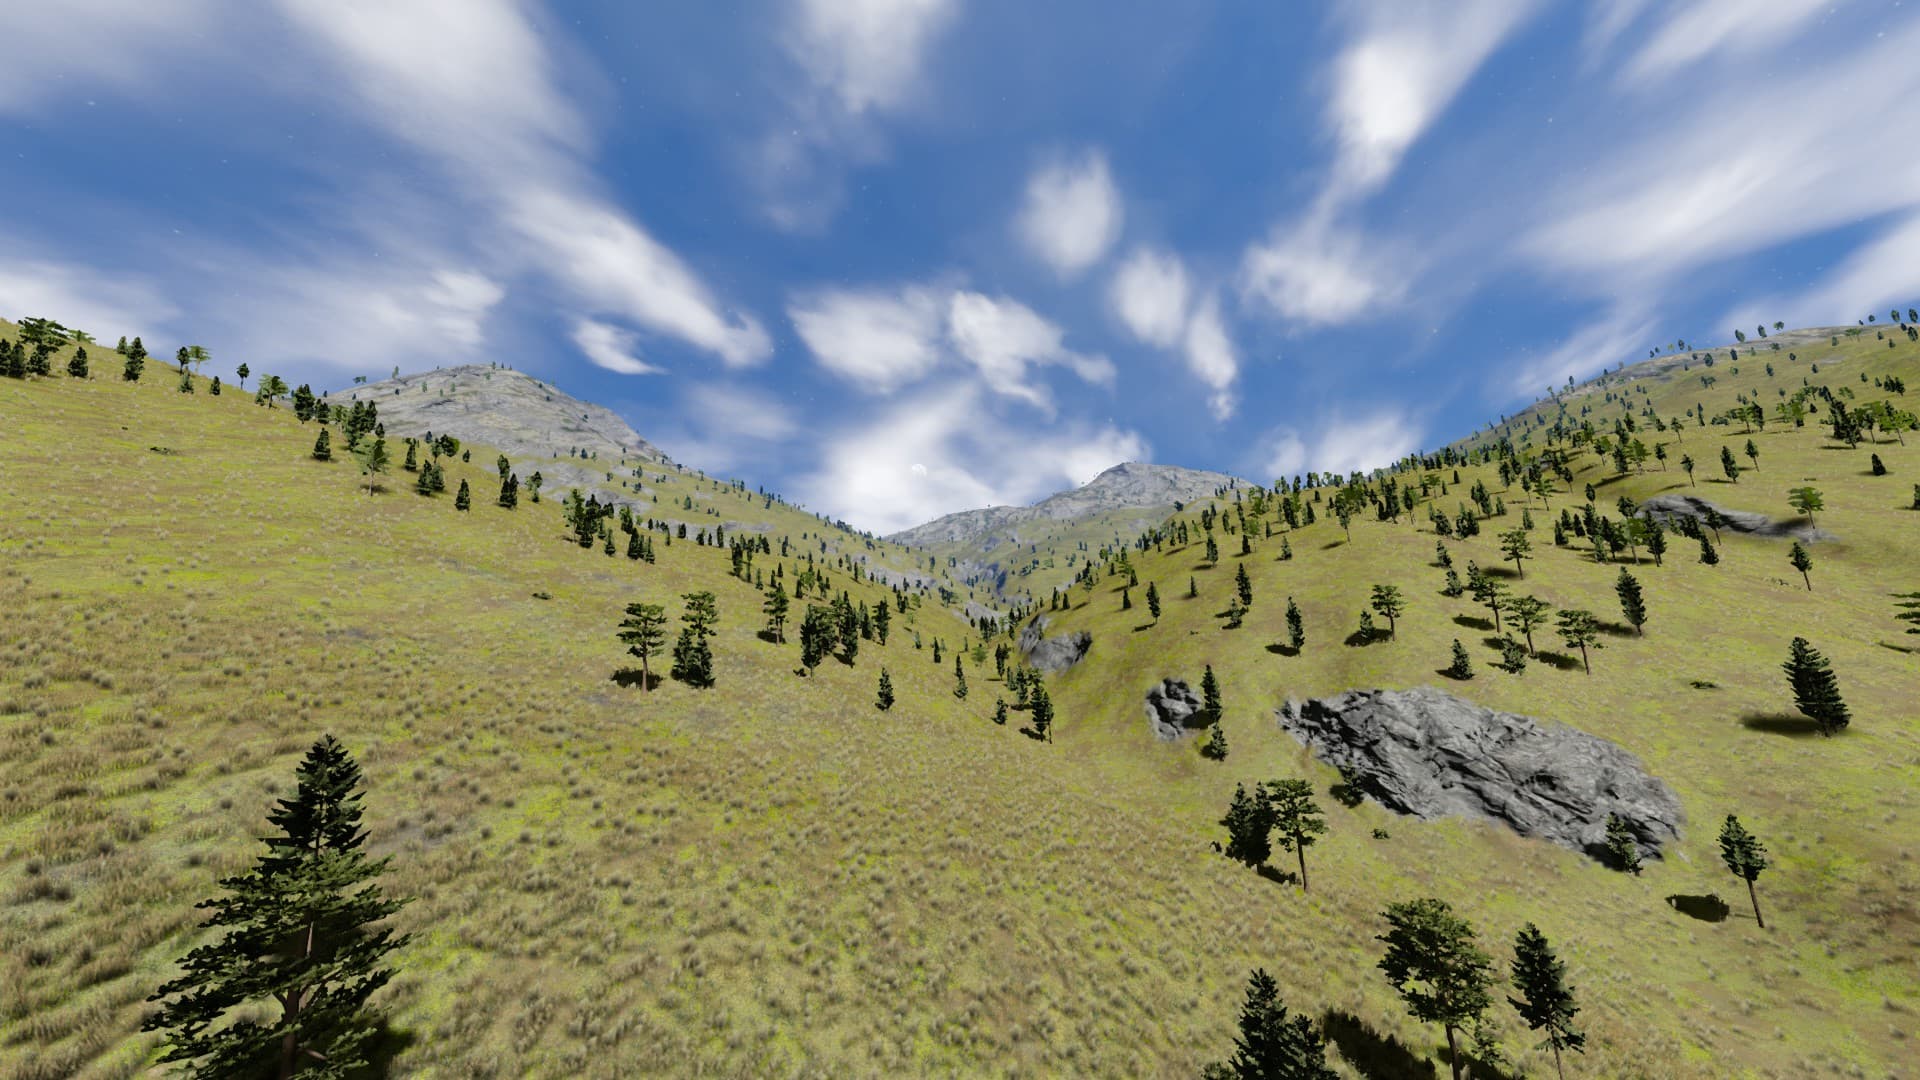
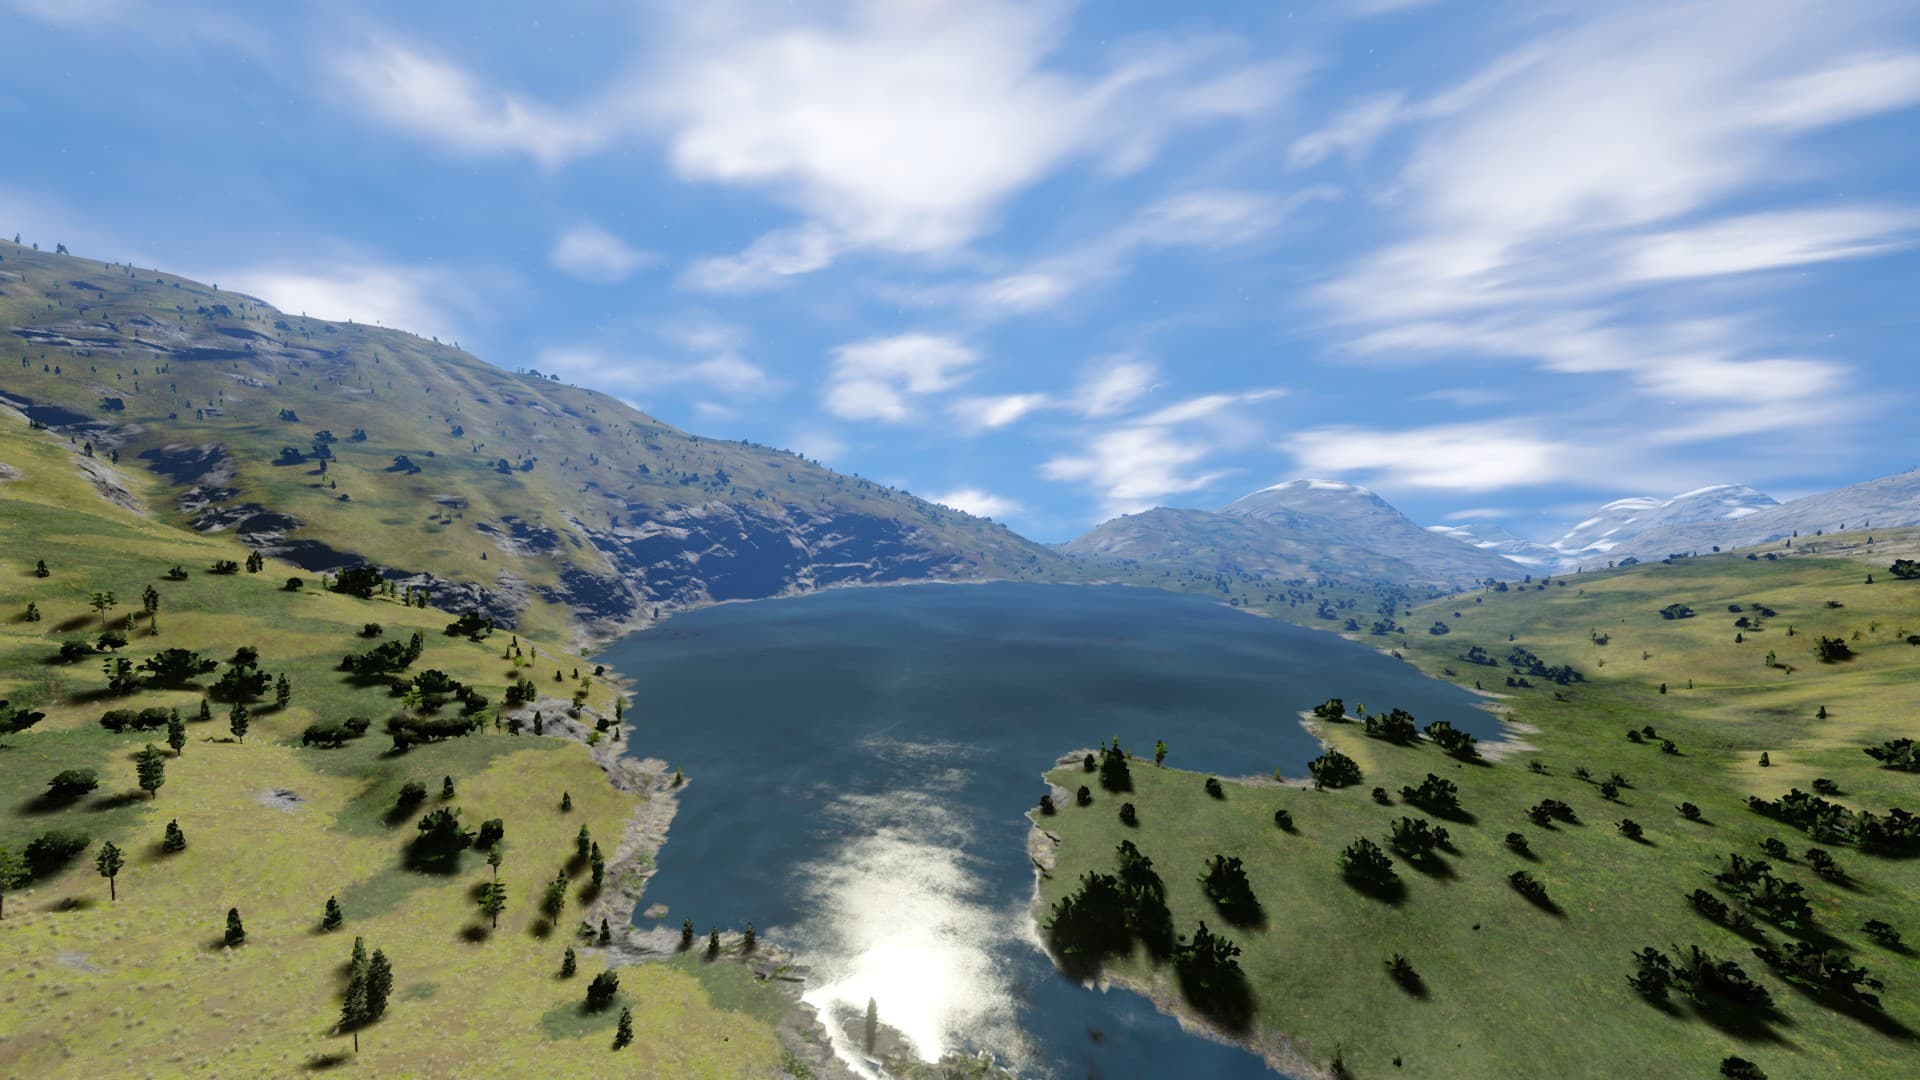
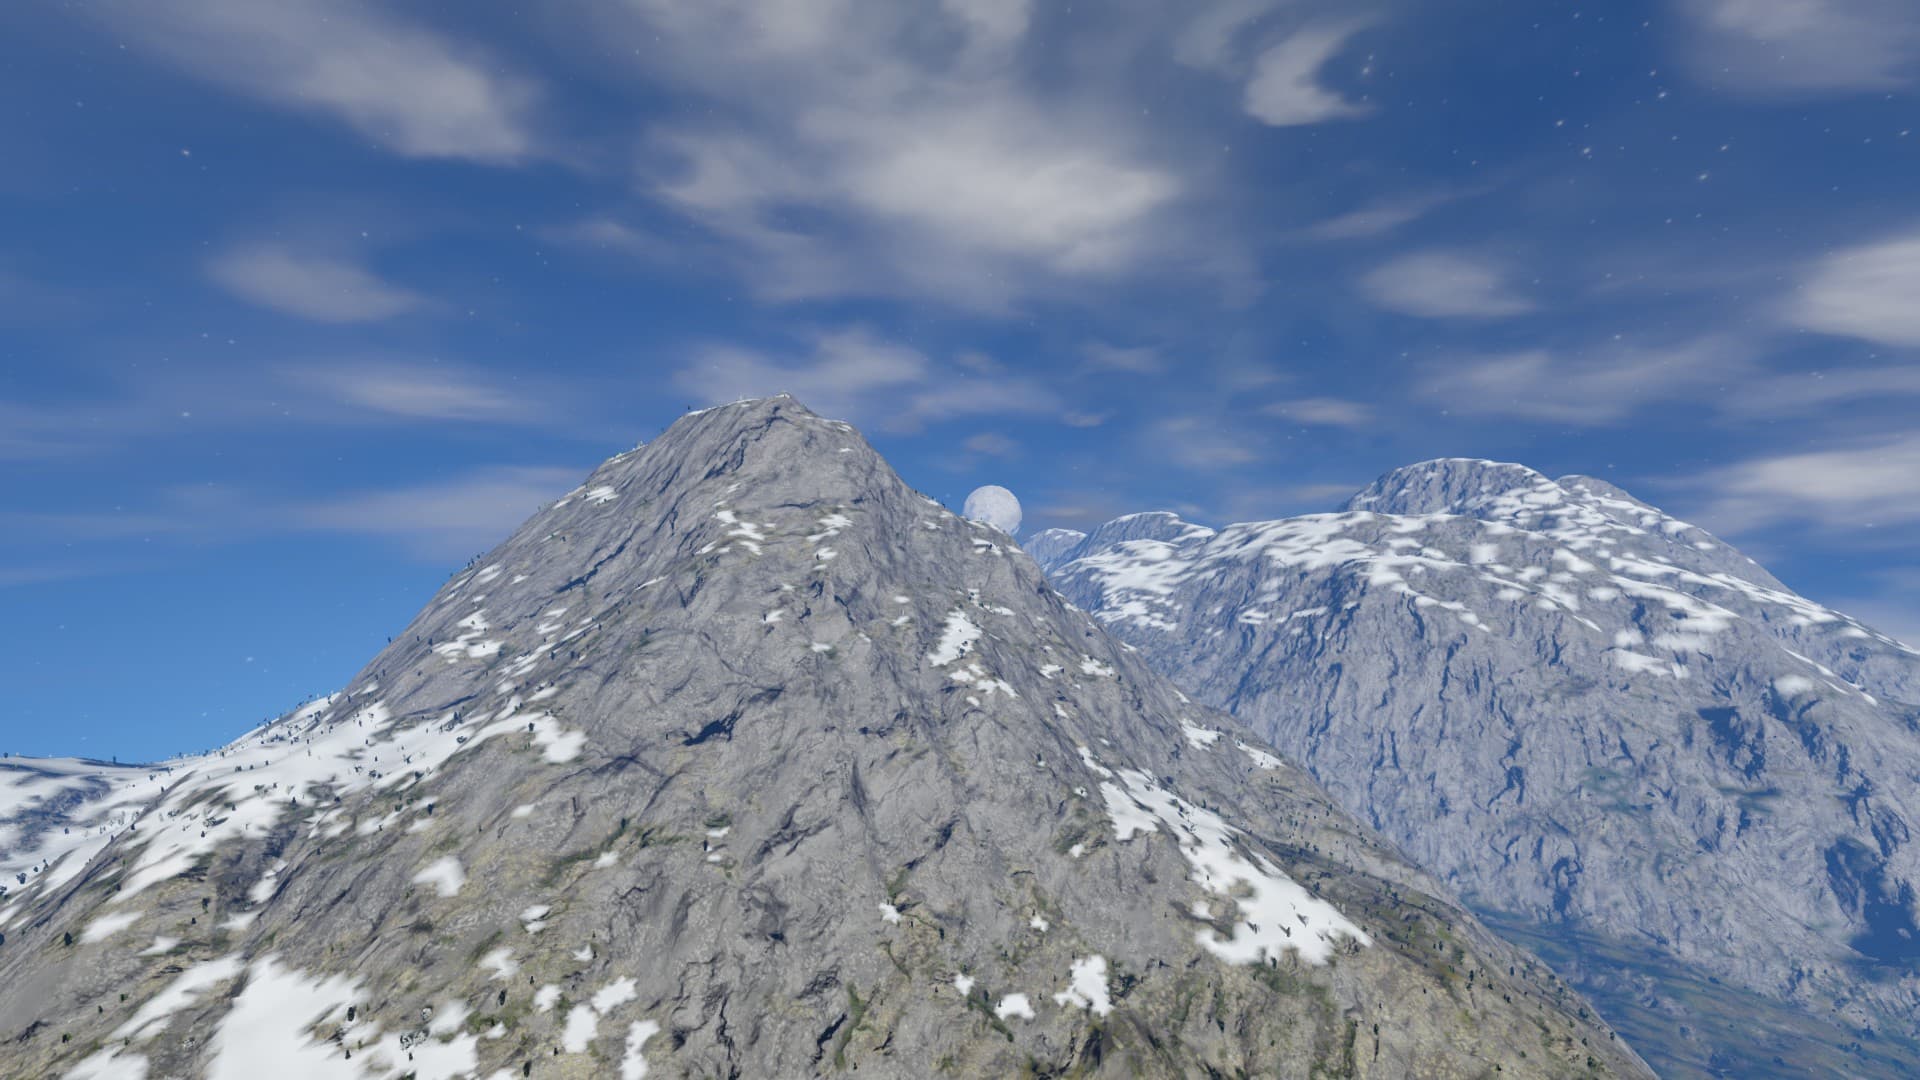
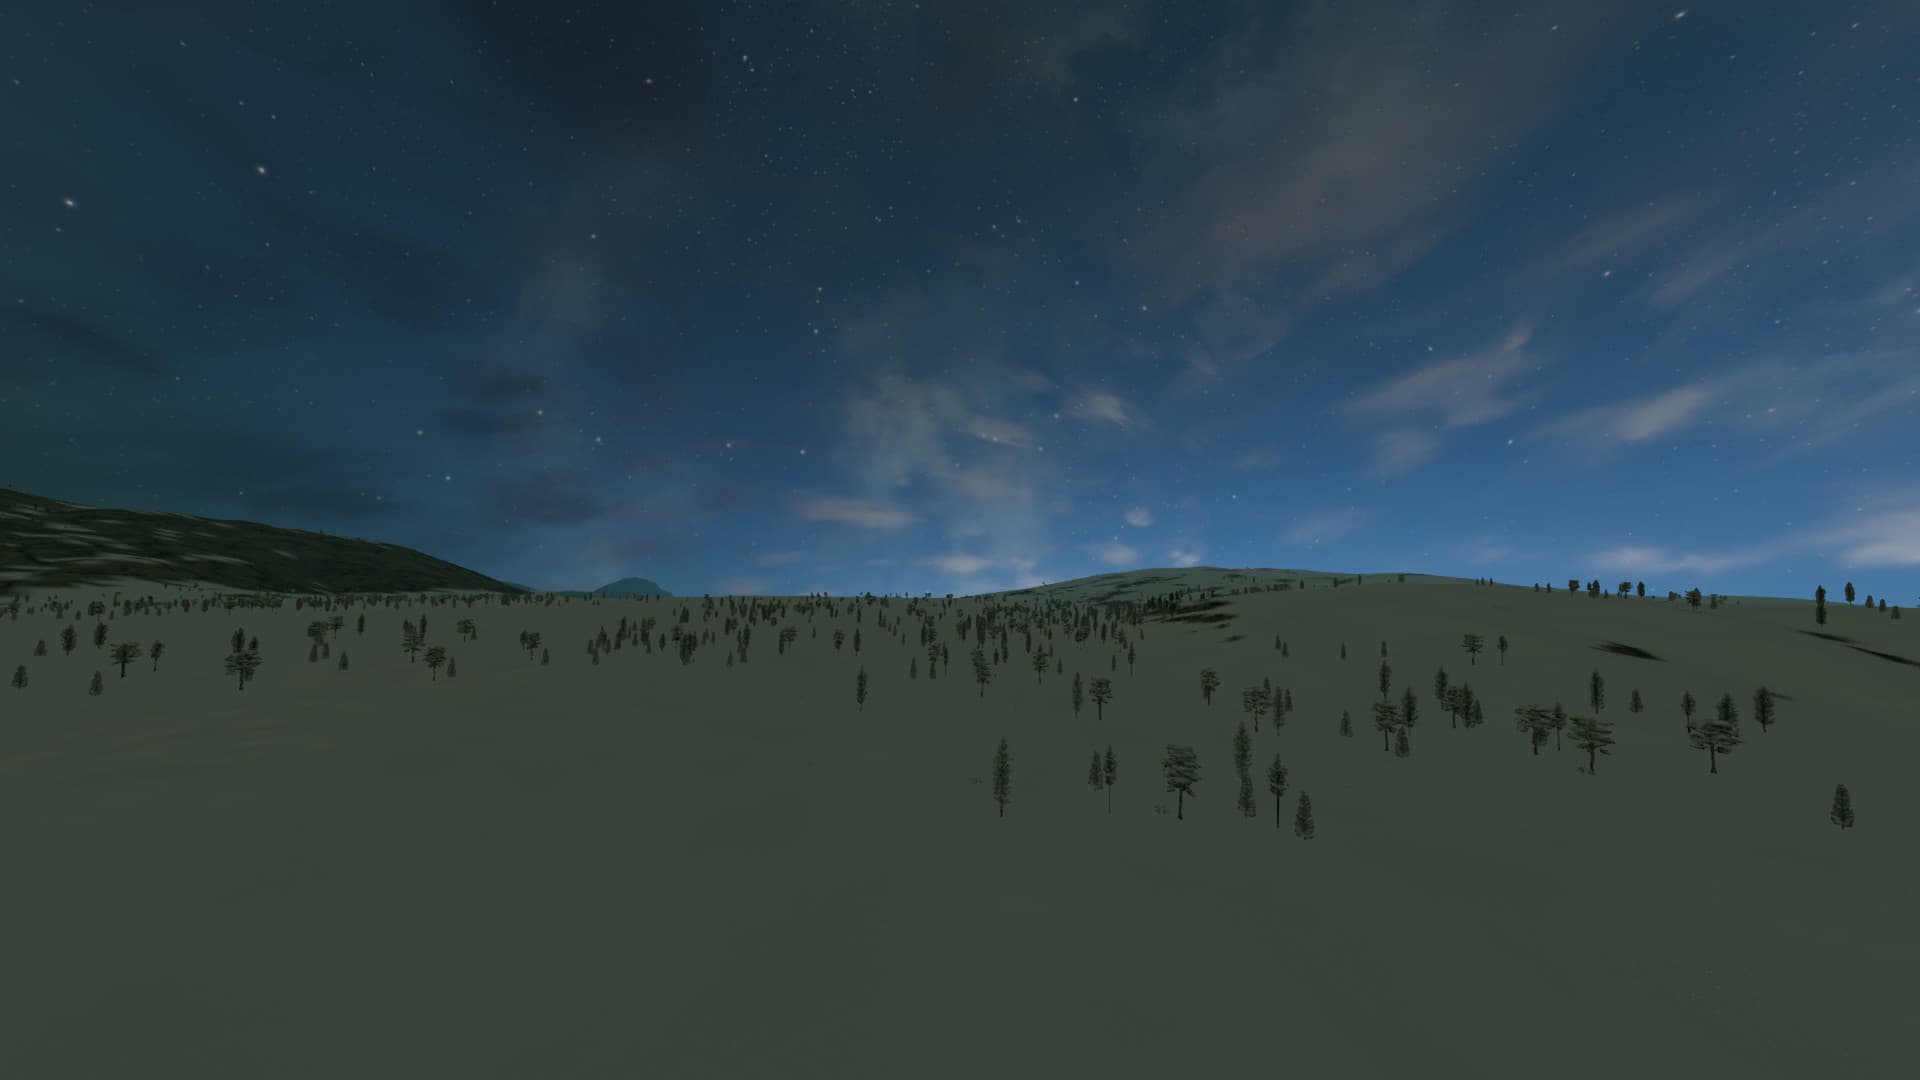
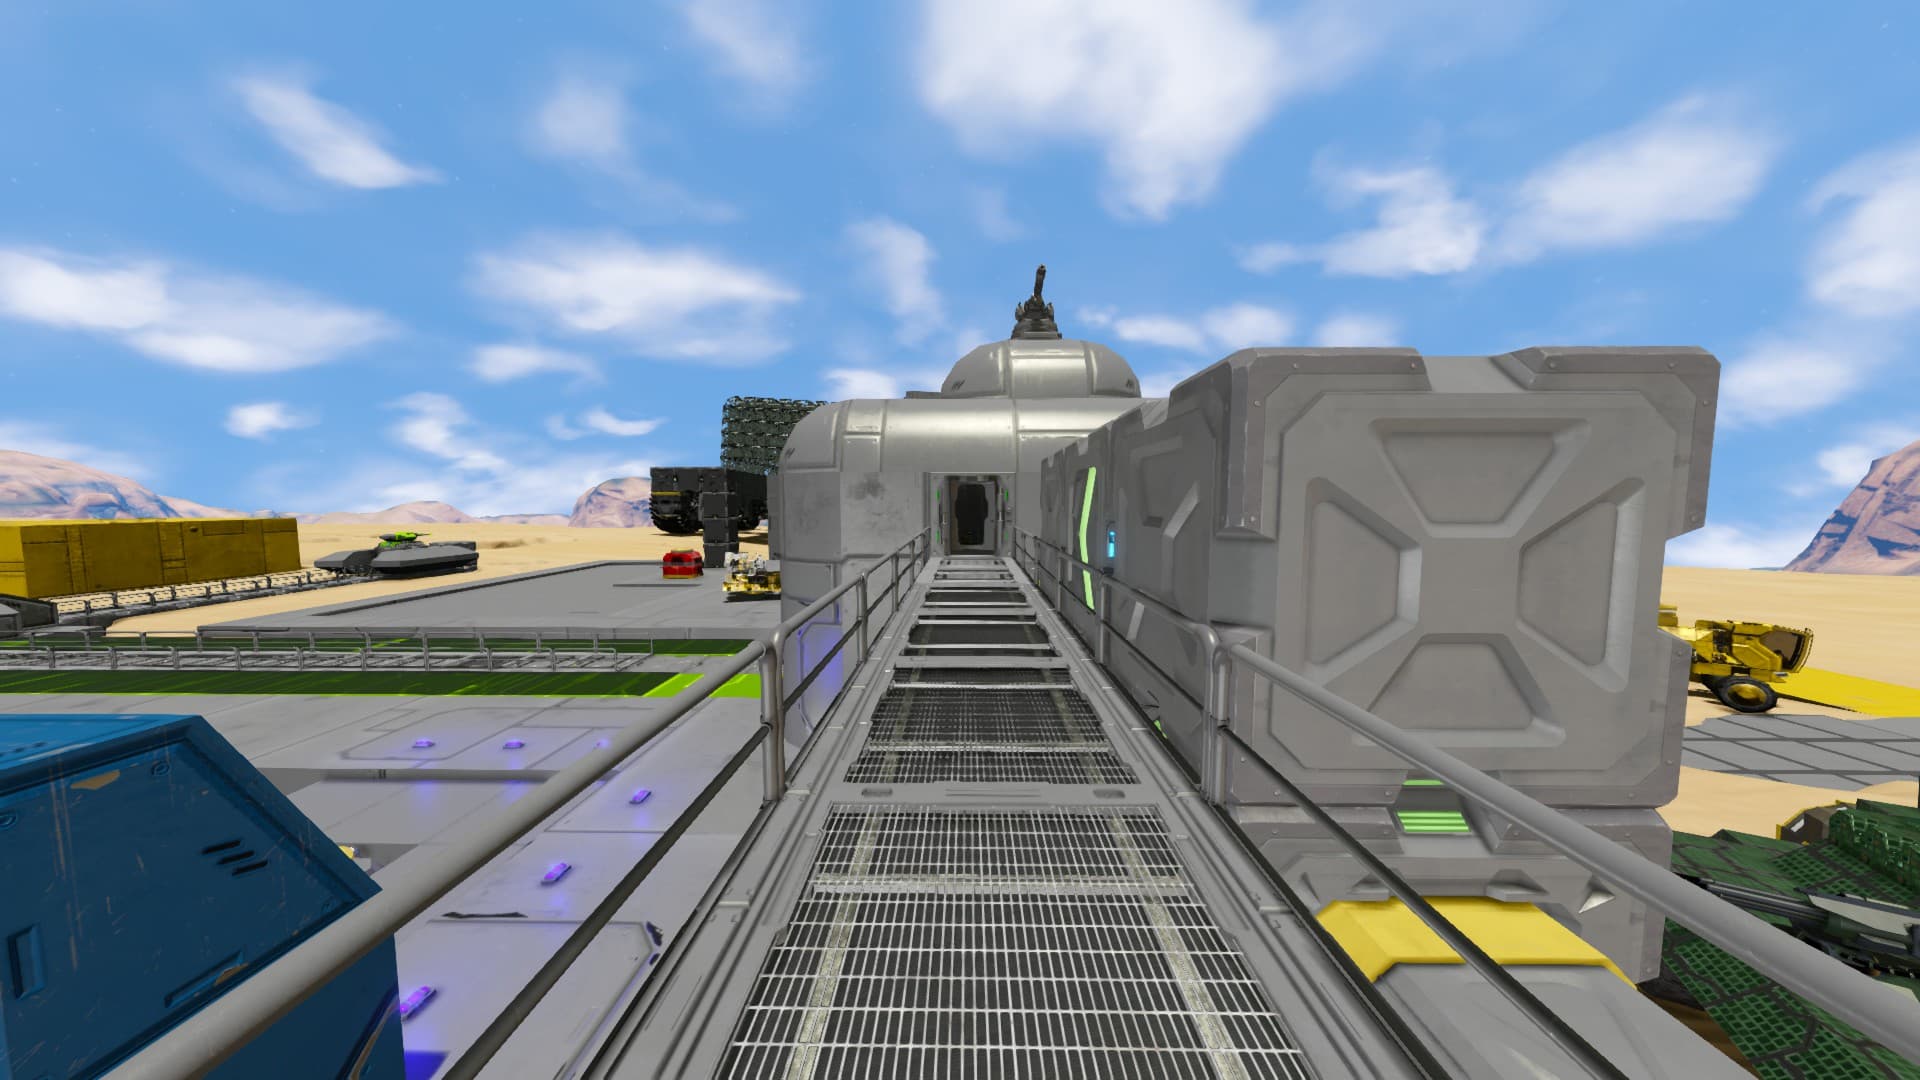
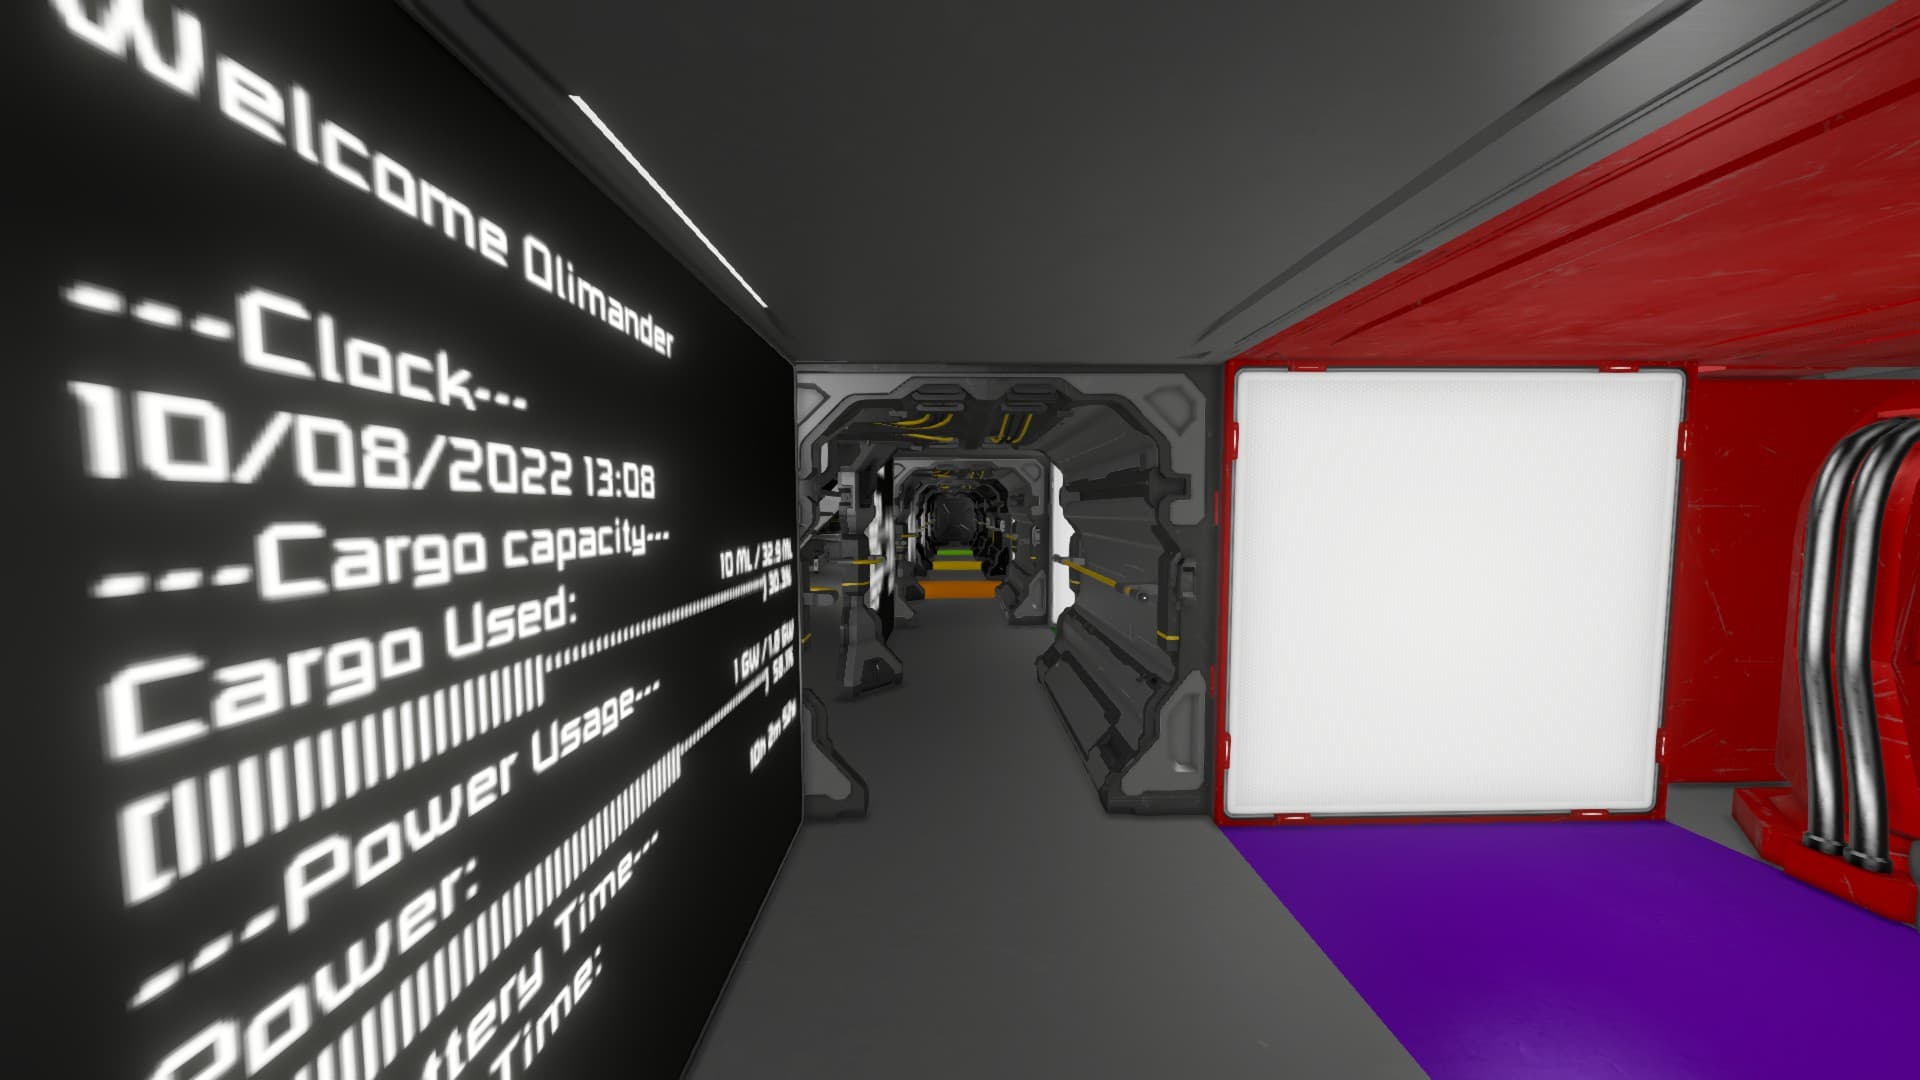
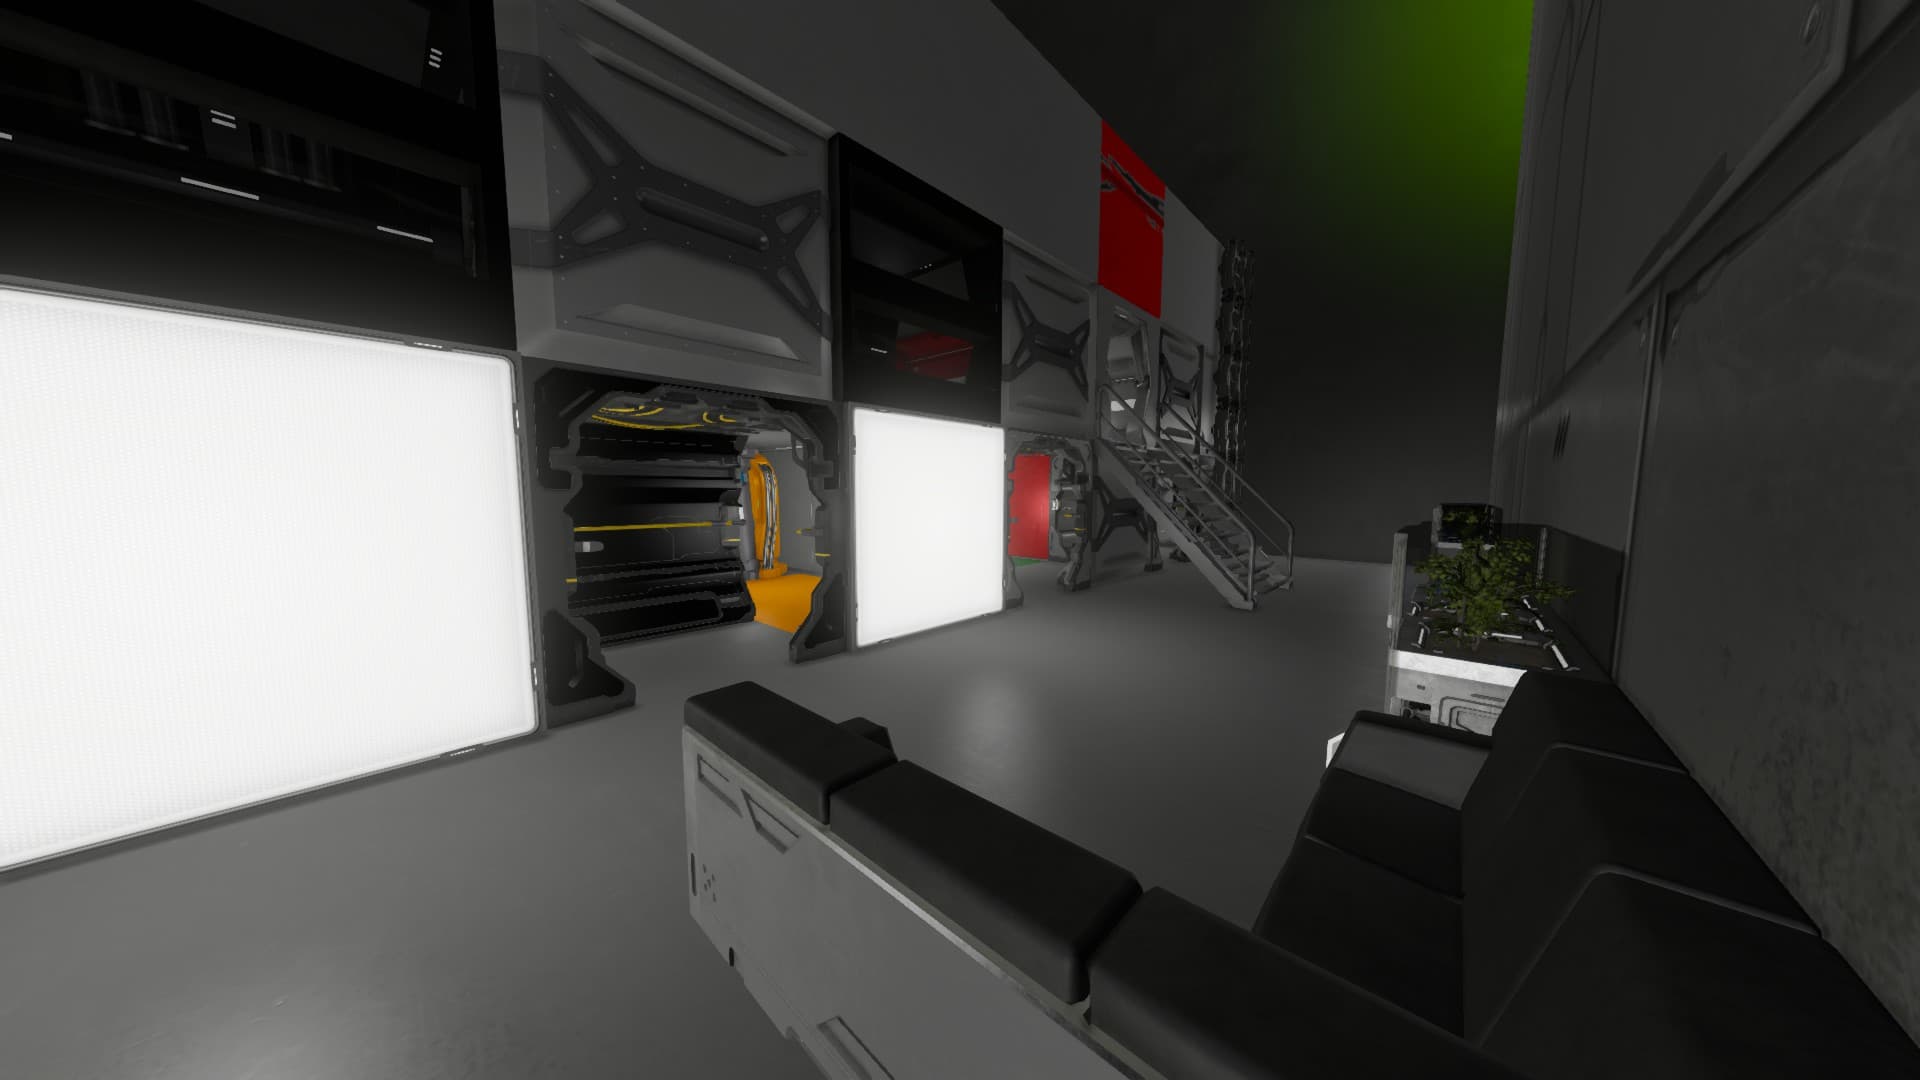
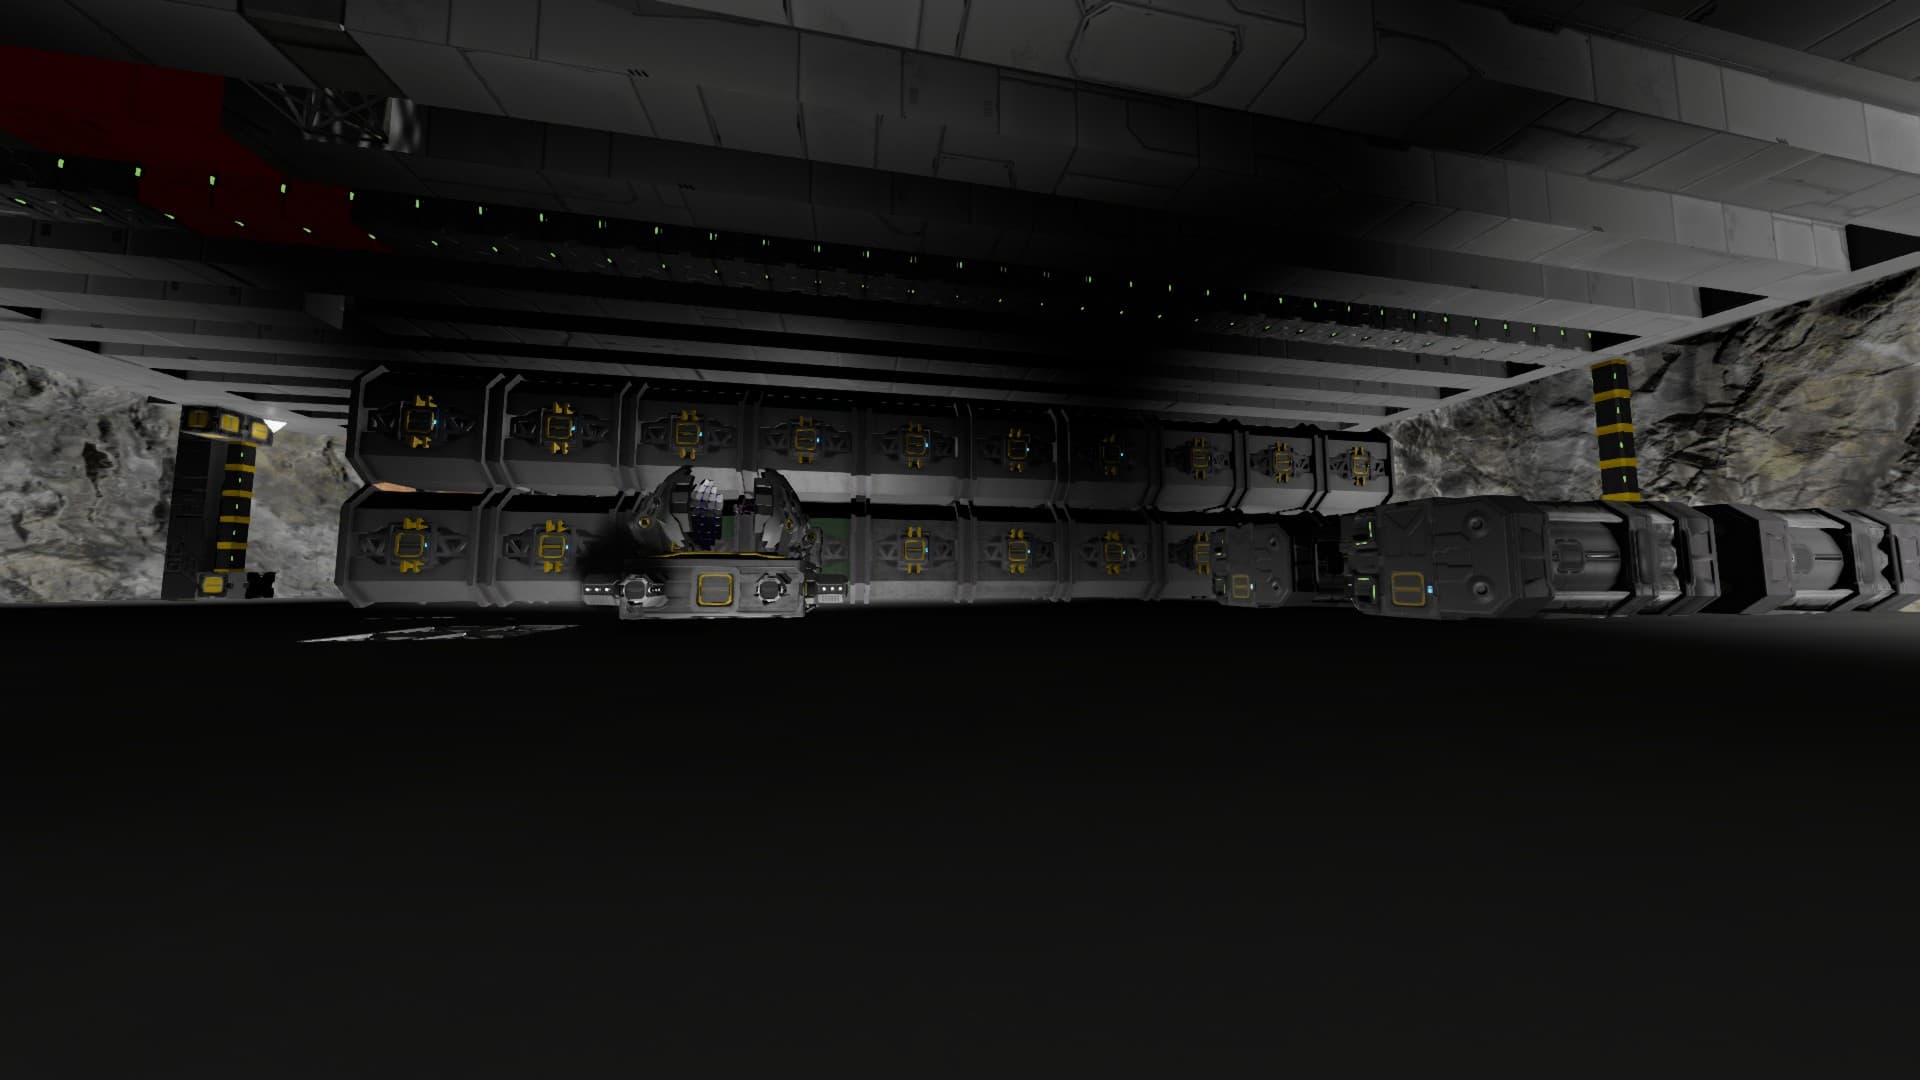
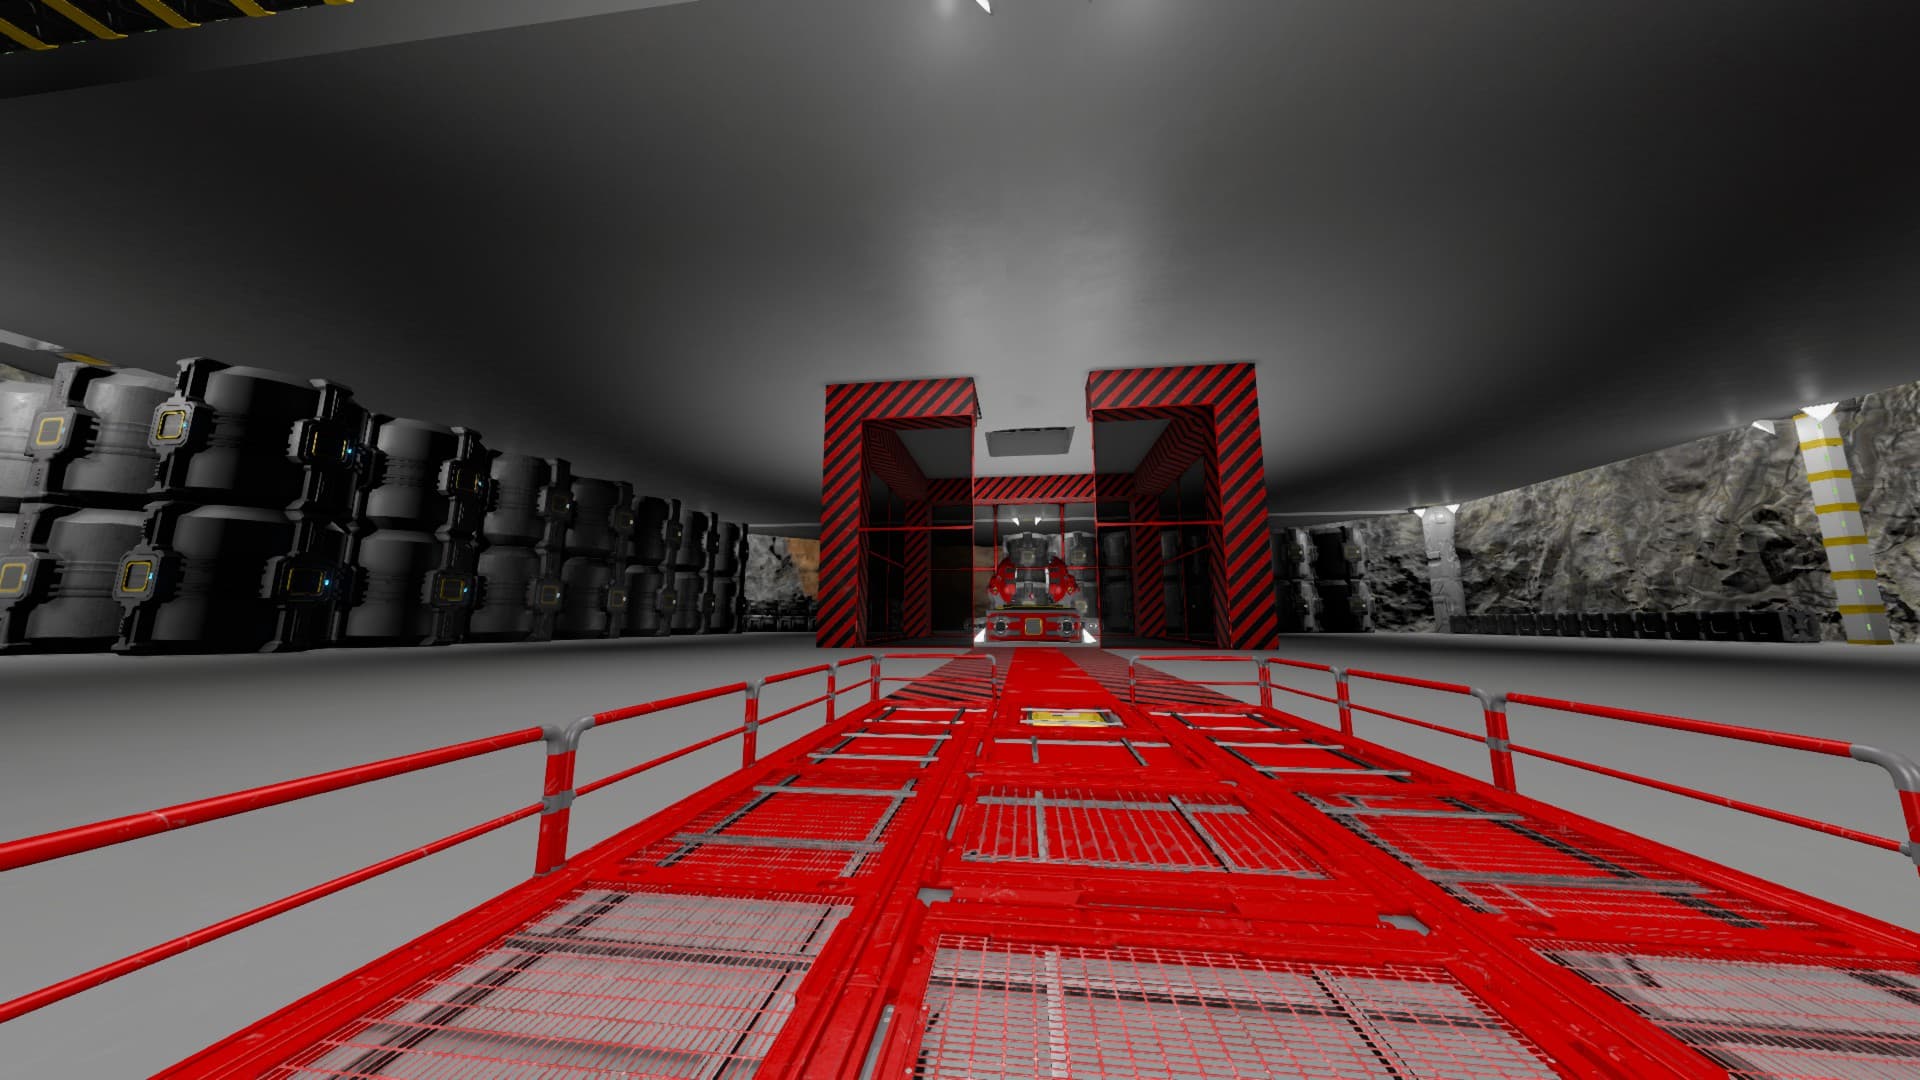
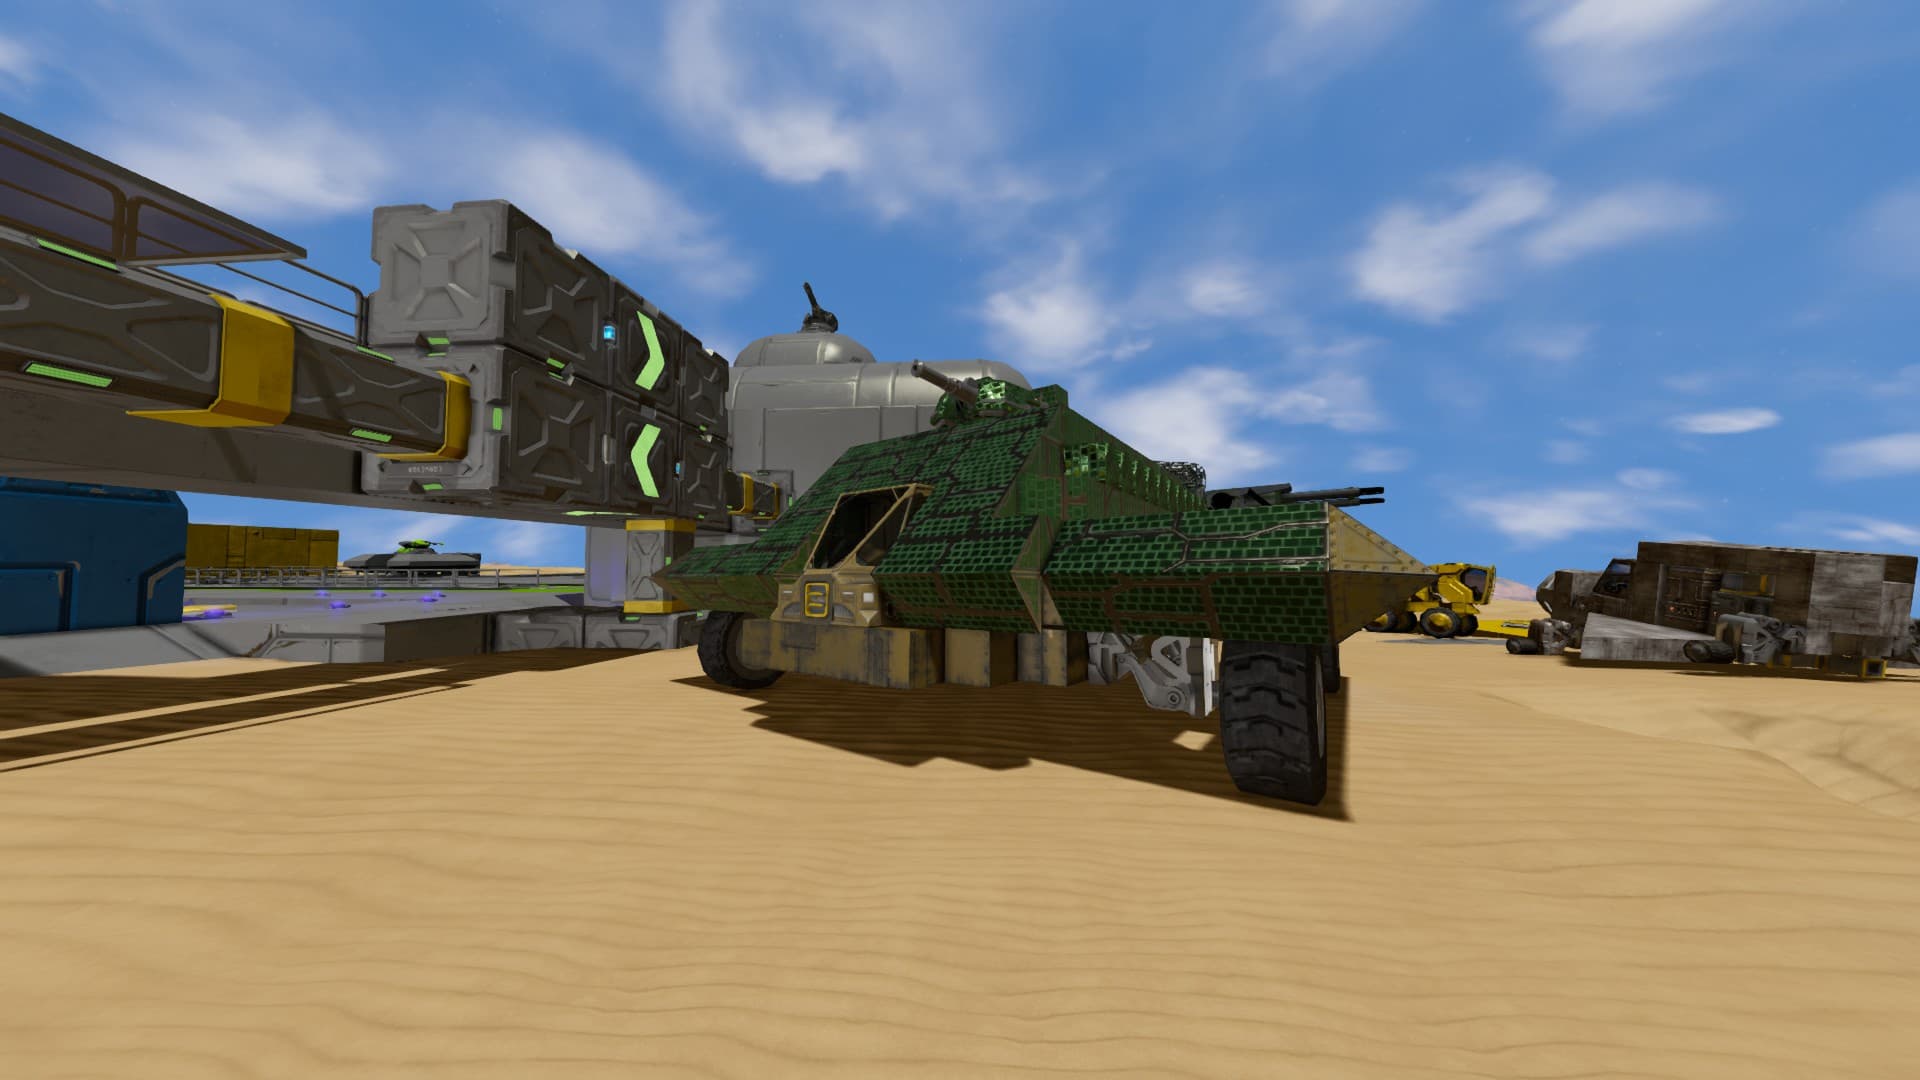
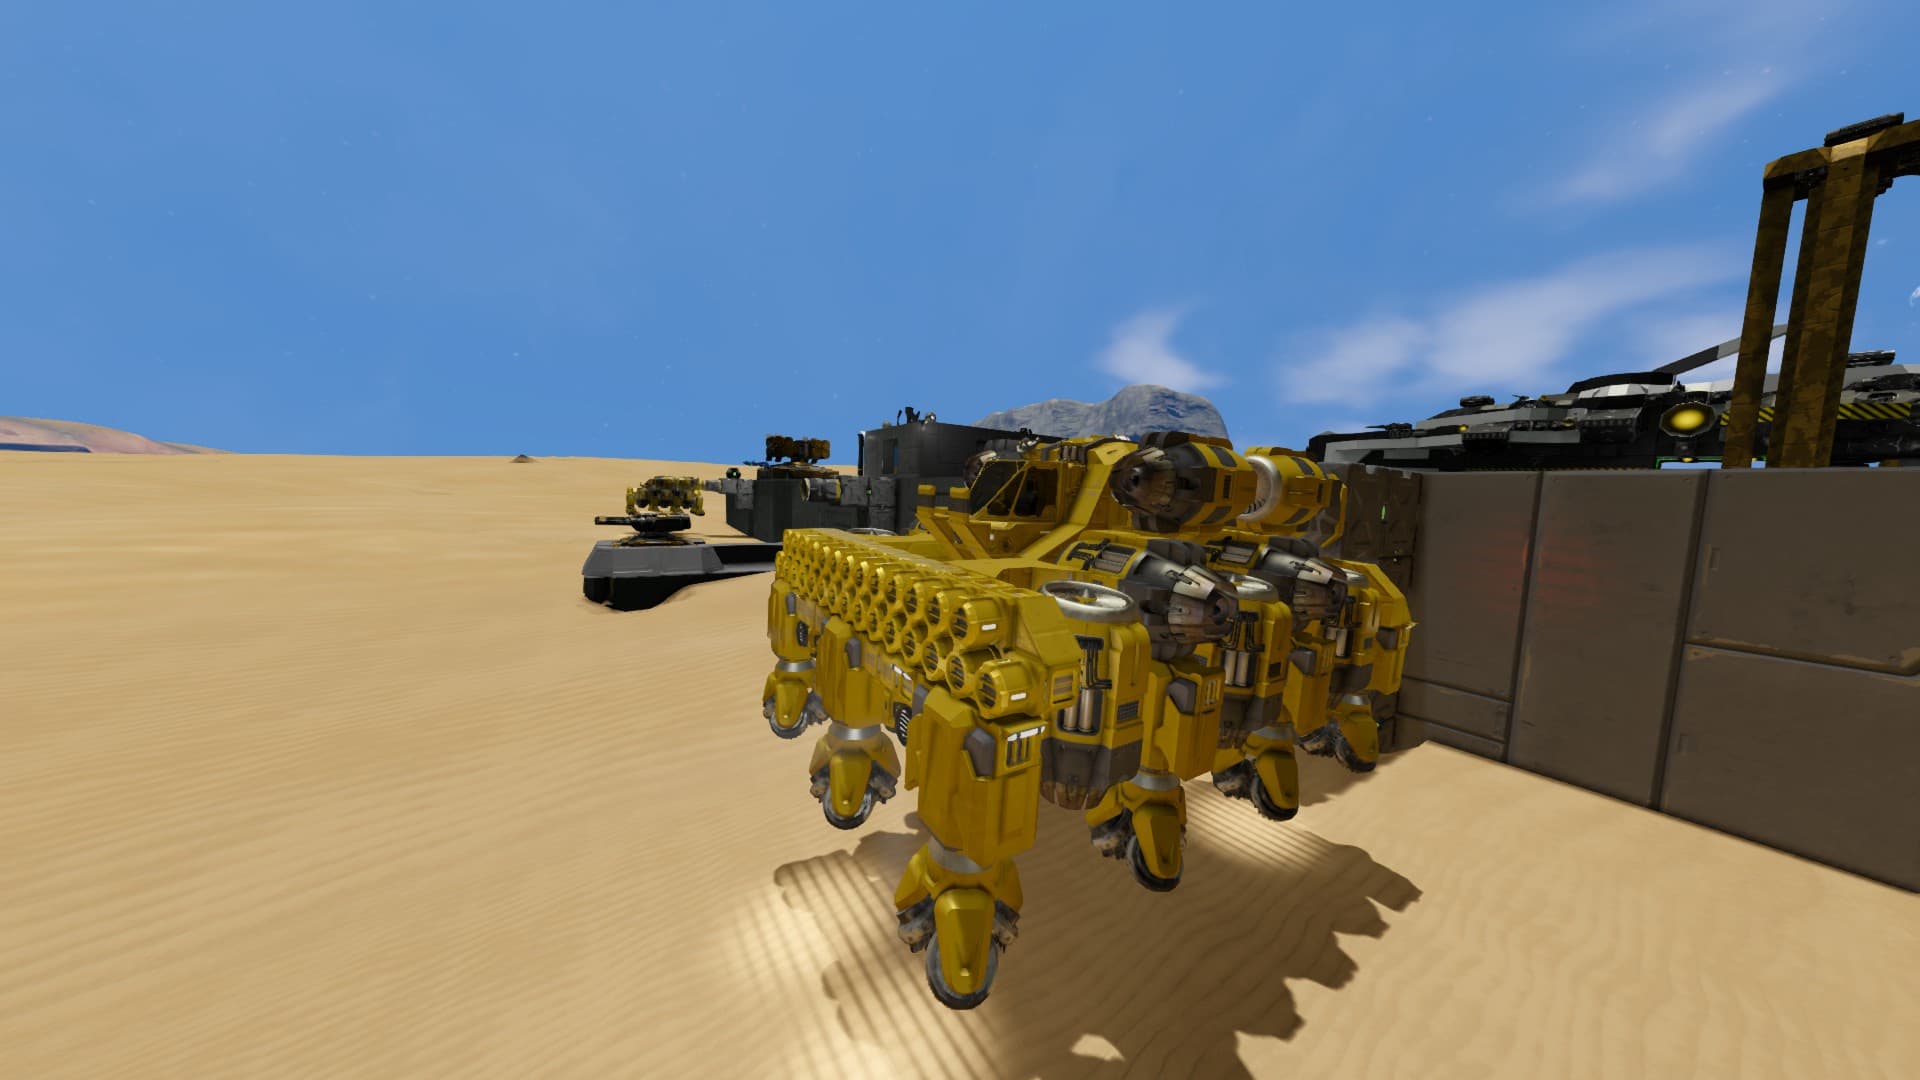
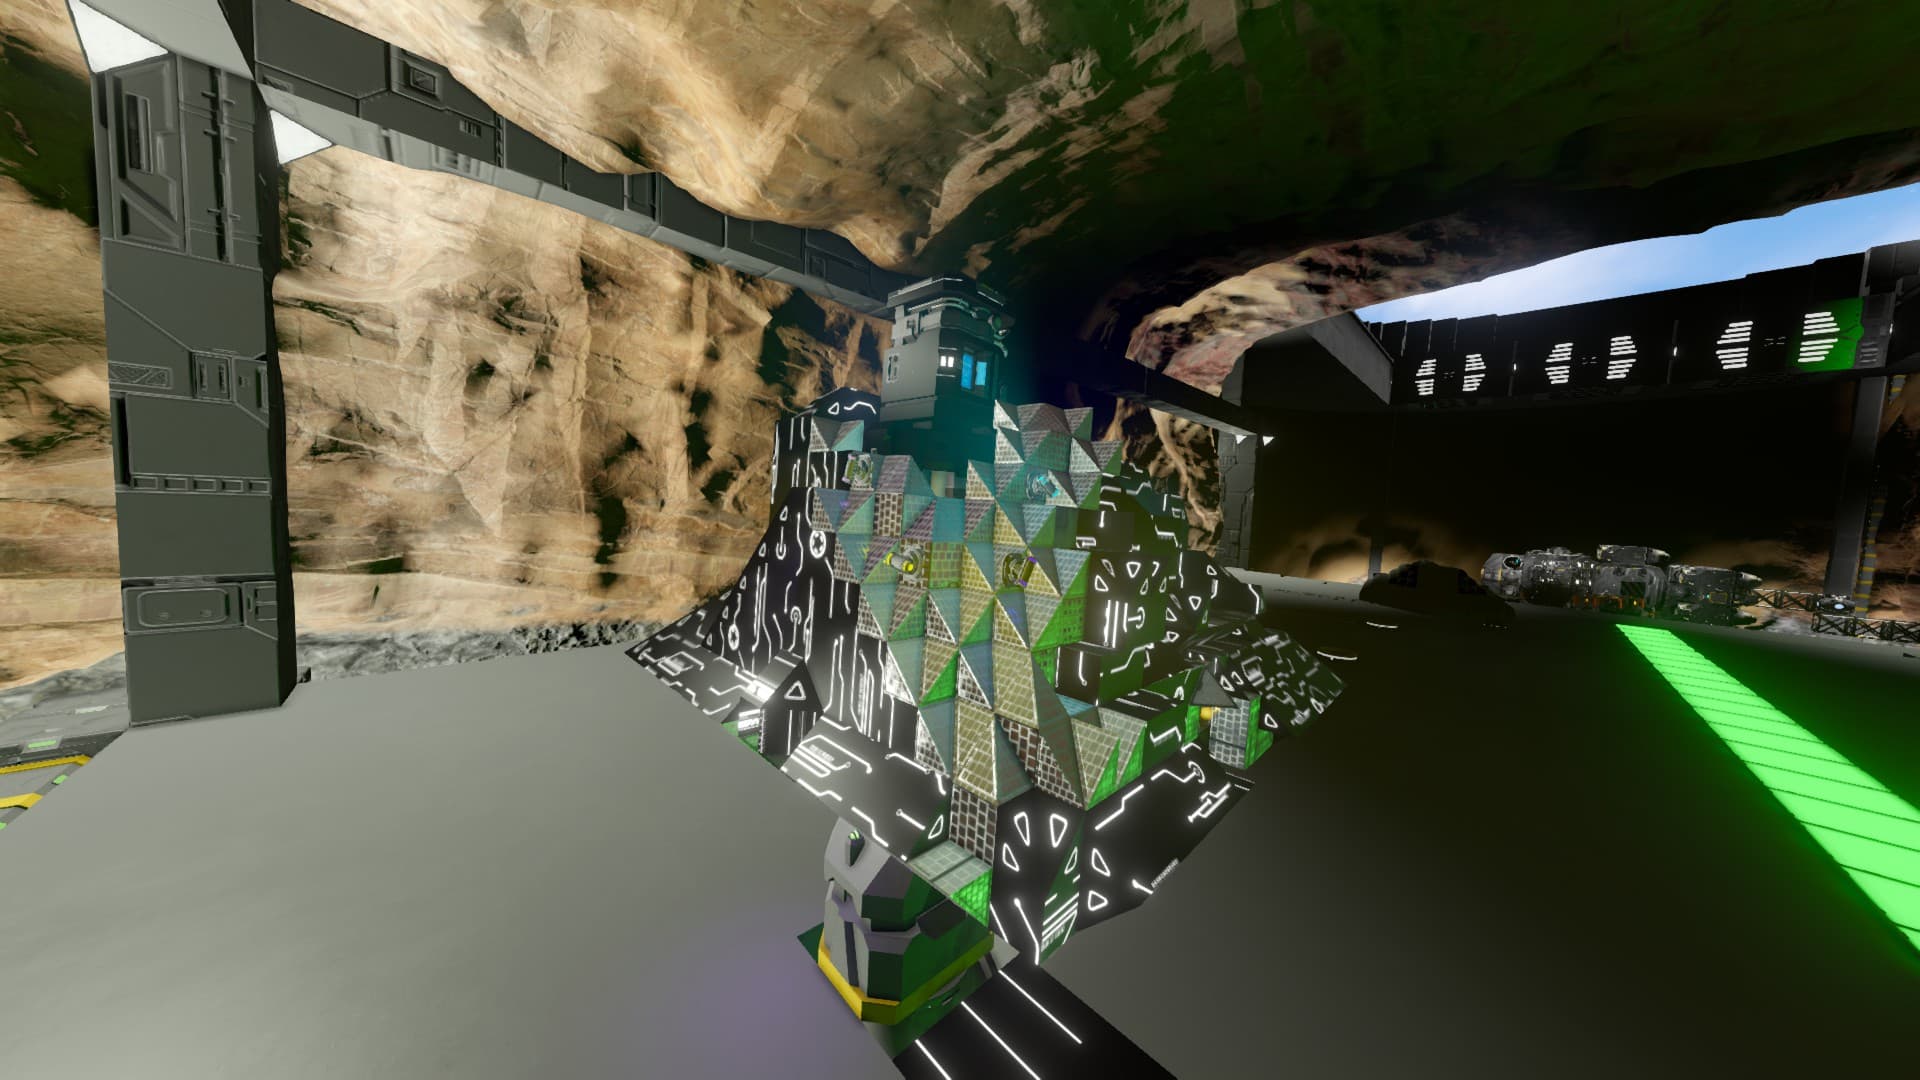
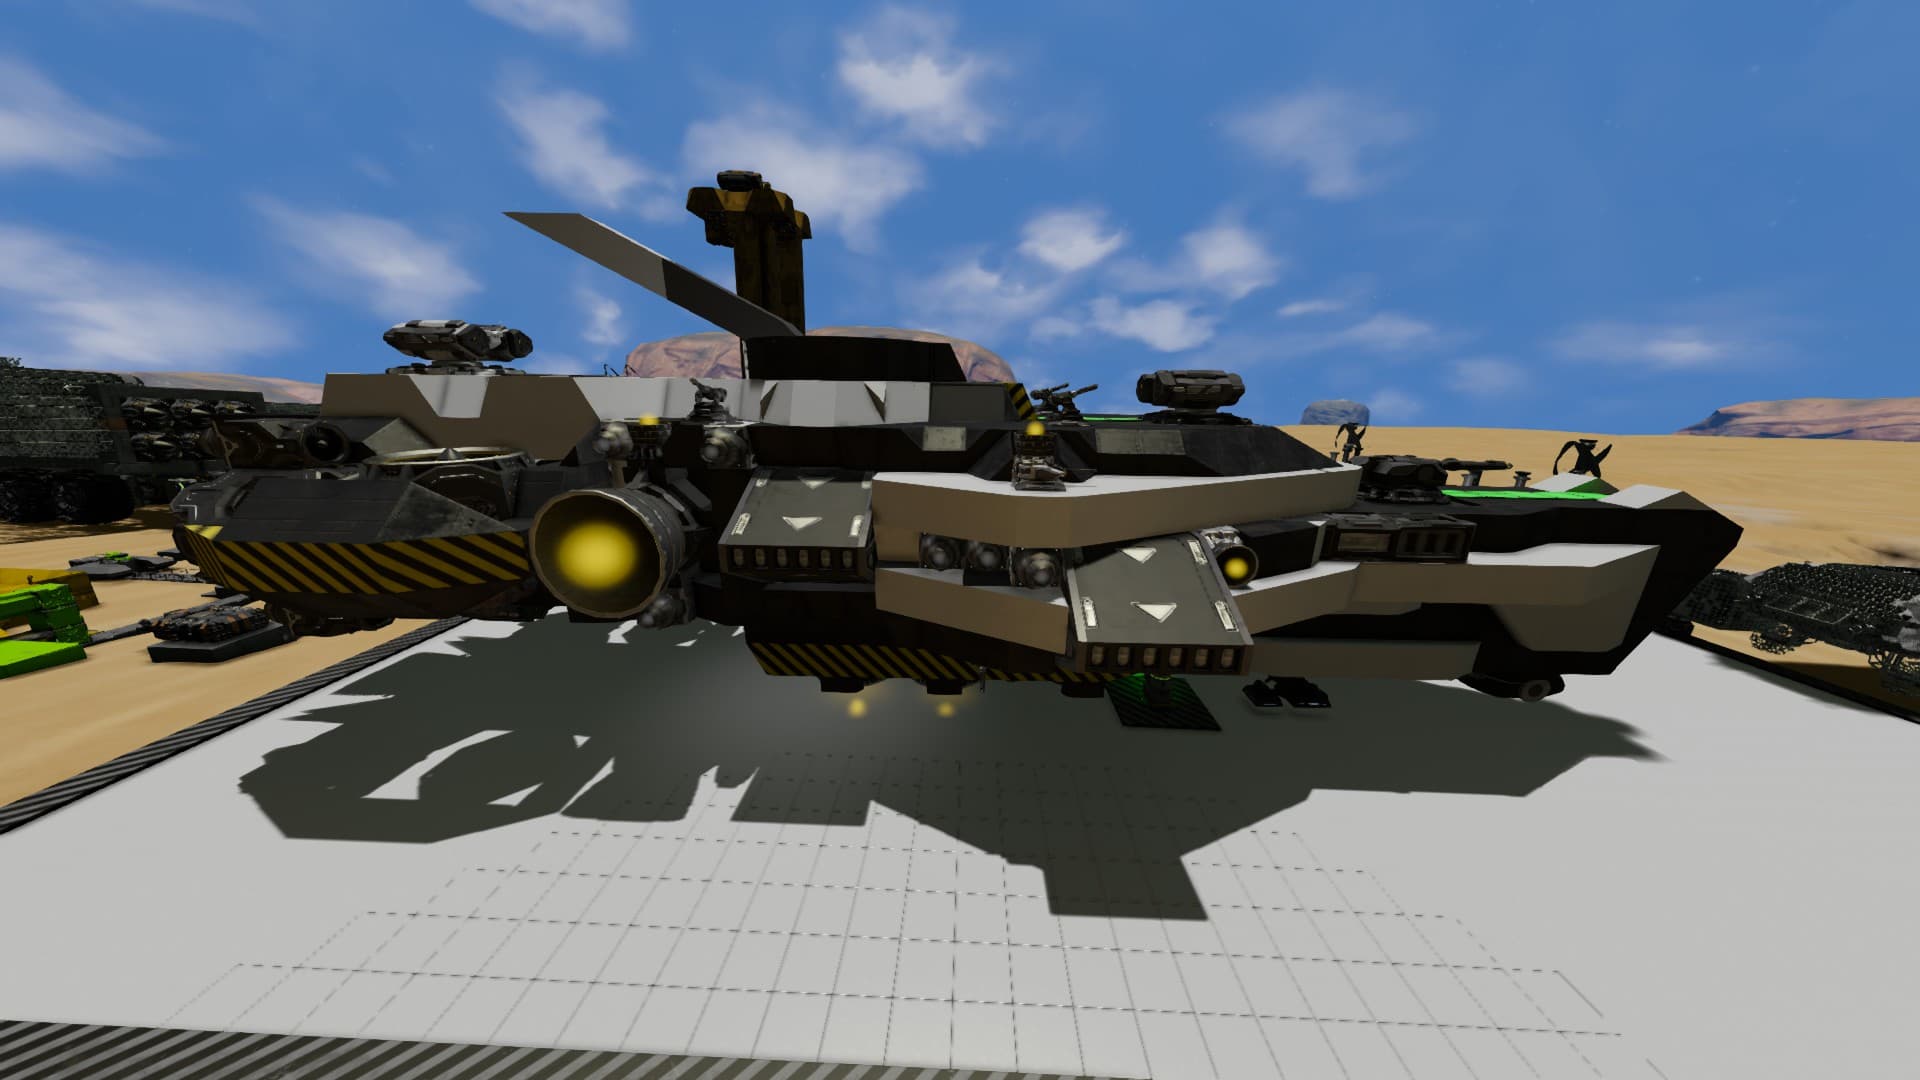
After more than a year away from Space Engineers we’re returning with a brand new private server, focused as always around PvE content, escaping from the high gravity of the starting planet, and exploring the galaxy. The perfect sandbox to build some of the largest ships and bring the fight back to the many unsuspecting peaceful factions of the sector.

Server IP: 138.201.136.239
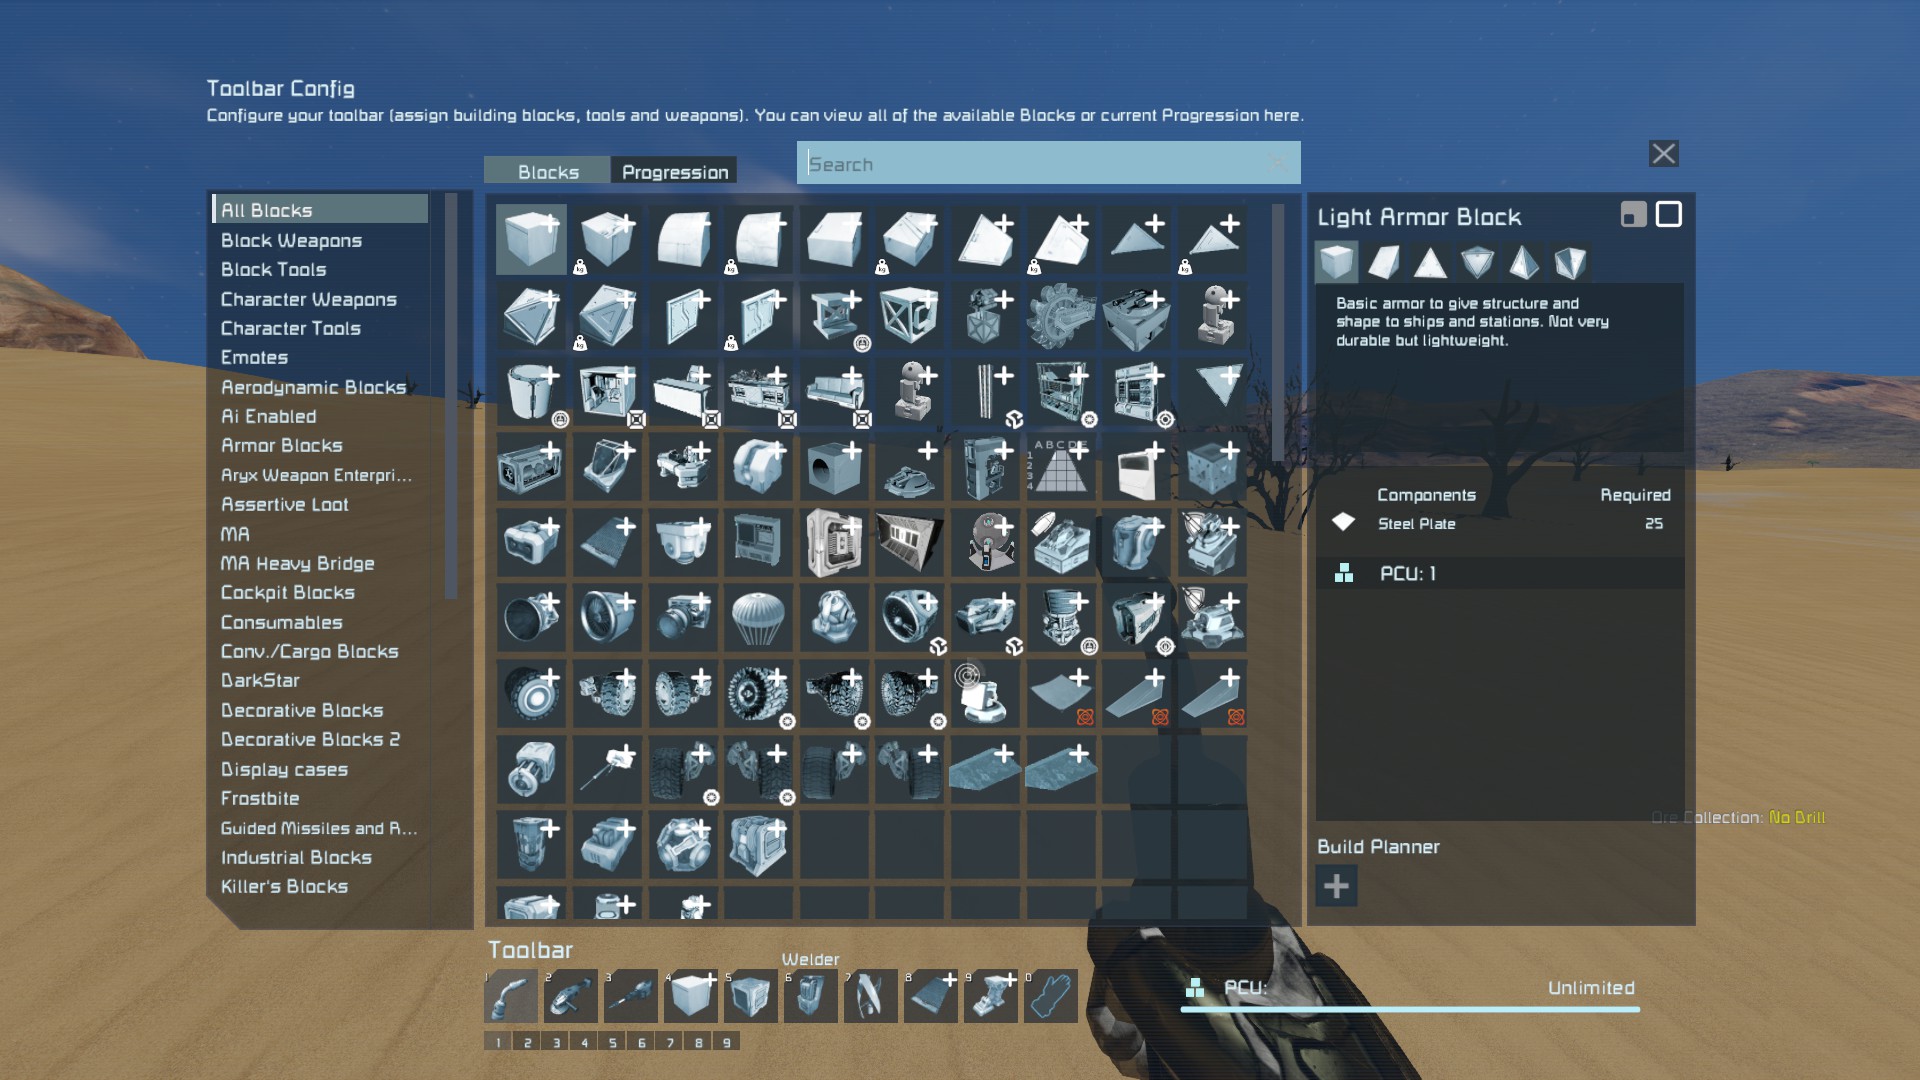
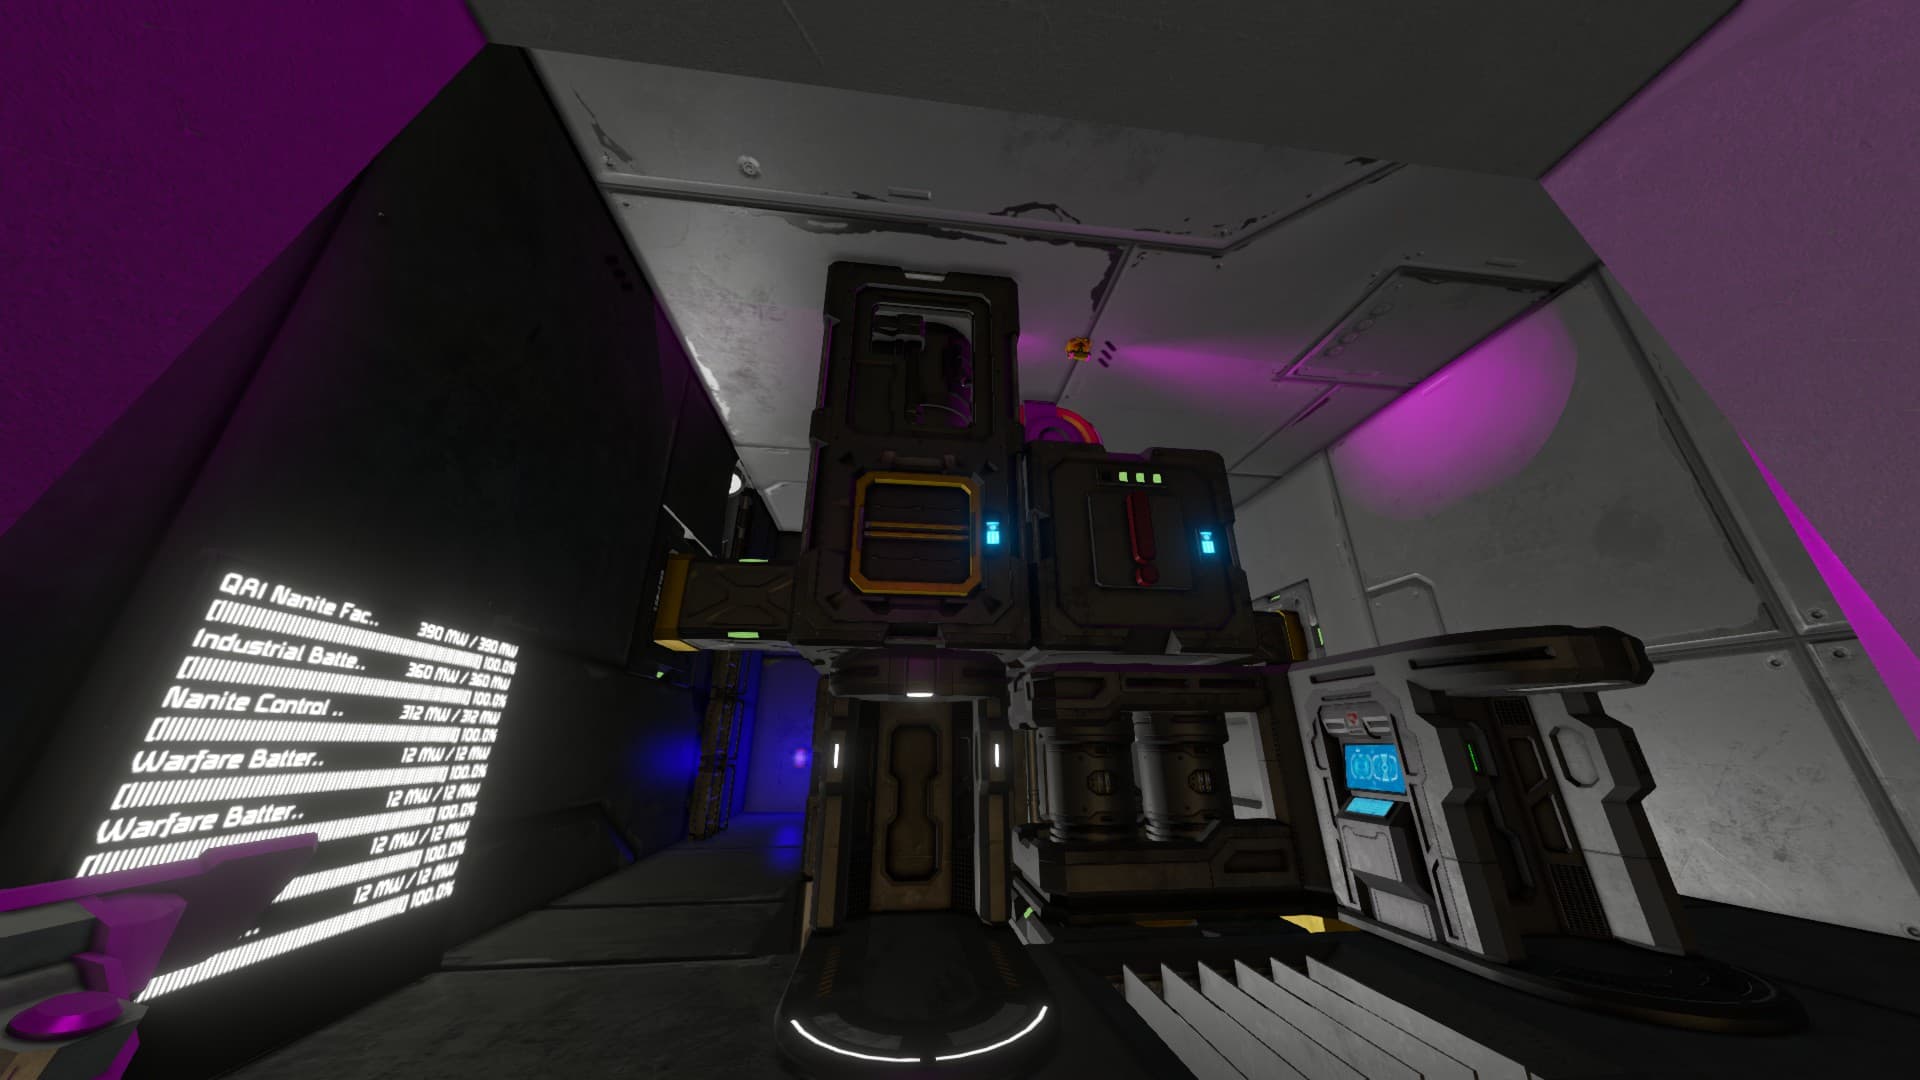
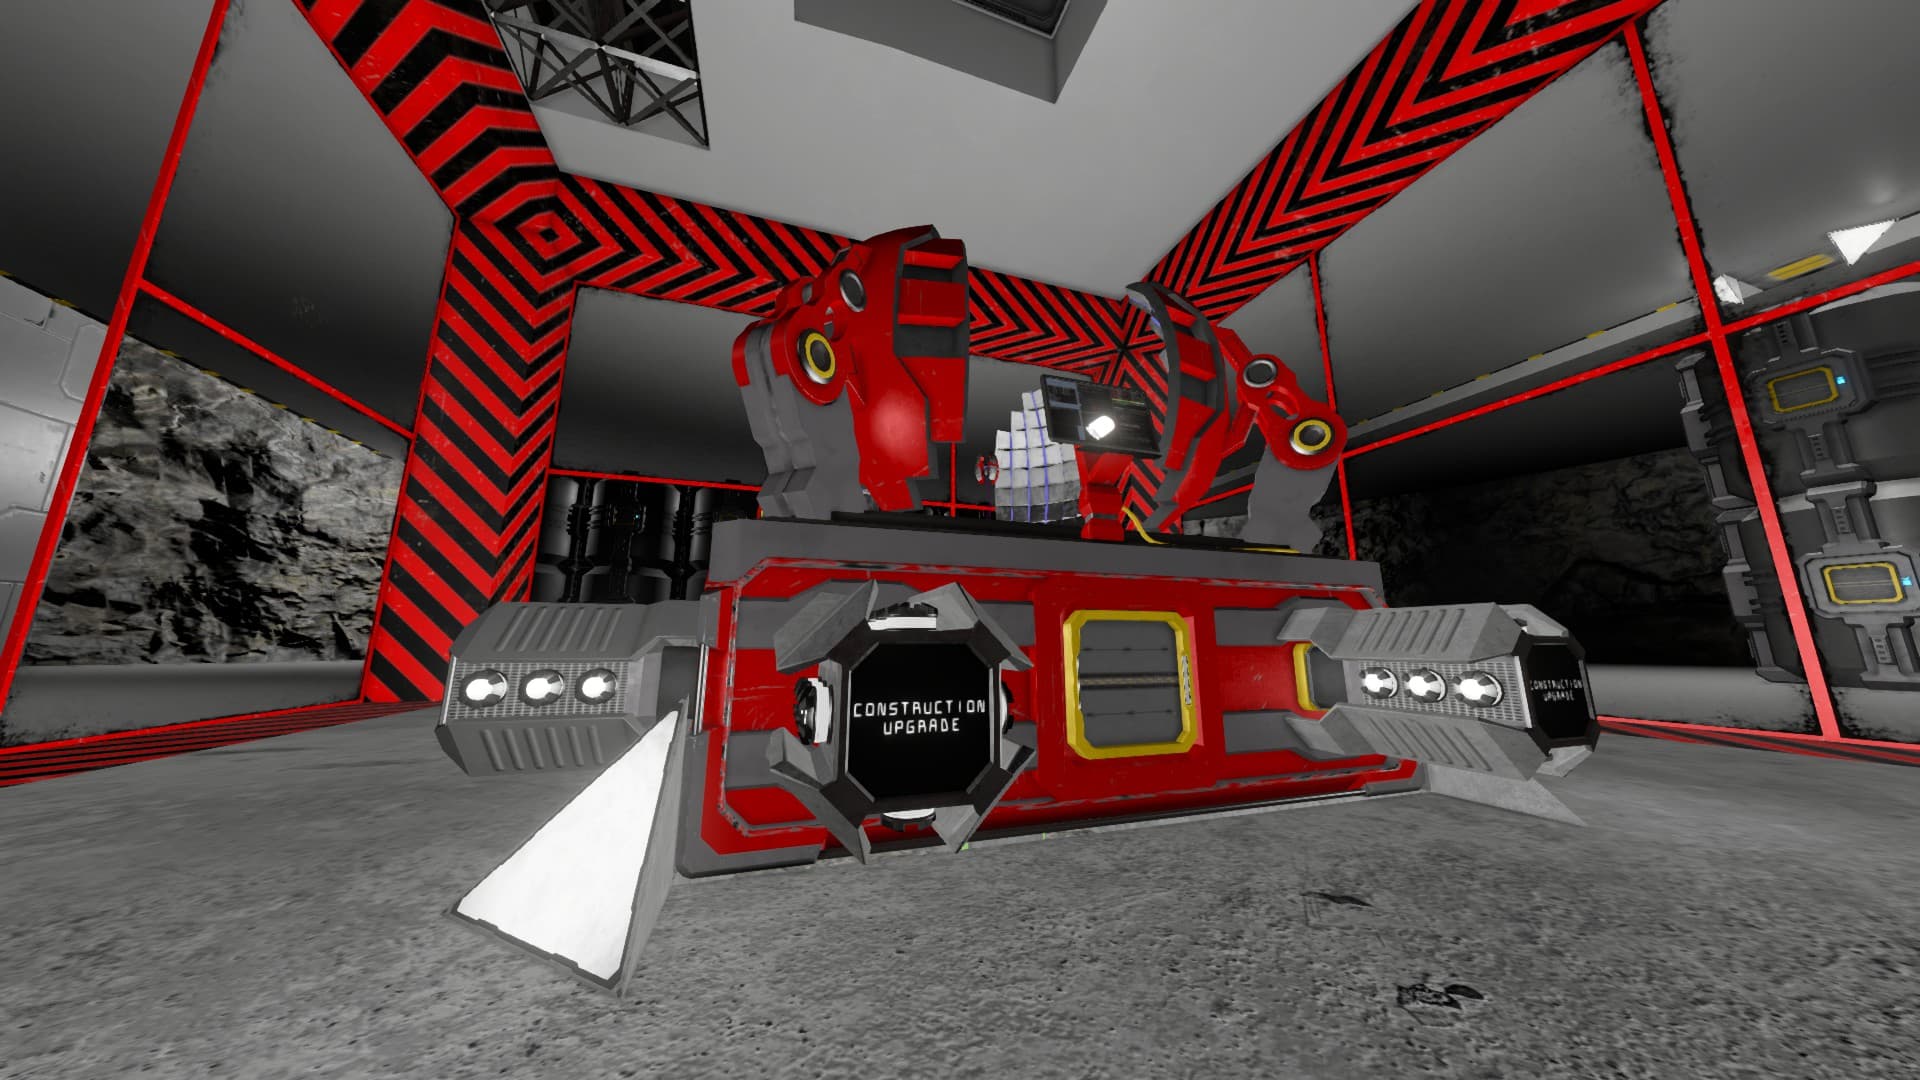
Mods

The following is the near final list of mods which will be included in the server at launch. Others will be added as needed or from suggestions, as well as more experimental ones later on.

Launch Stages

The server will be run in several stages with different goals at each stage.

:rocket: Stage 1 - Planetfall - Friday 30th Sep

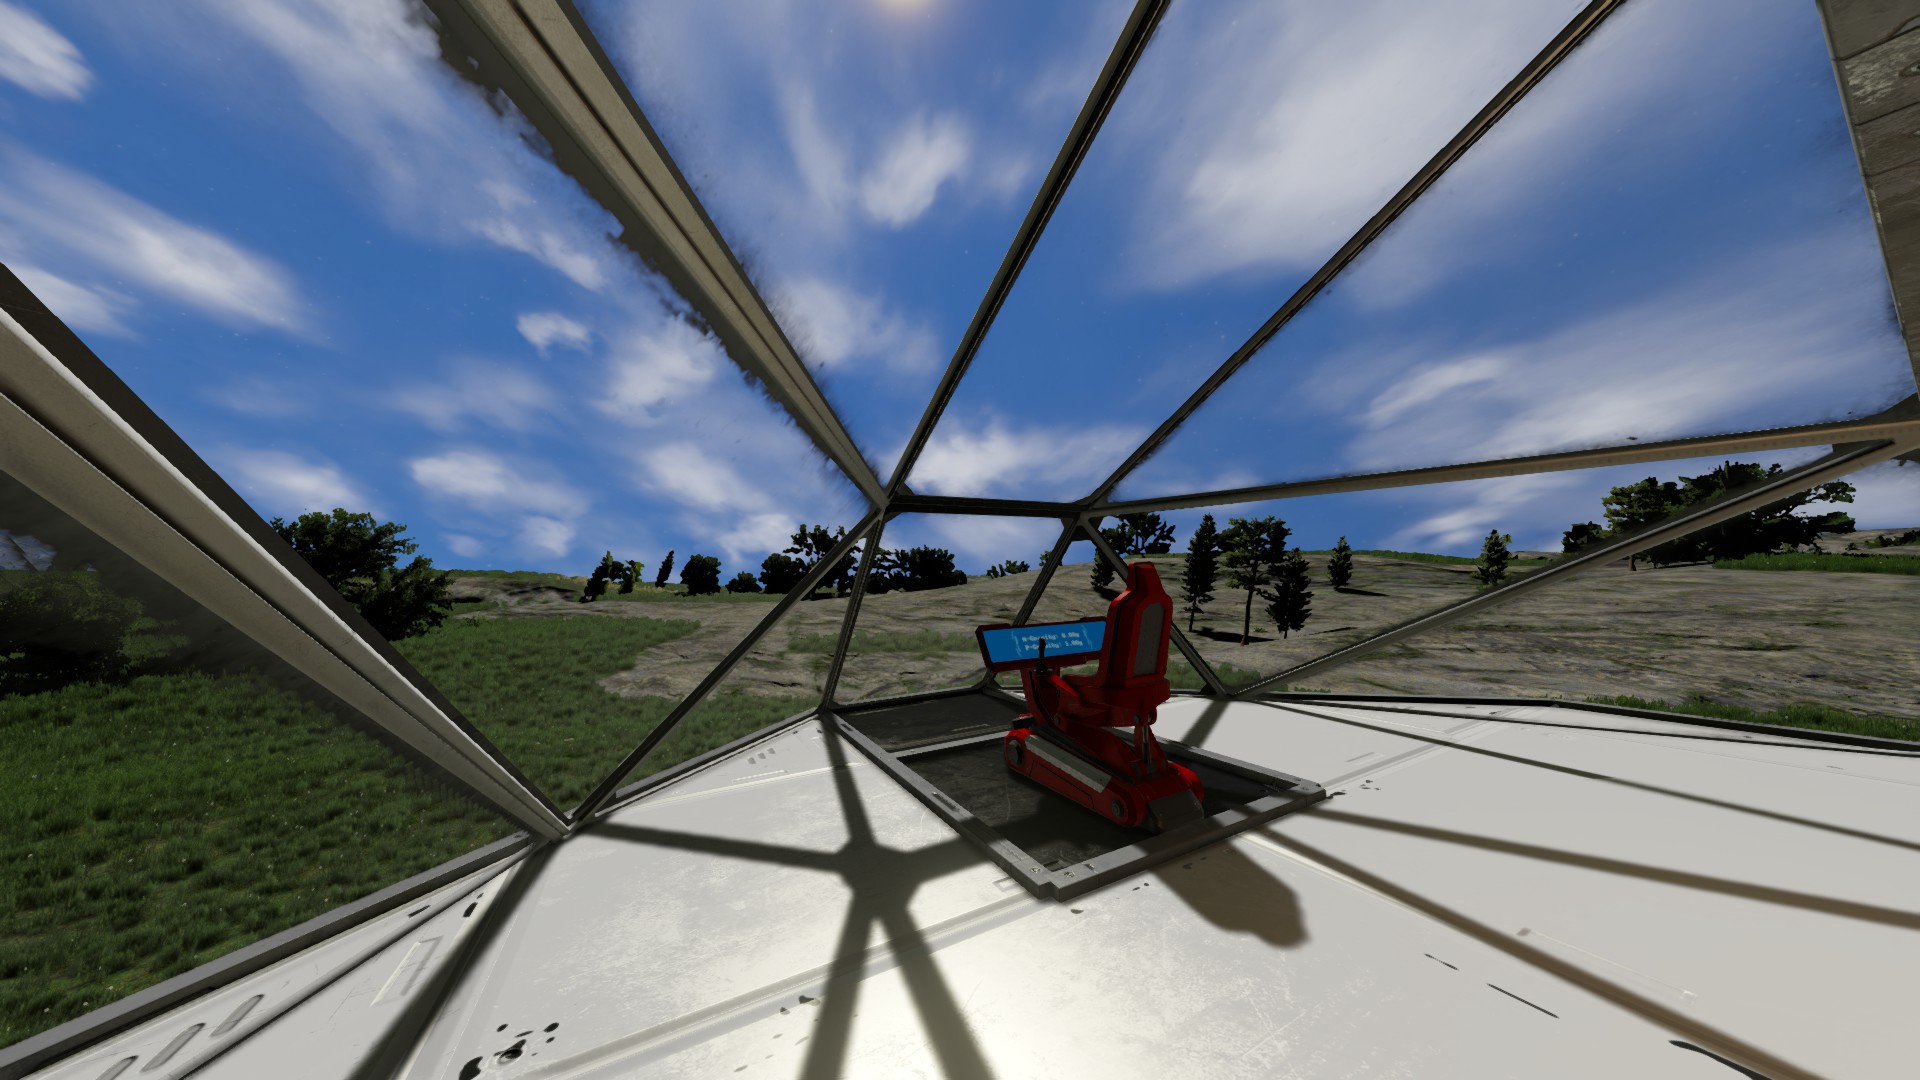
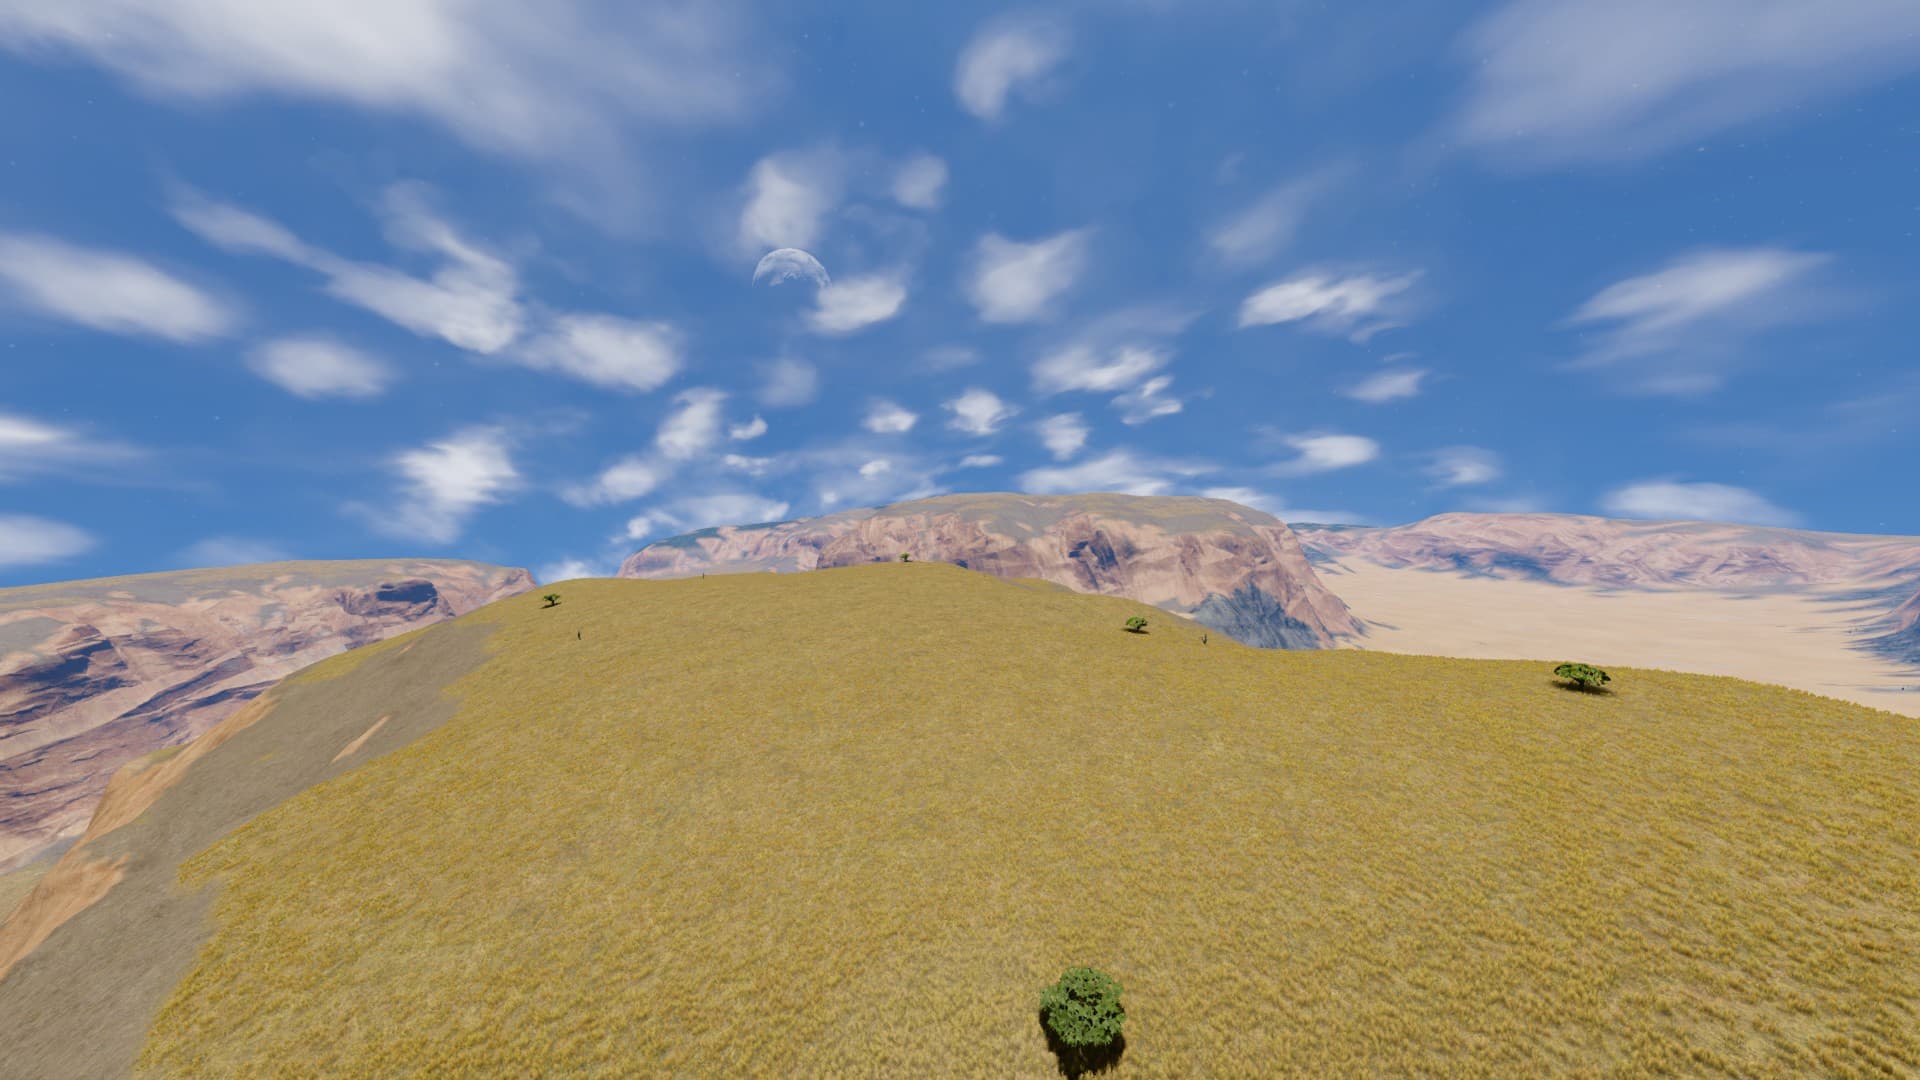
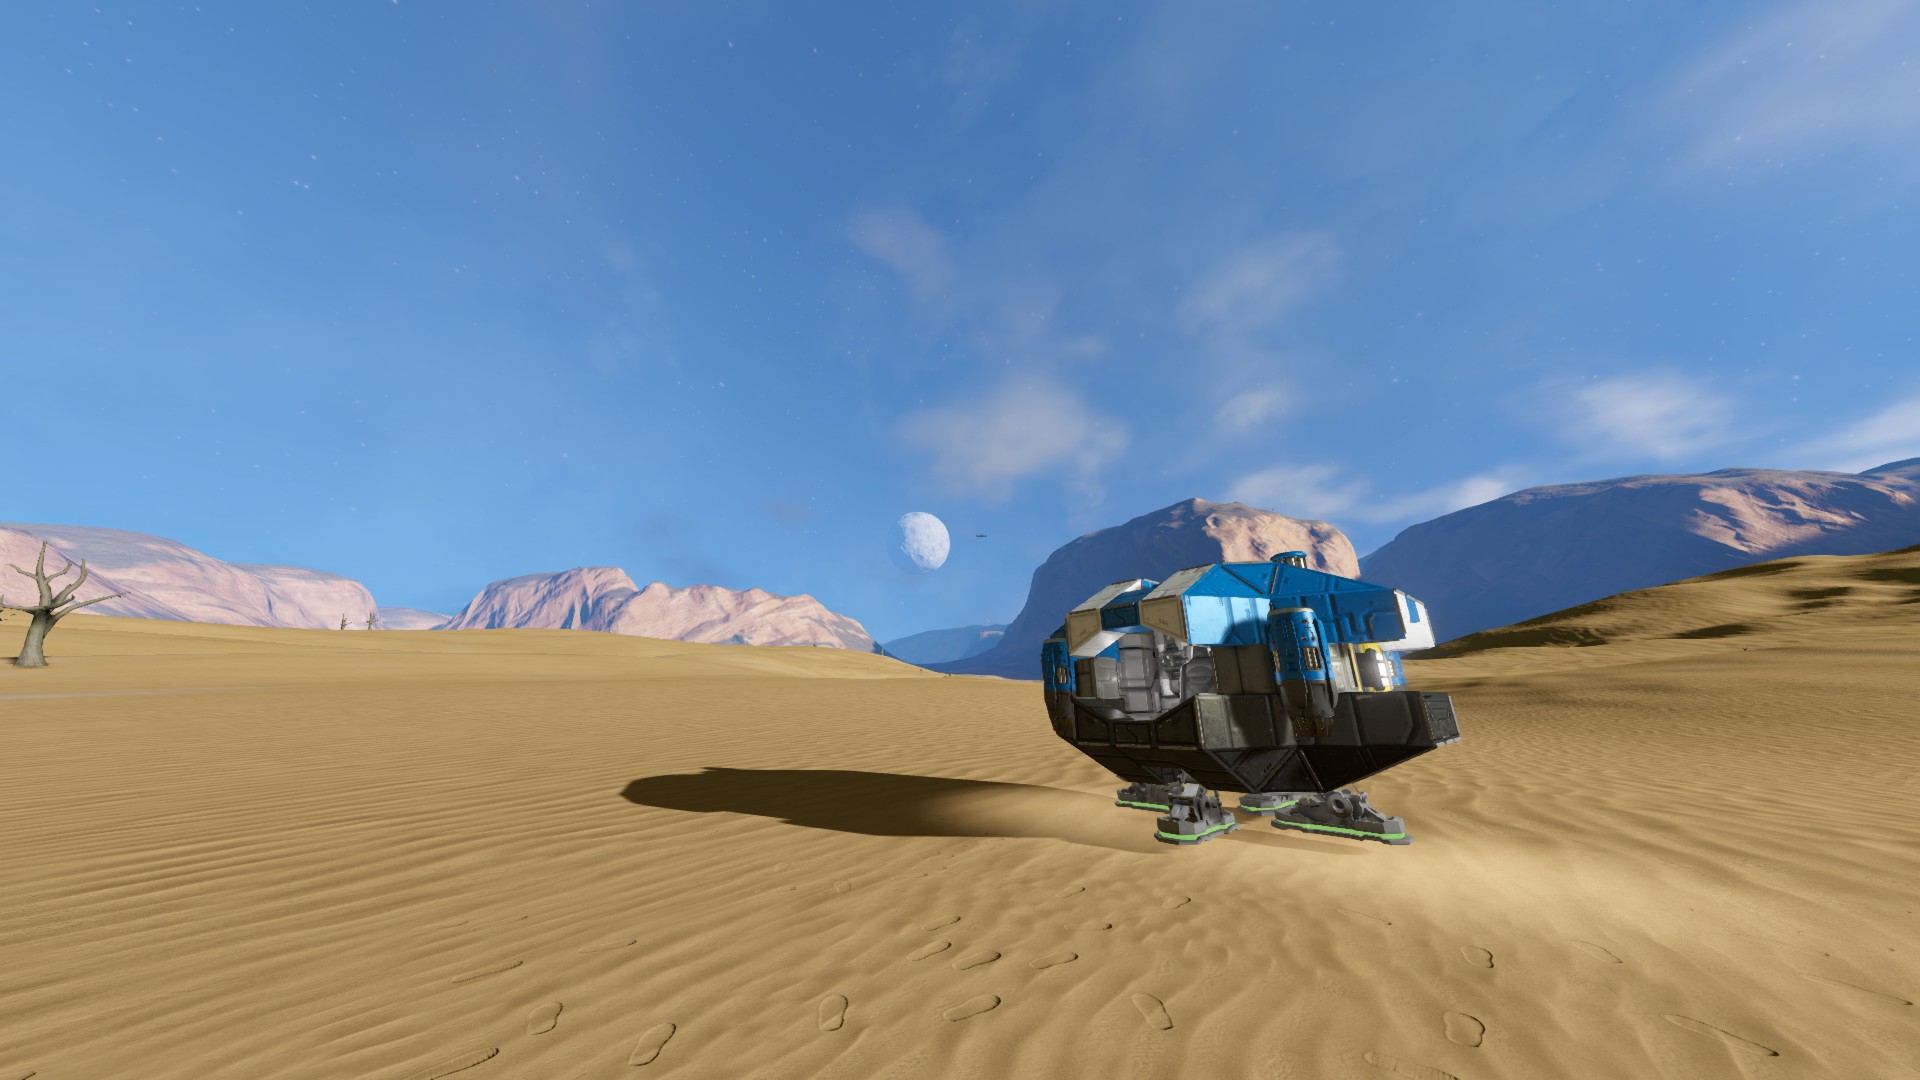
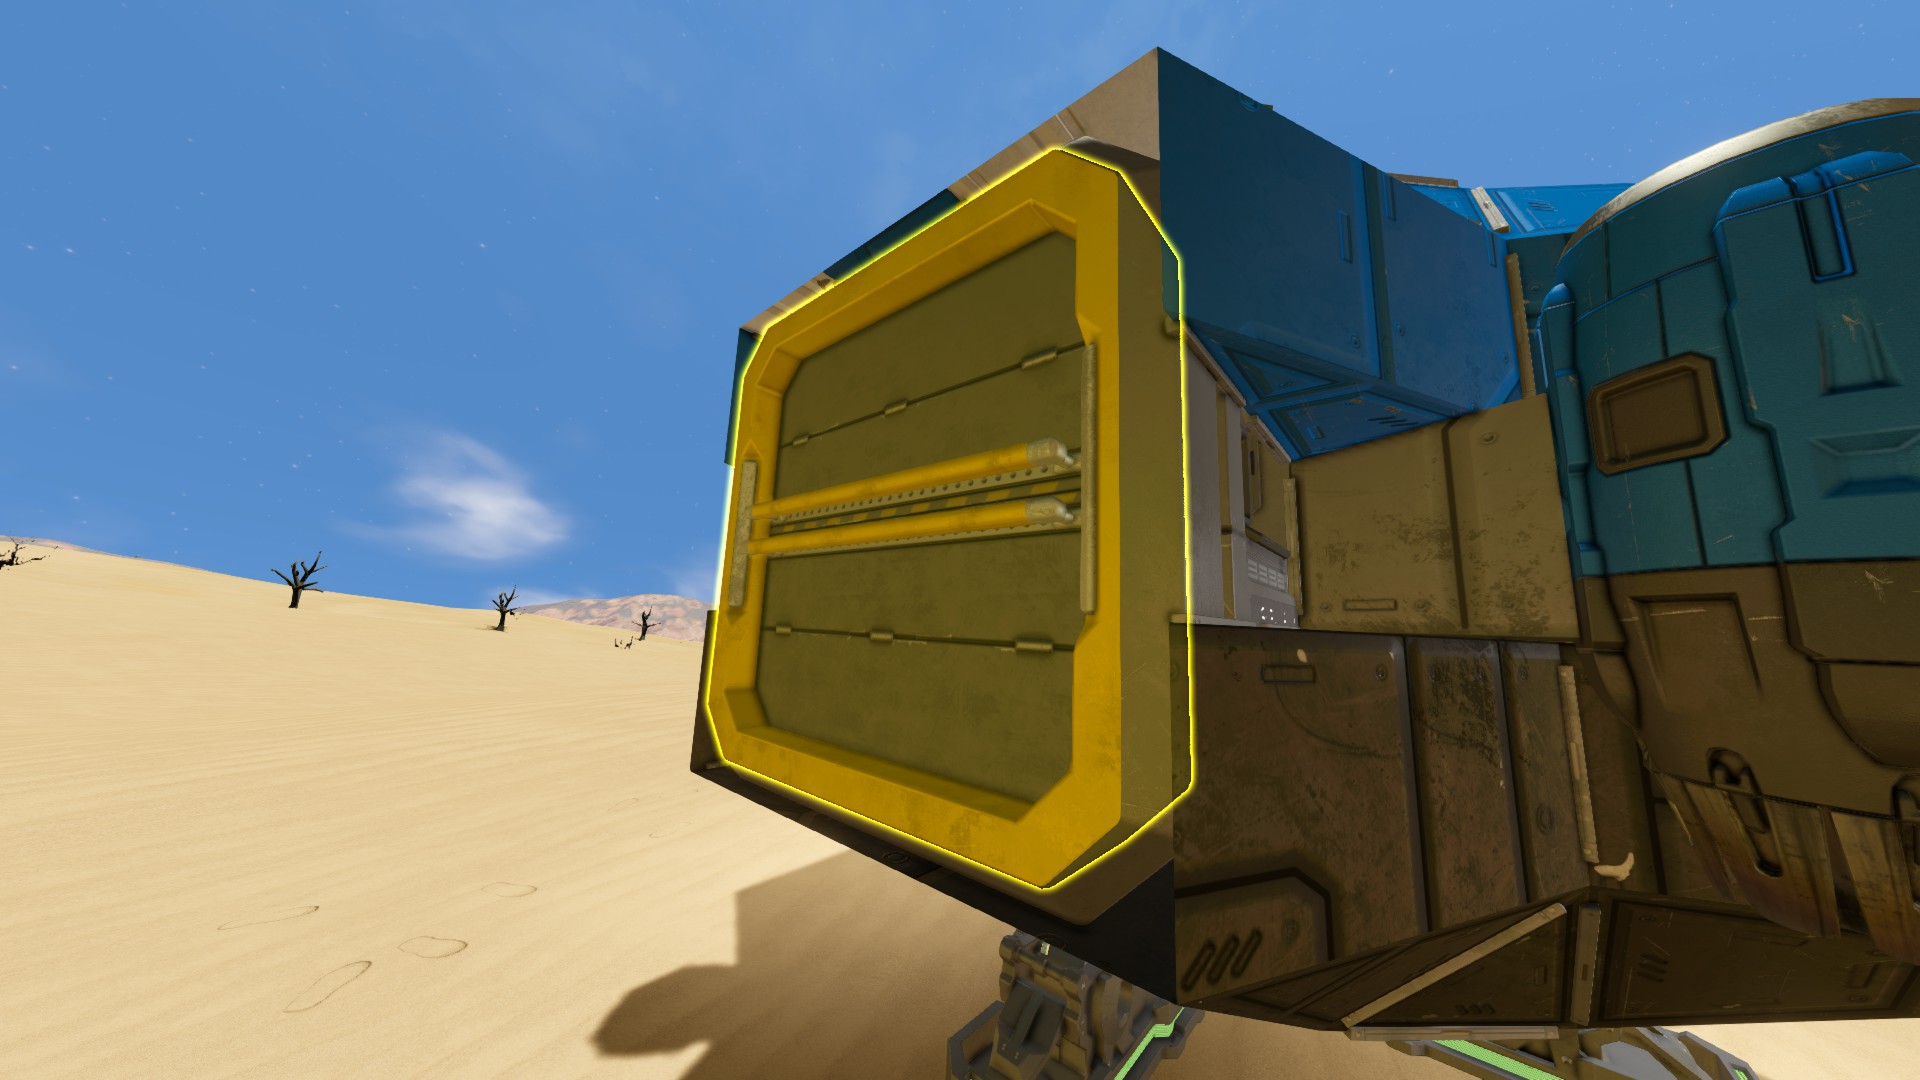
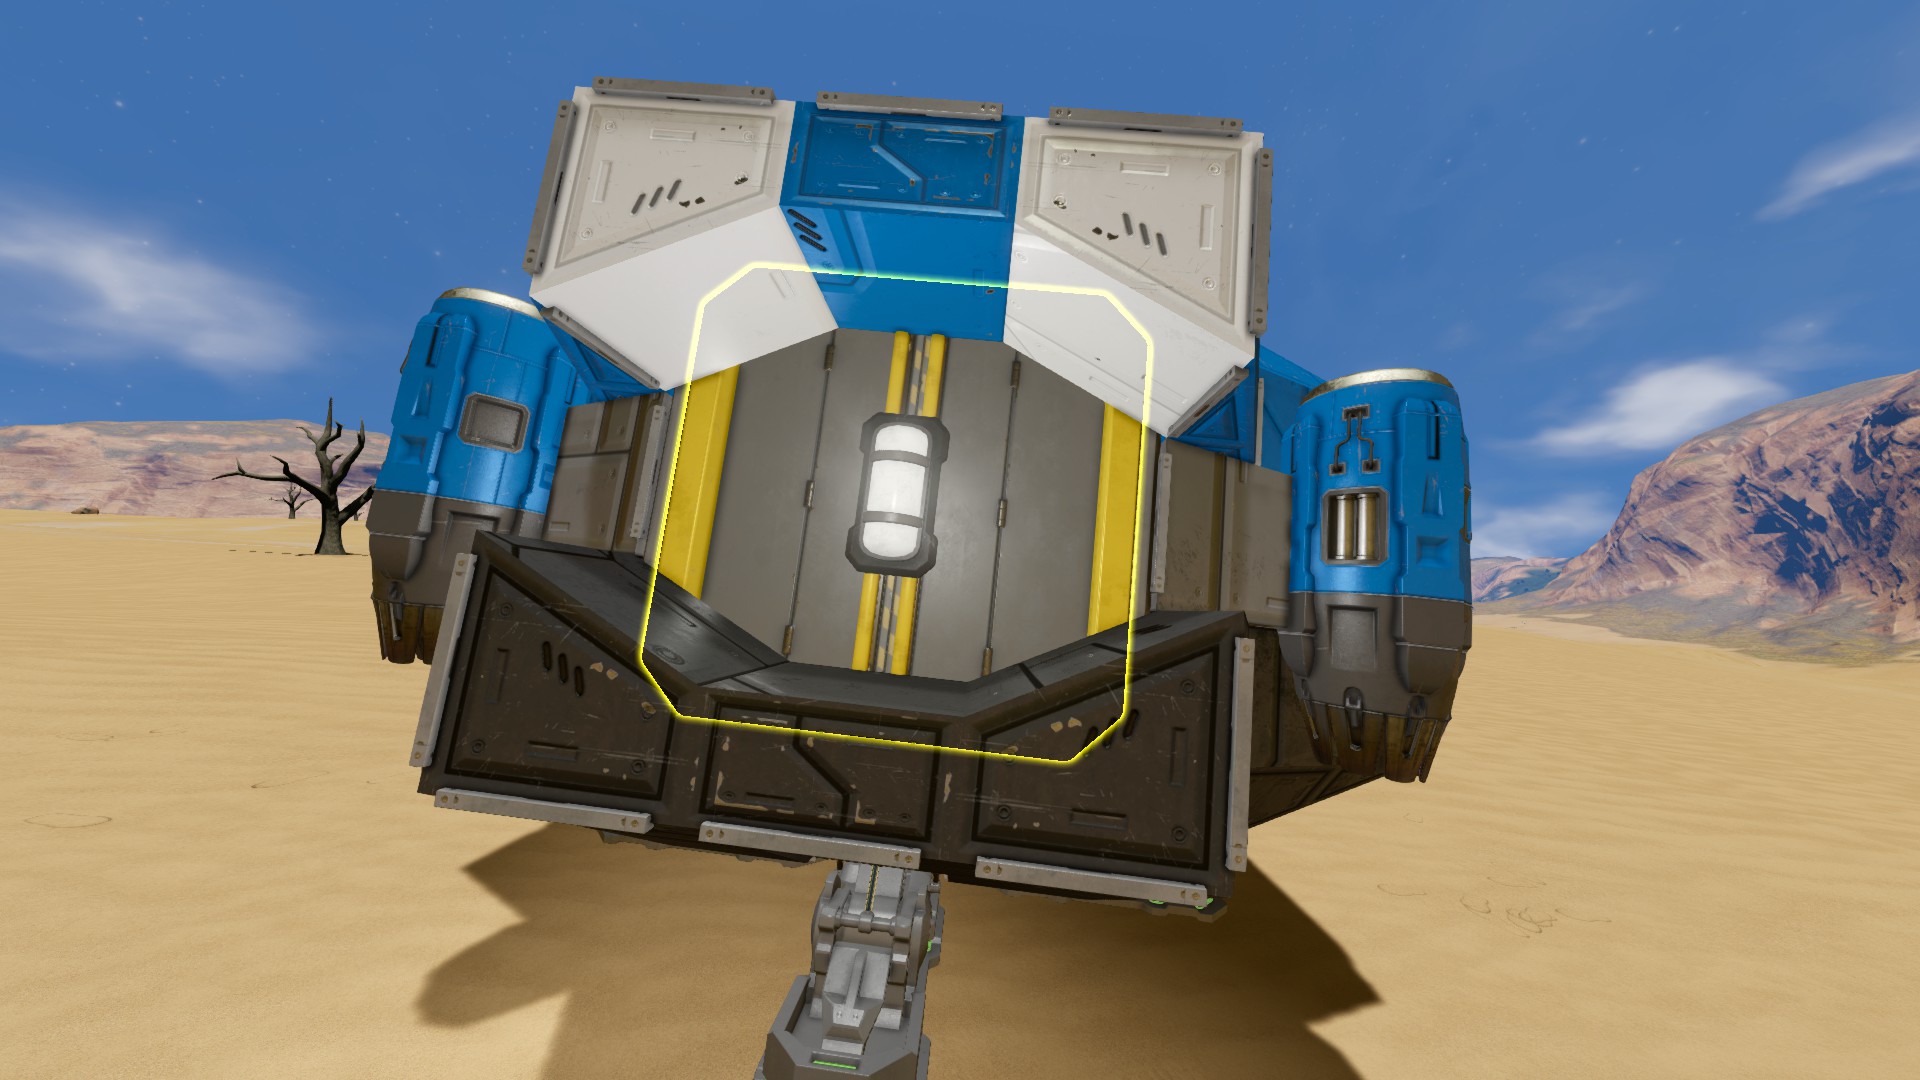
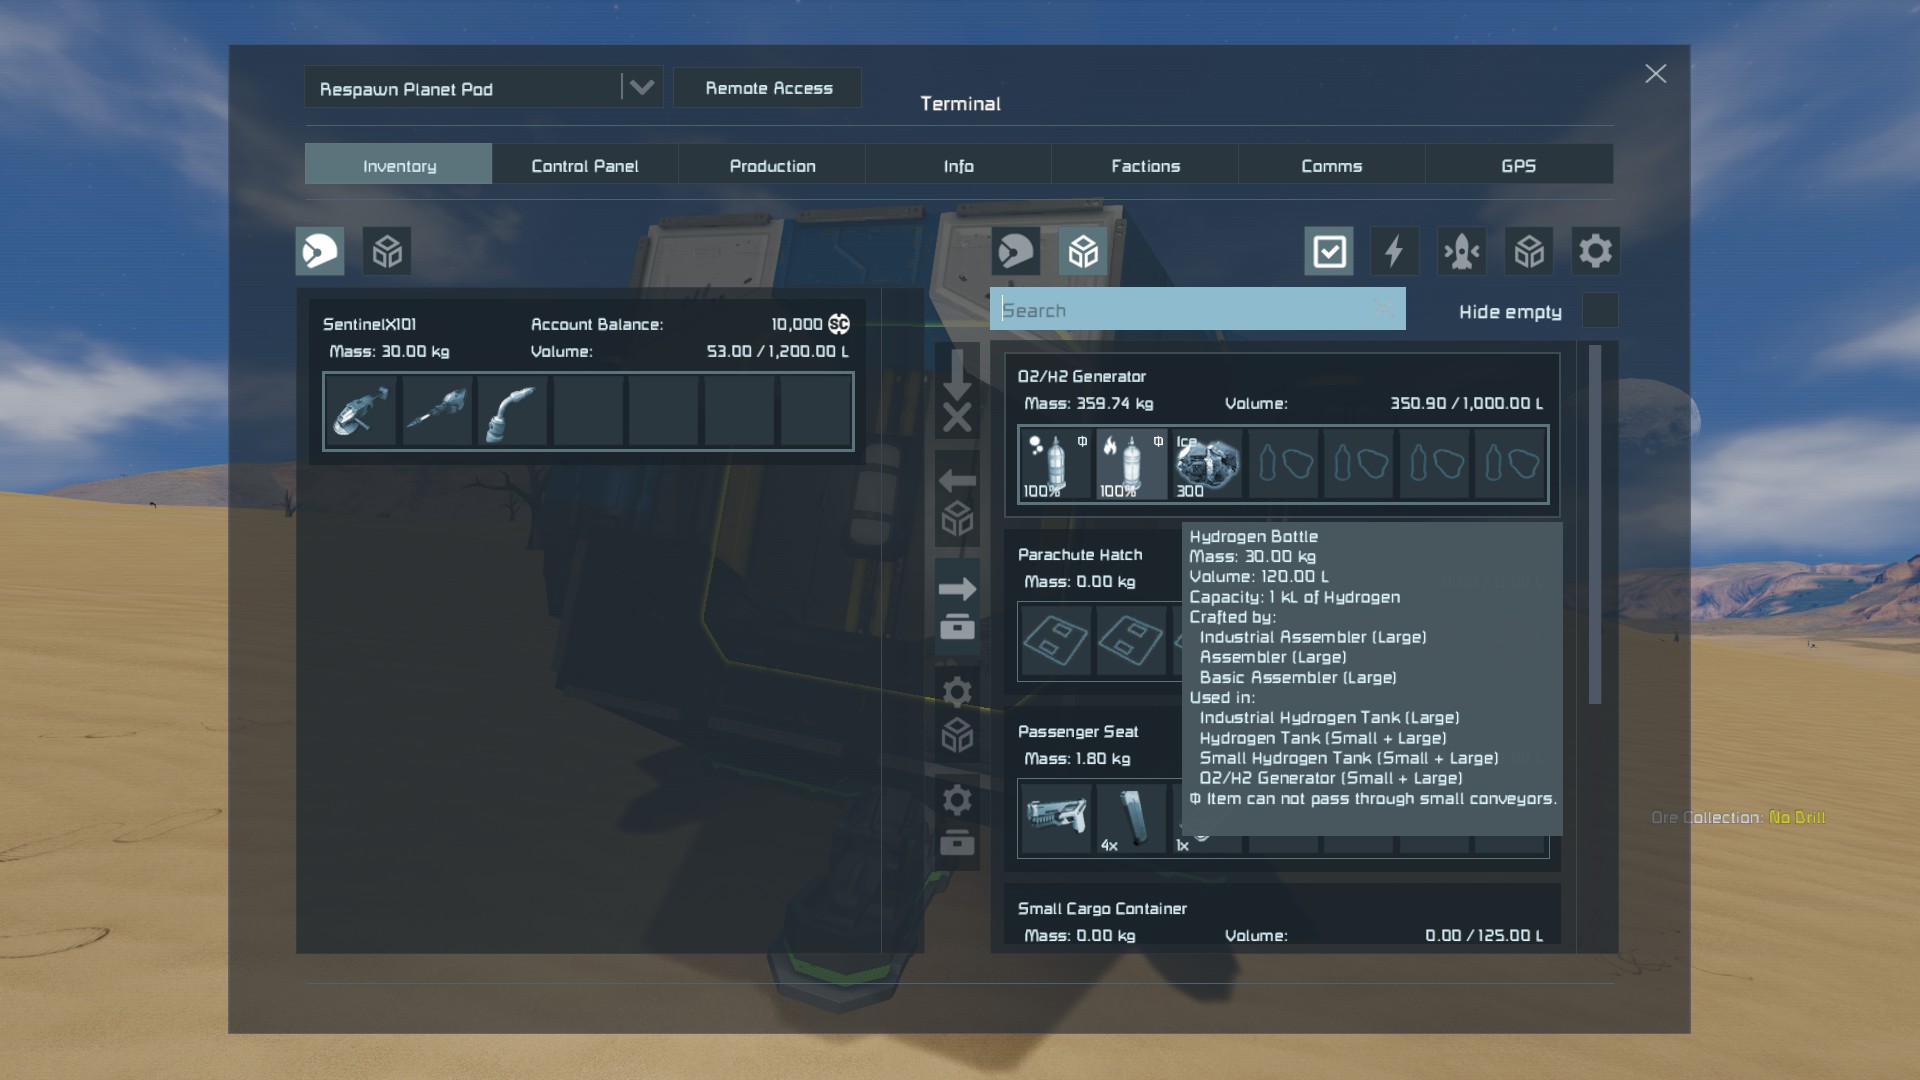
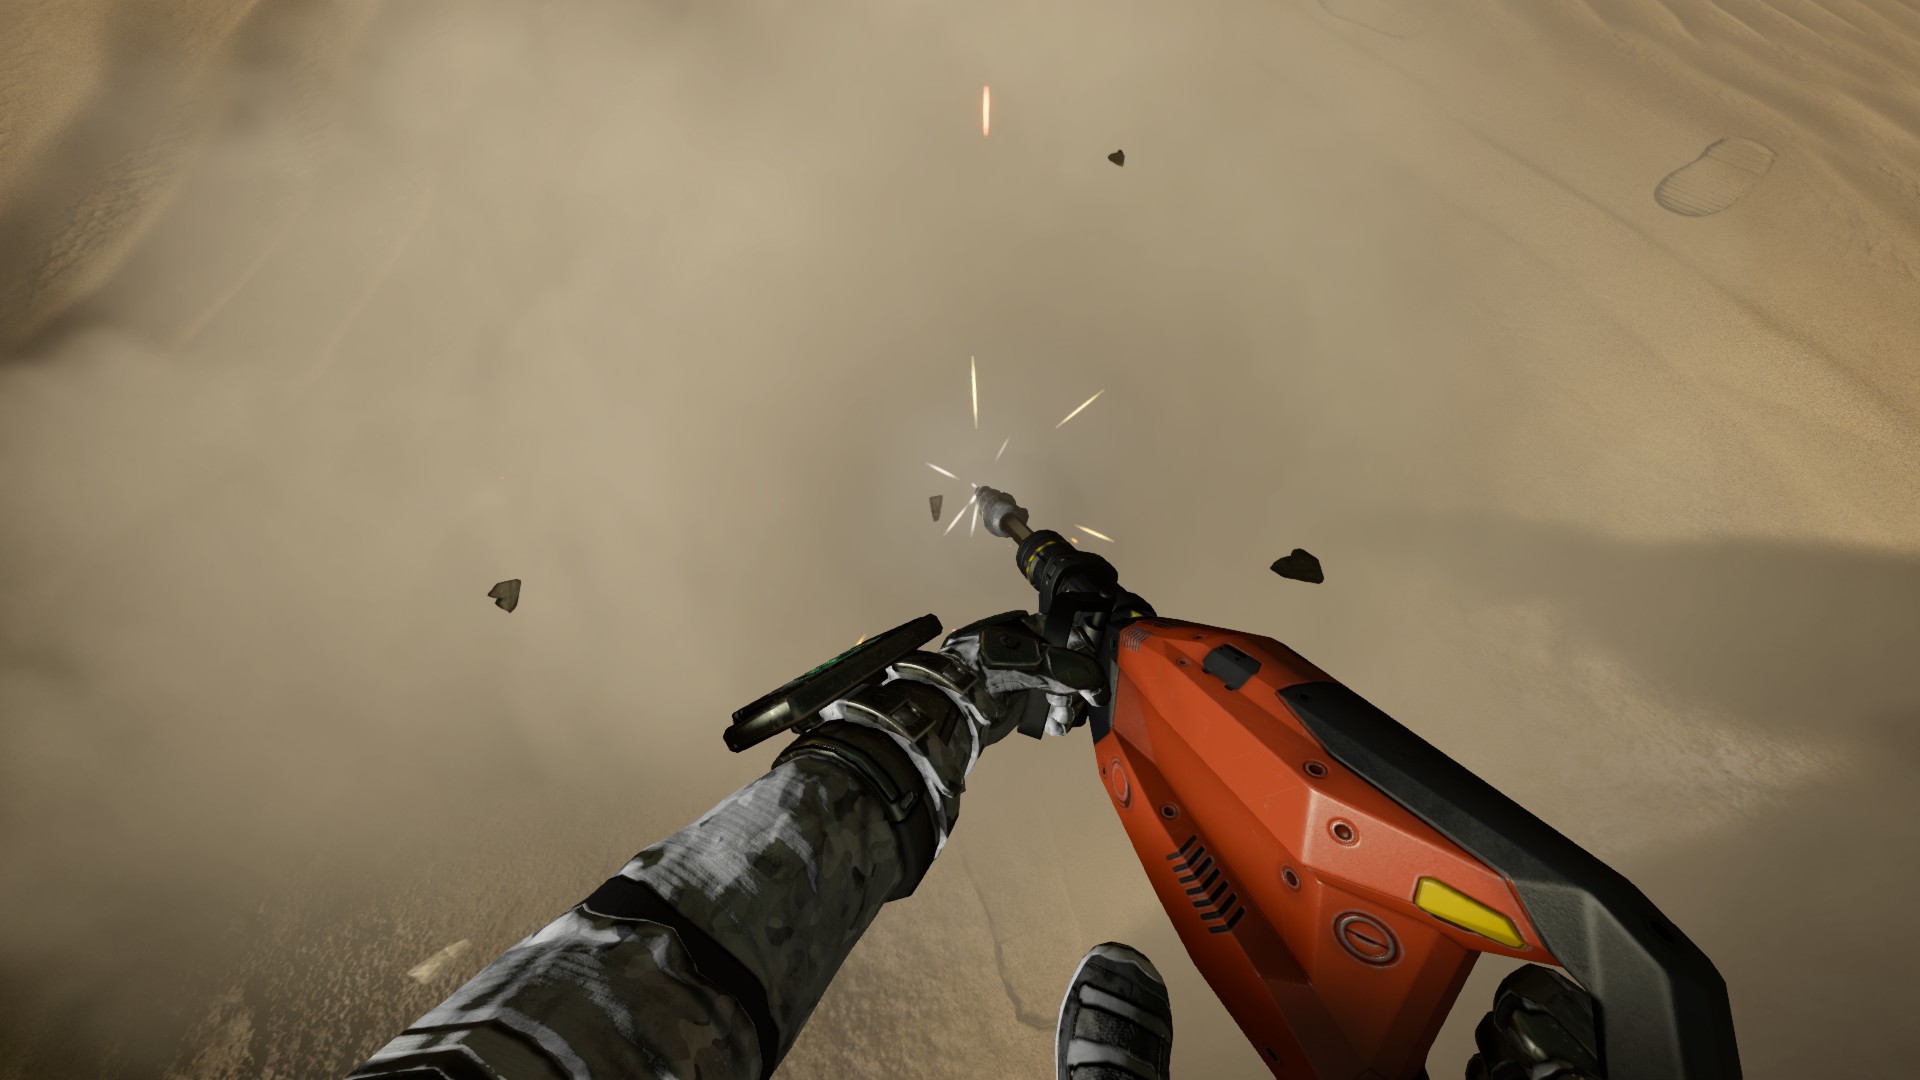
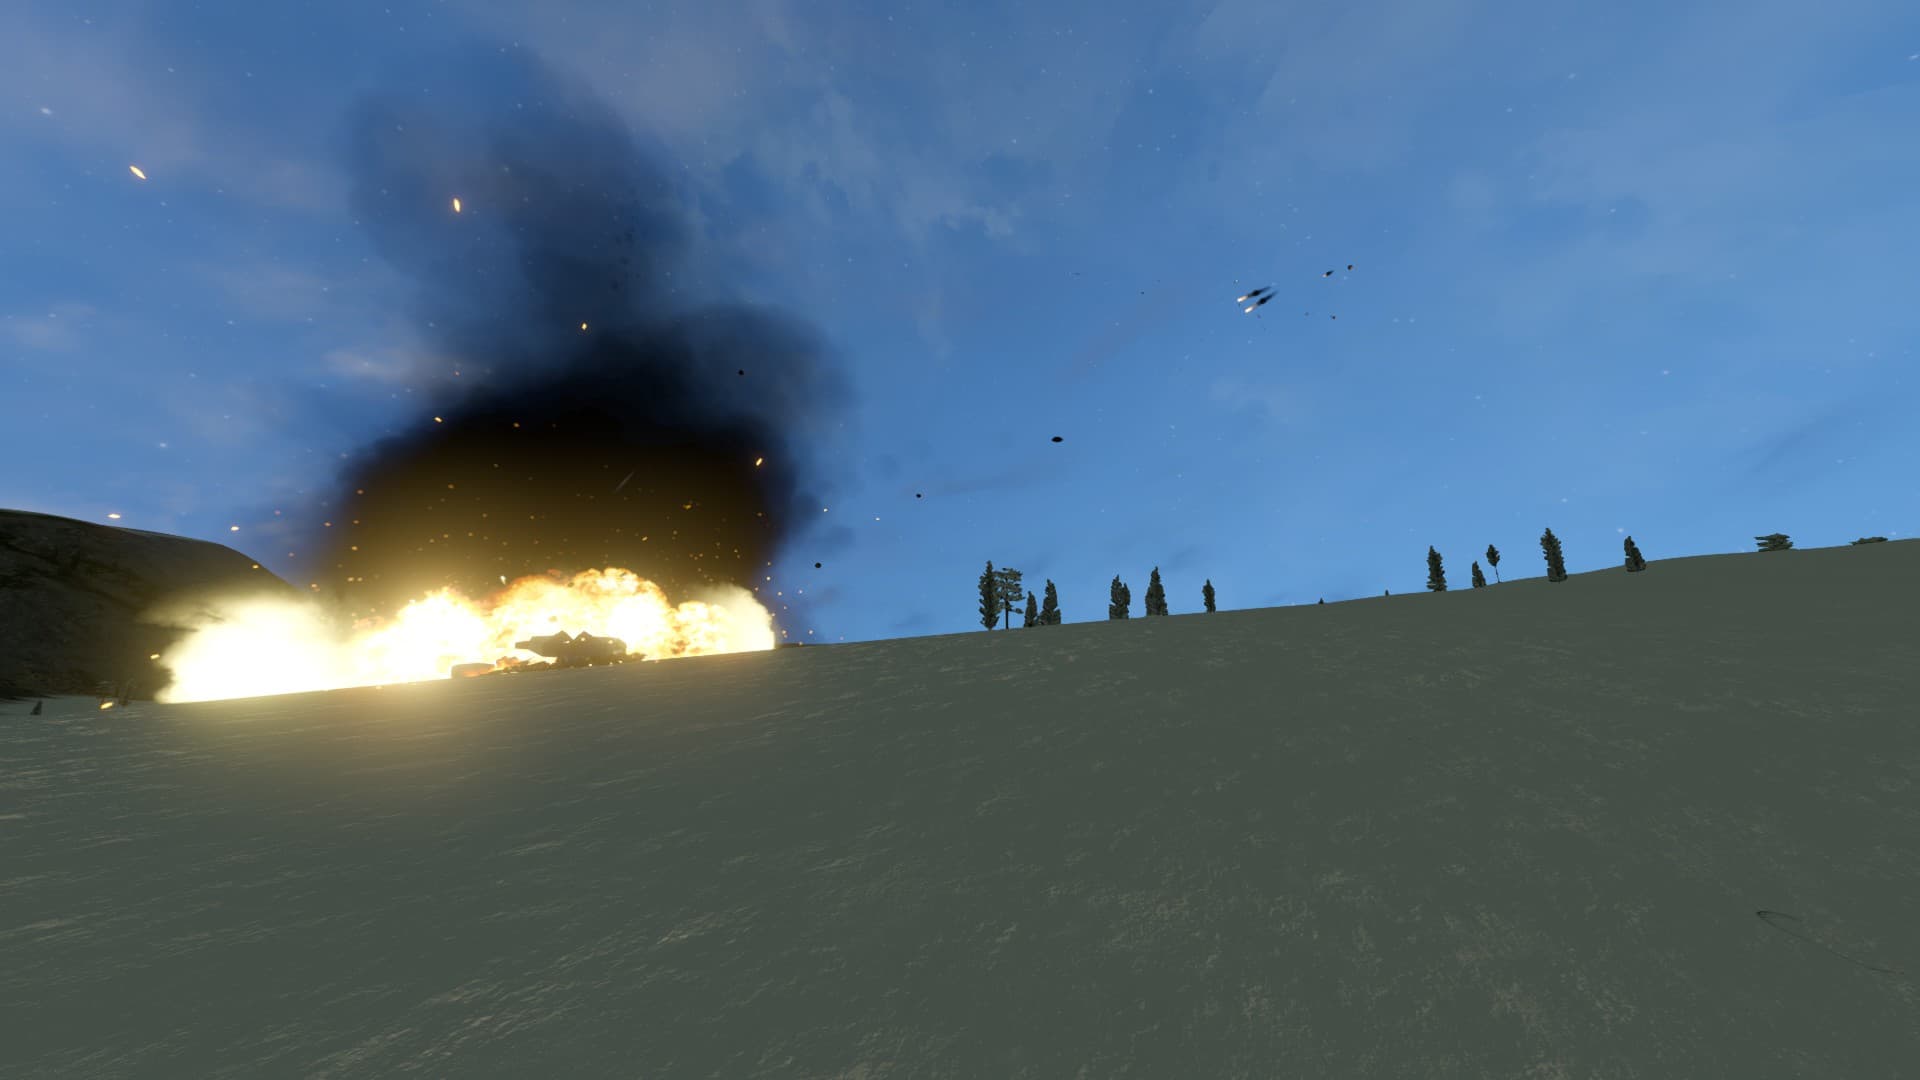
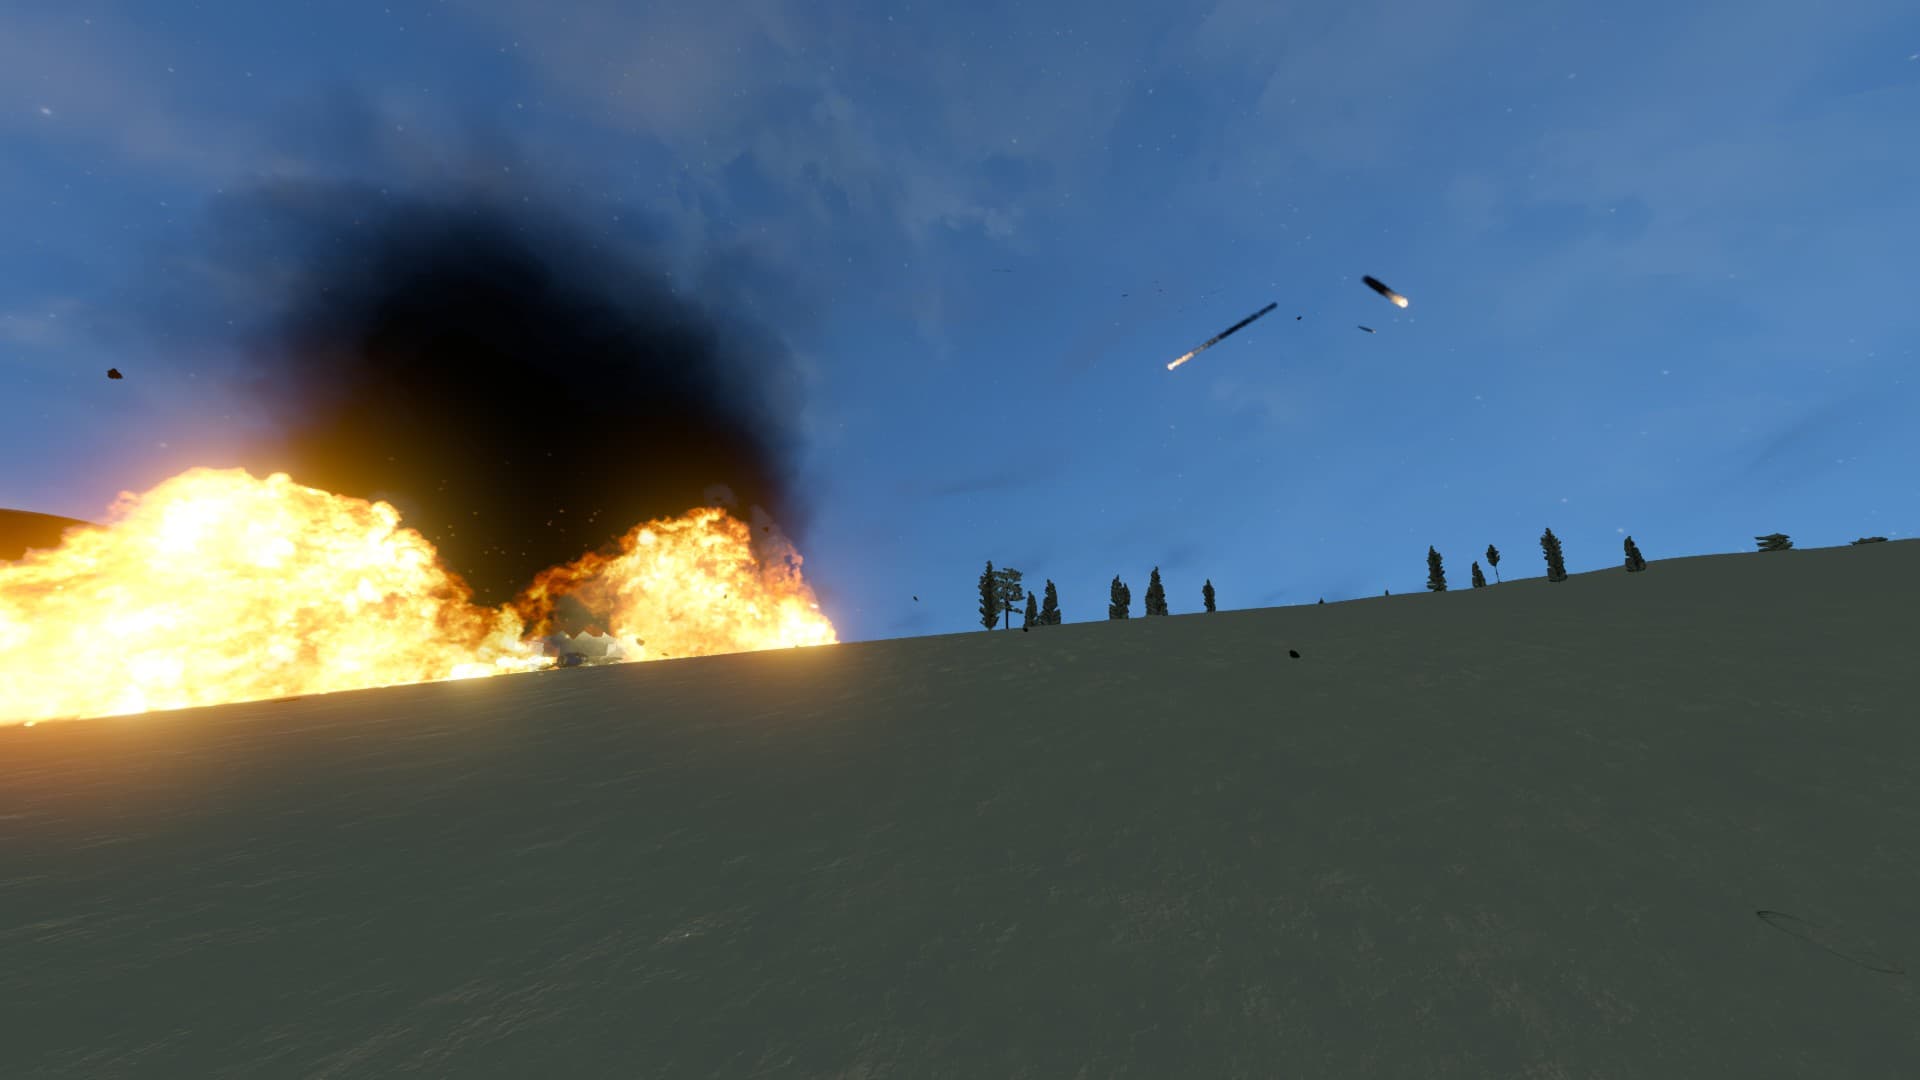
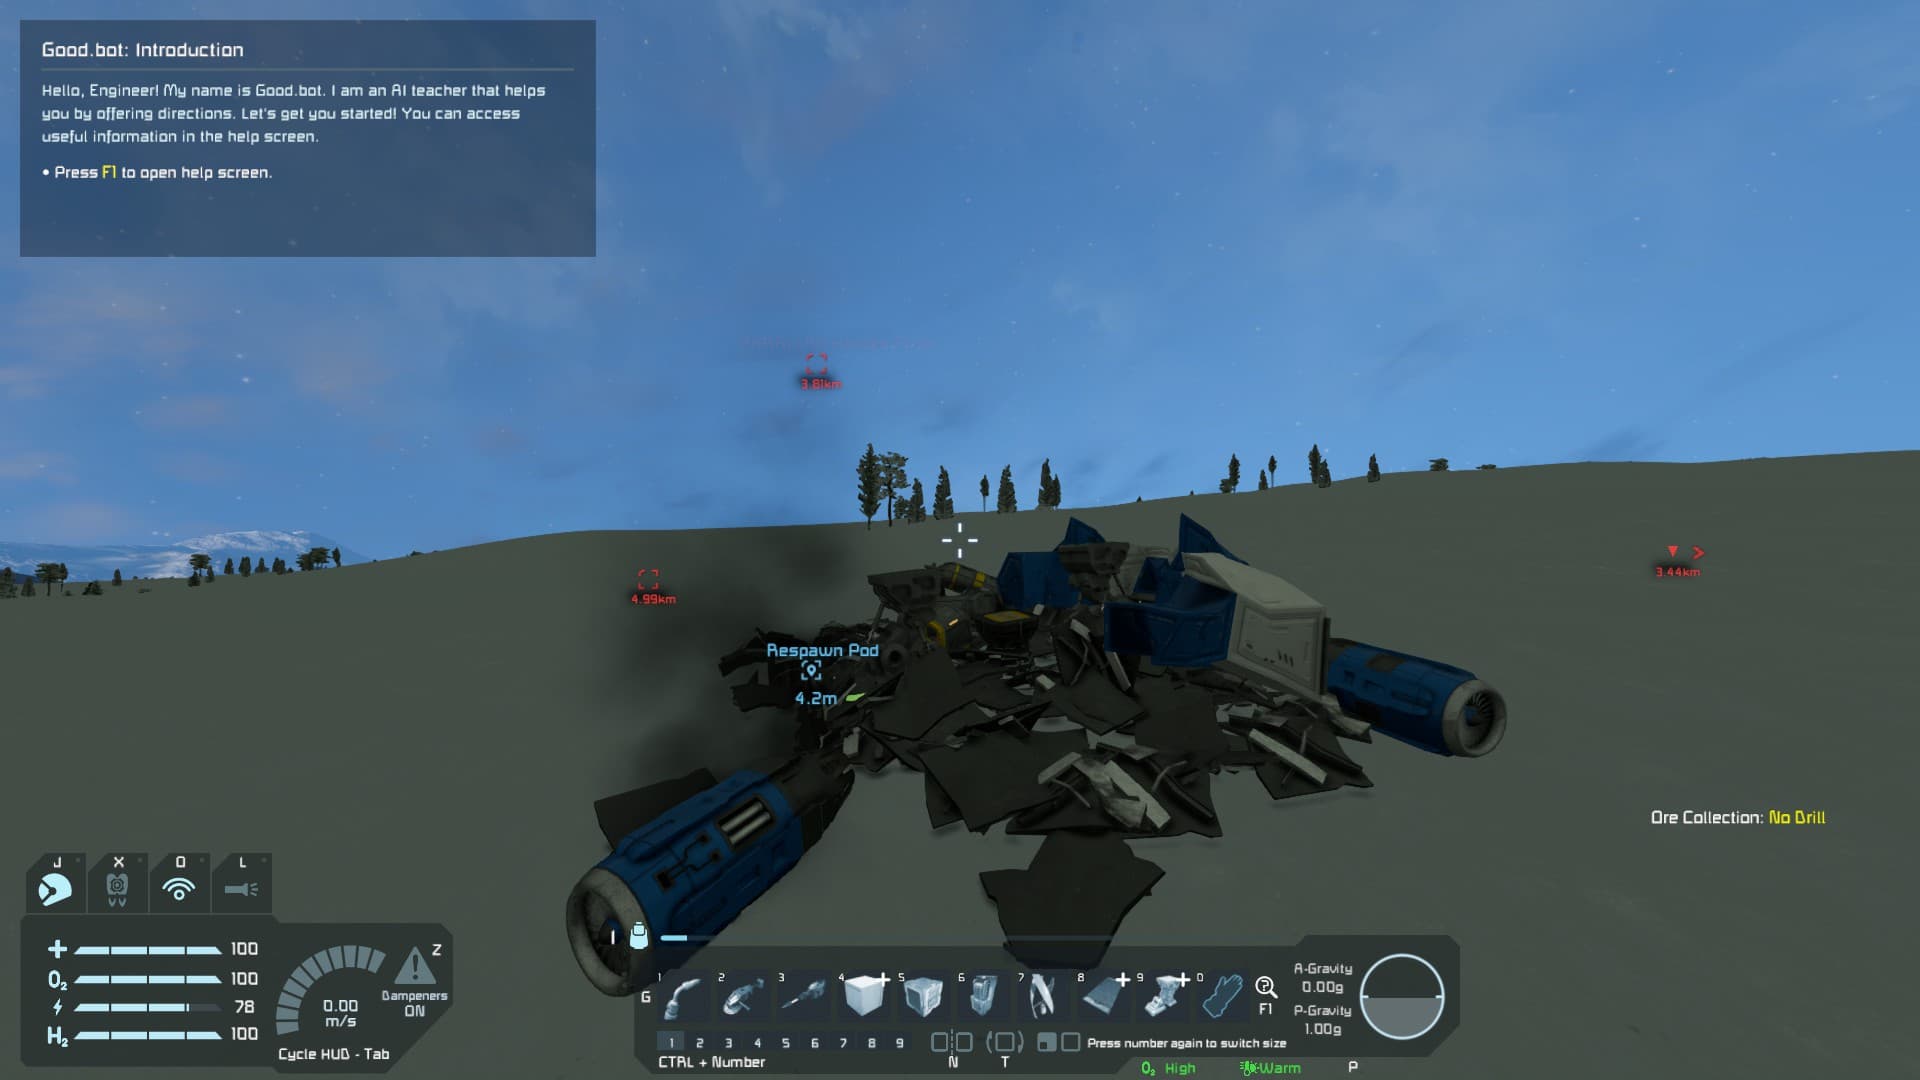
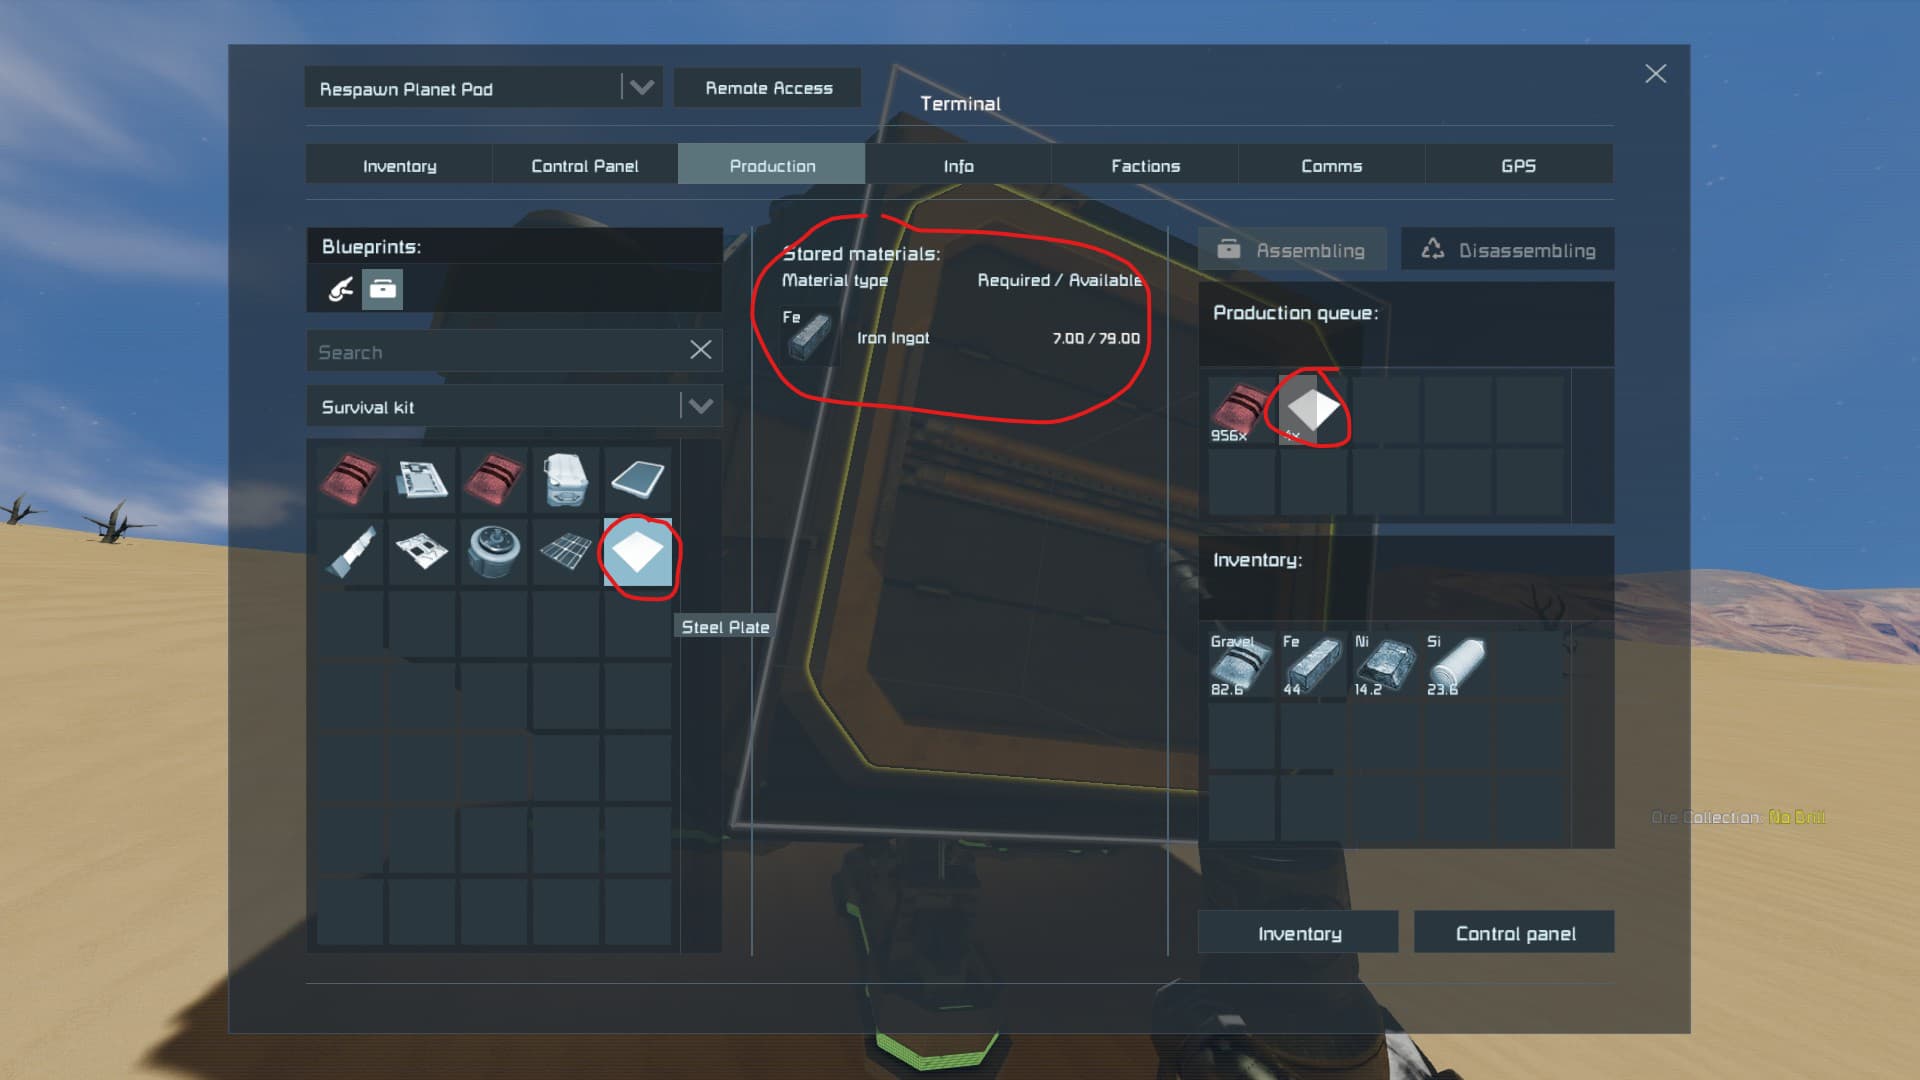
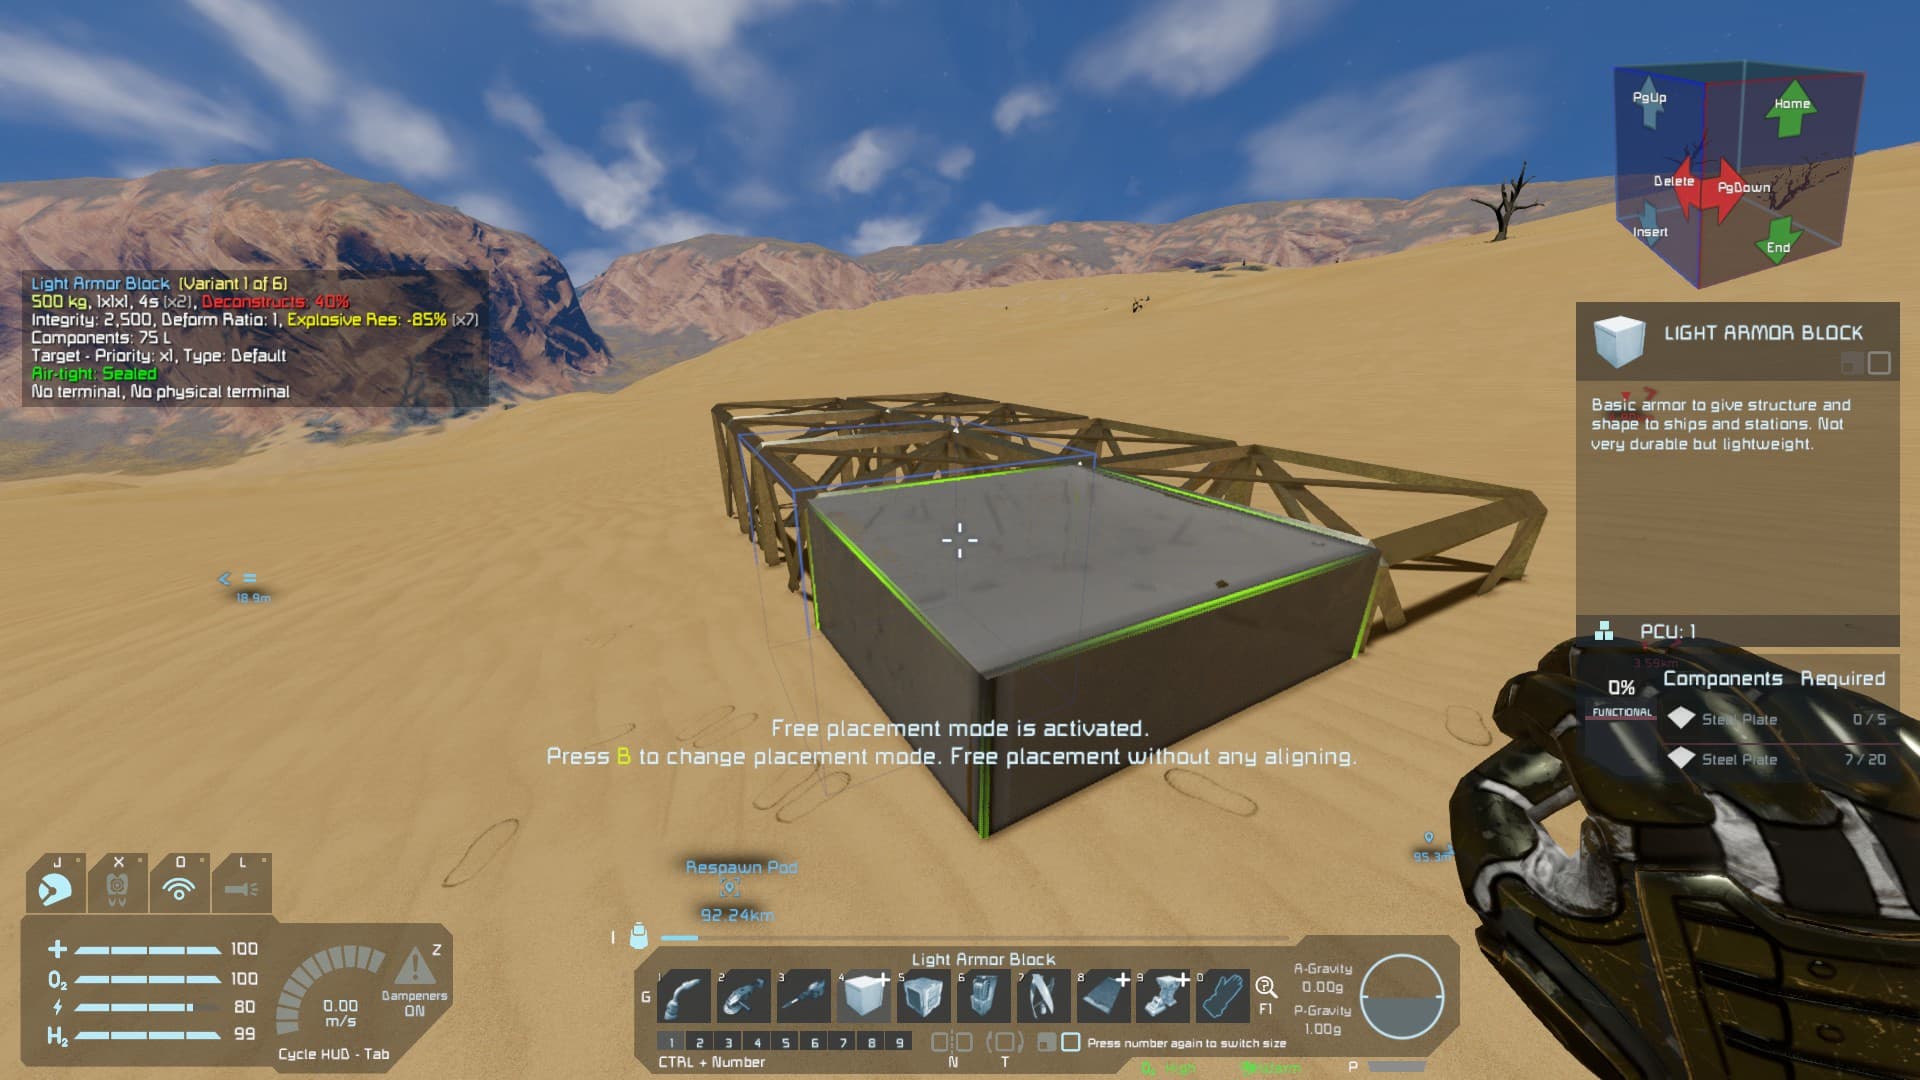
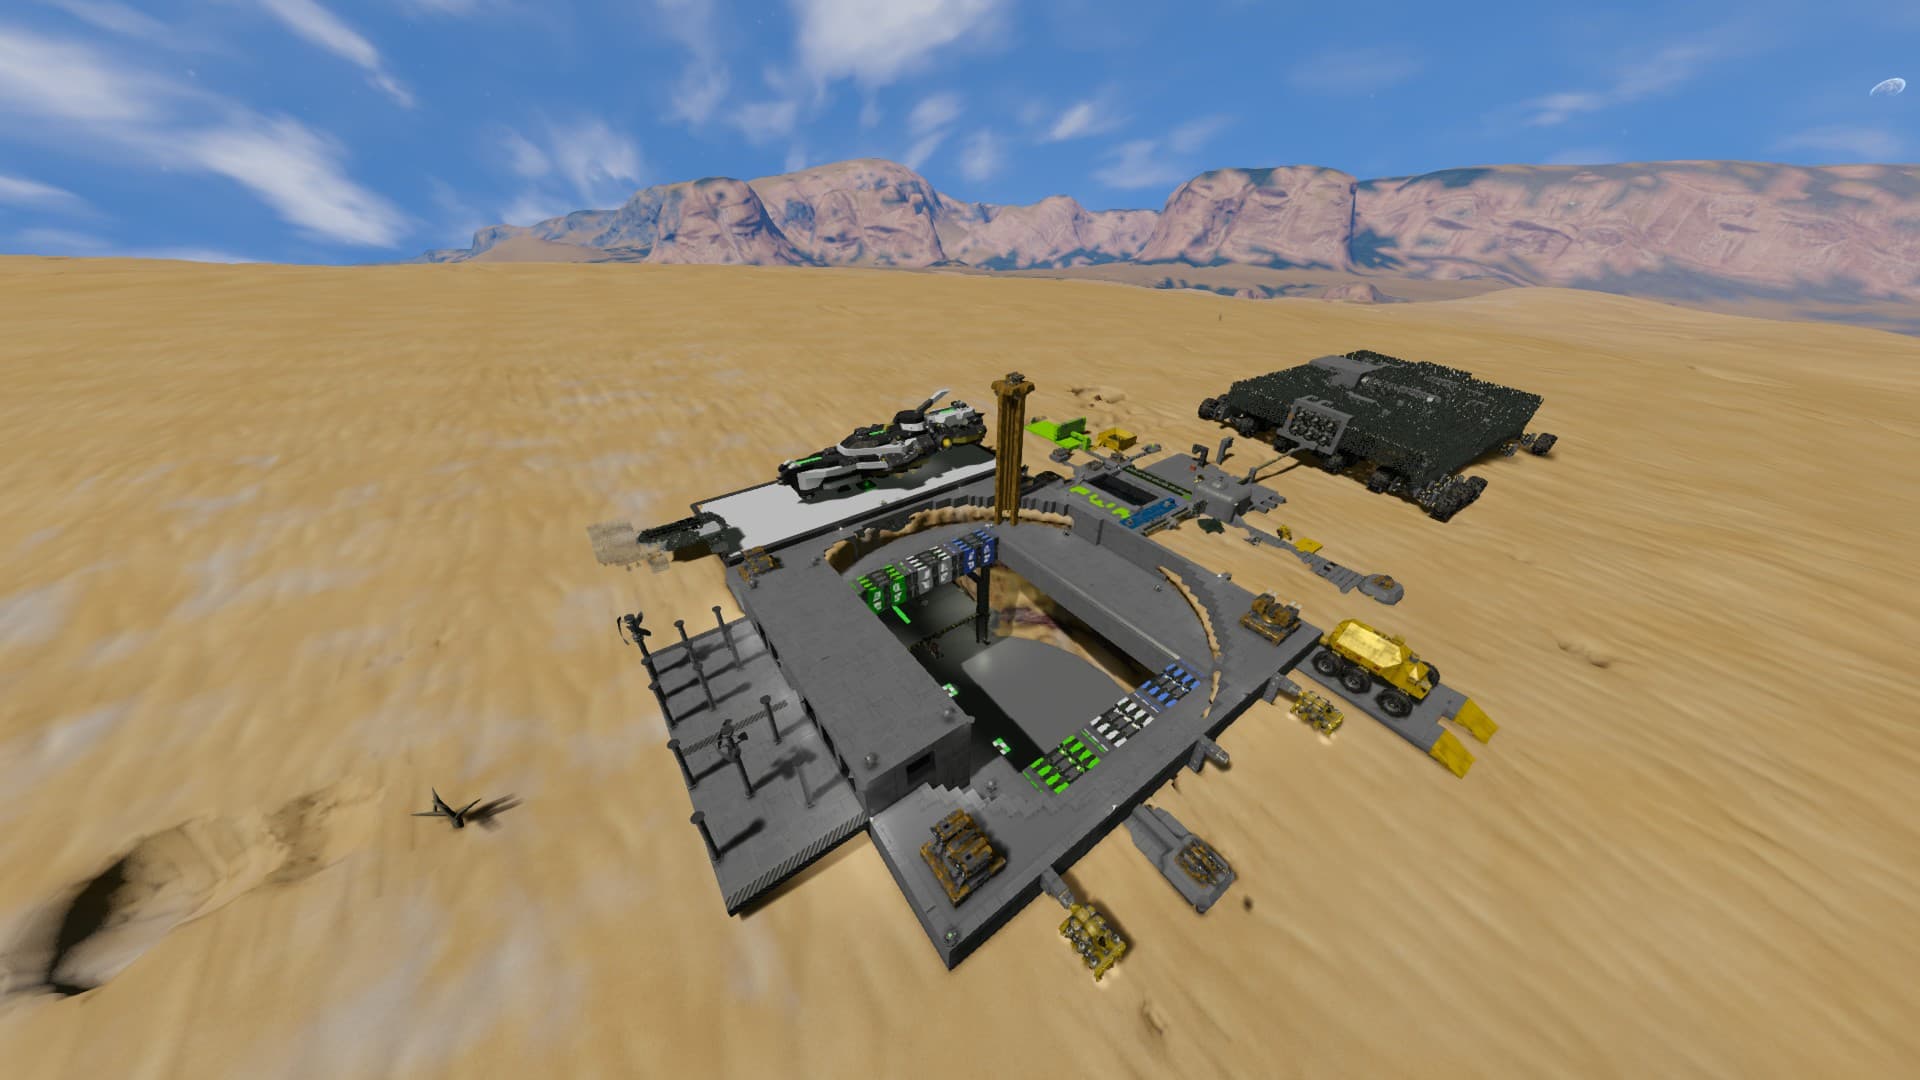
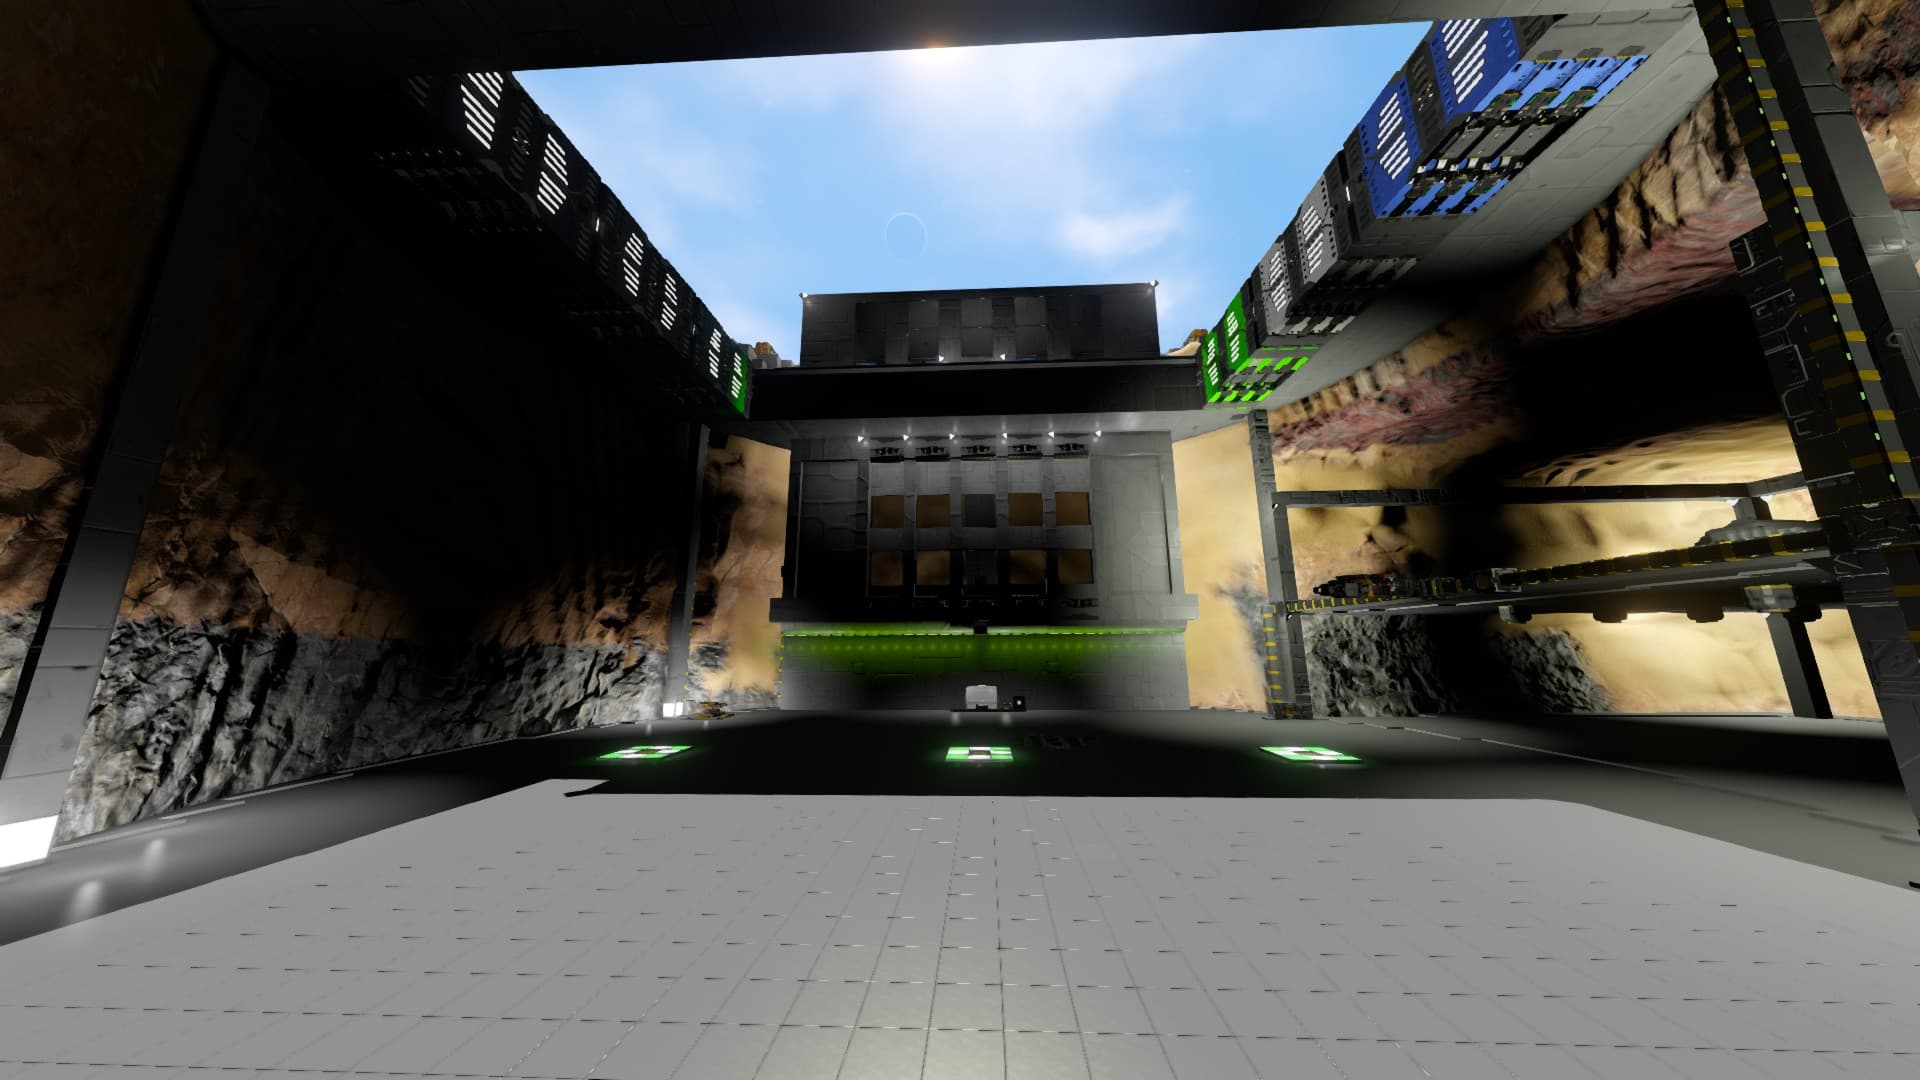
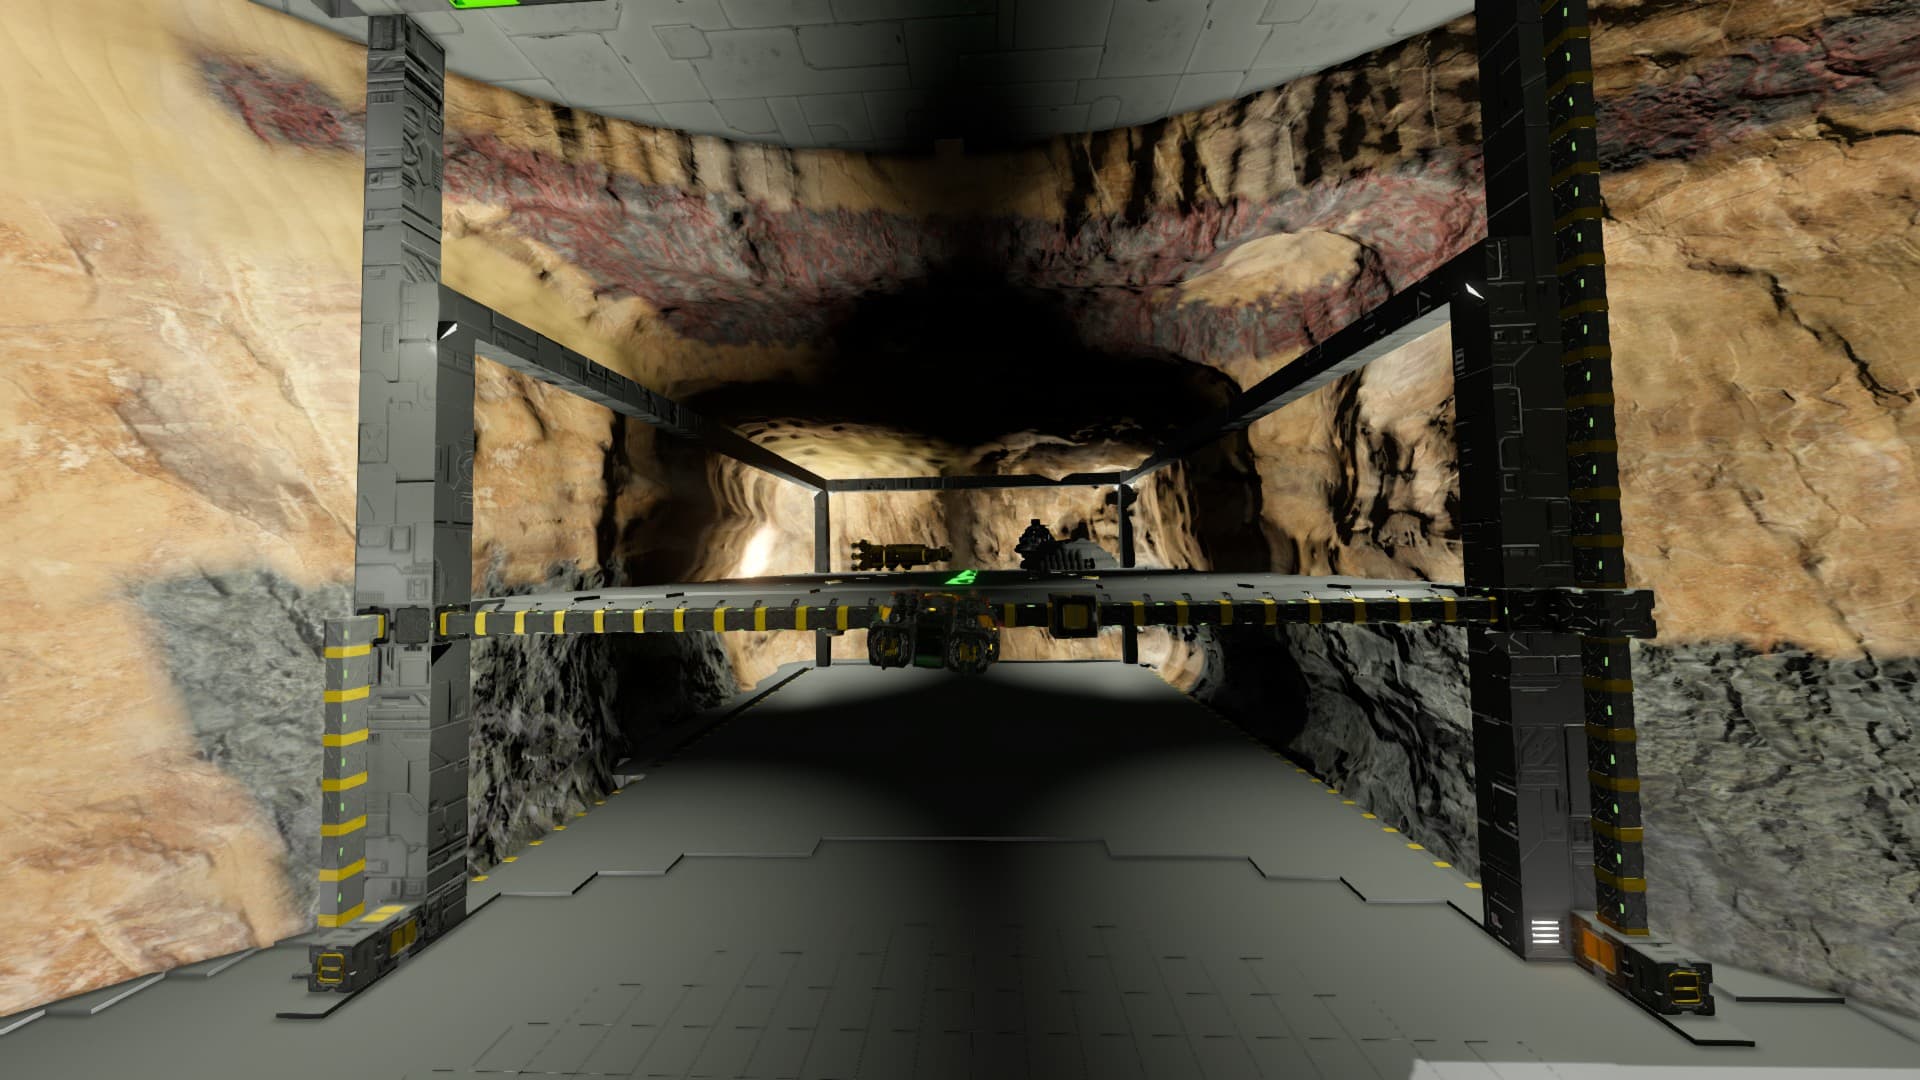
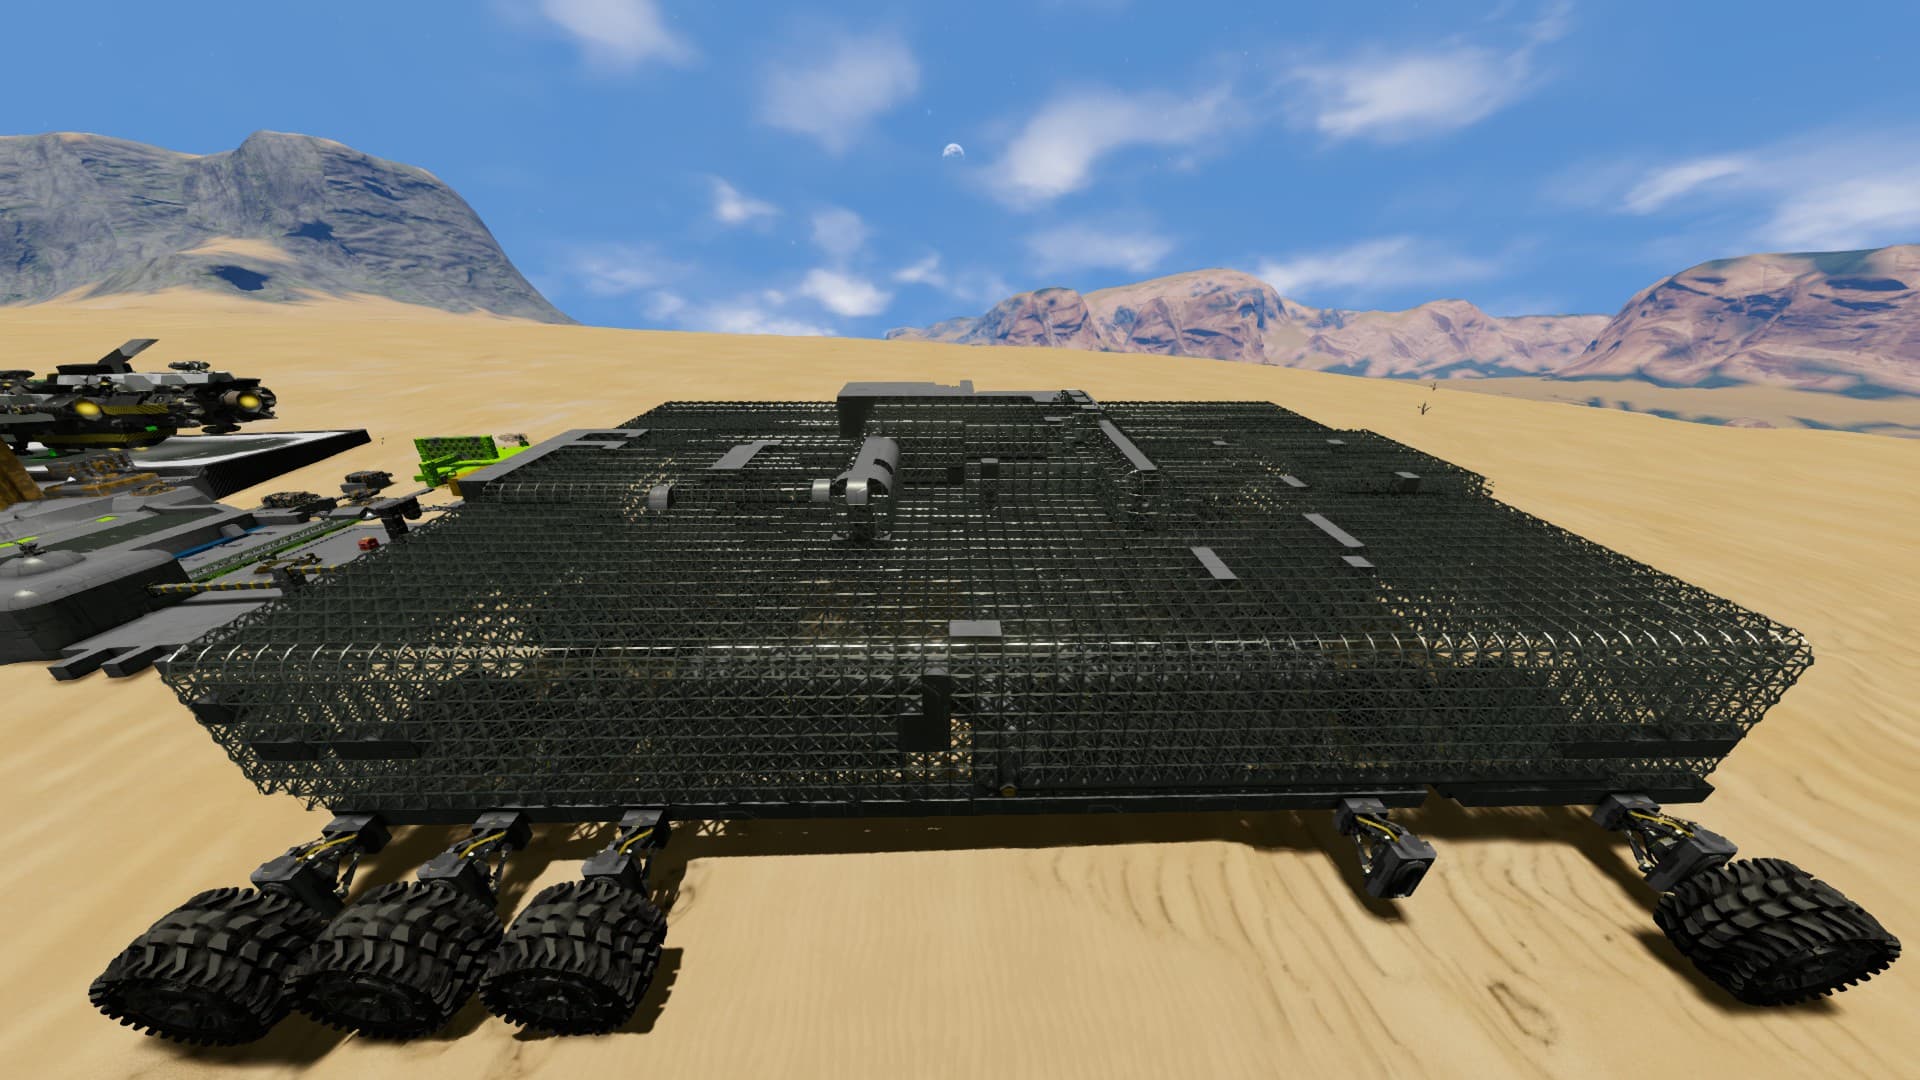
We make planetfall on a high gravity Earthlike planet with only a handful of basic survival pods and setup a base, bringing terror to the many peaceful research outposts across the planet. With the goal of being ready in a week’s time for a large launch into space.

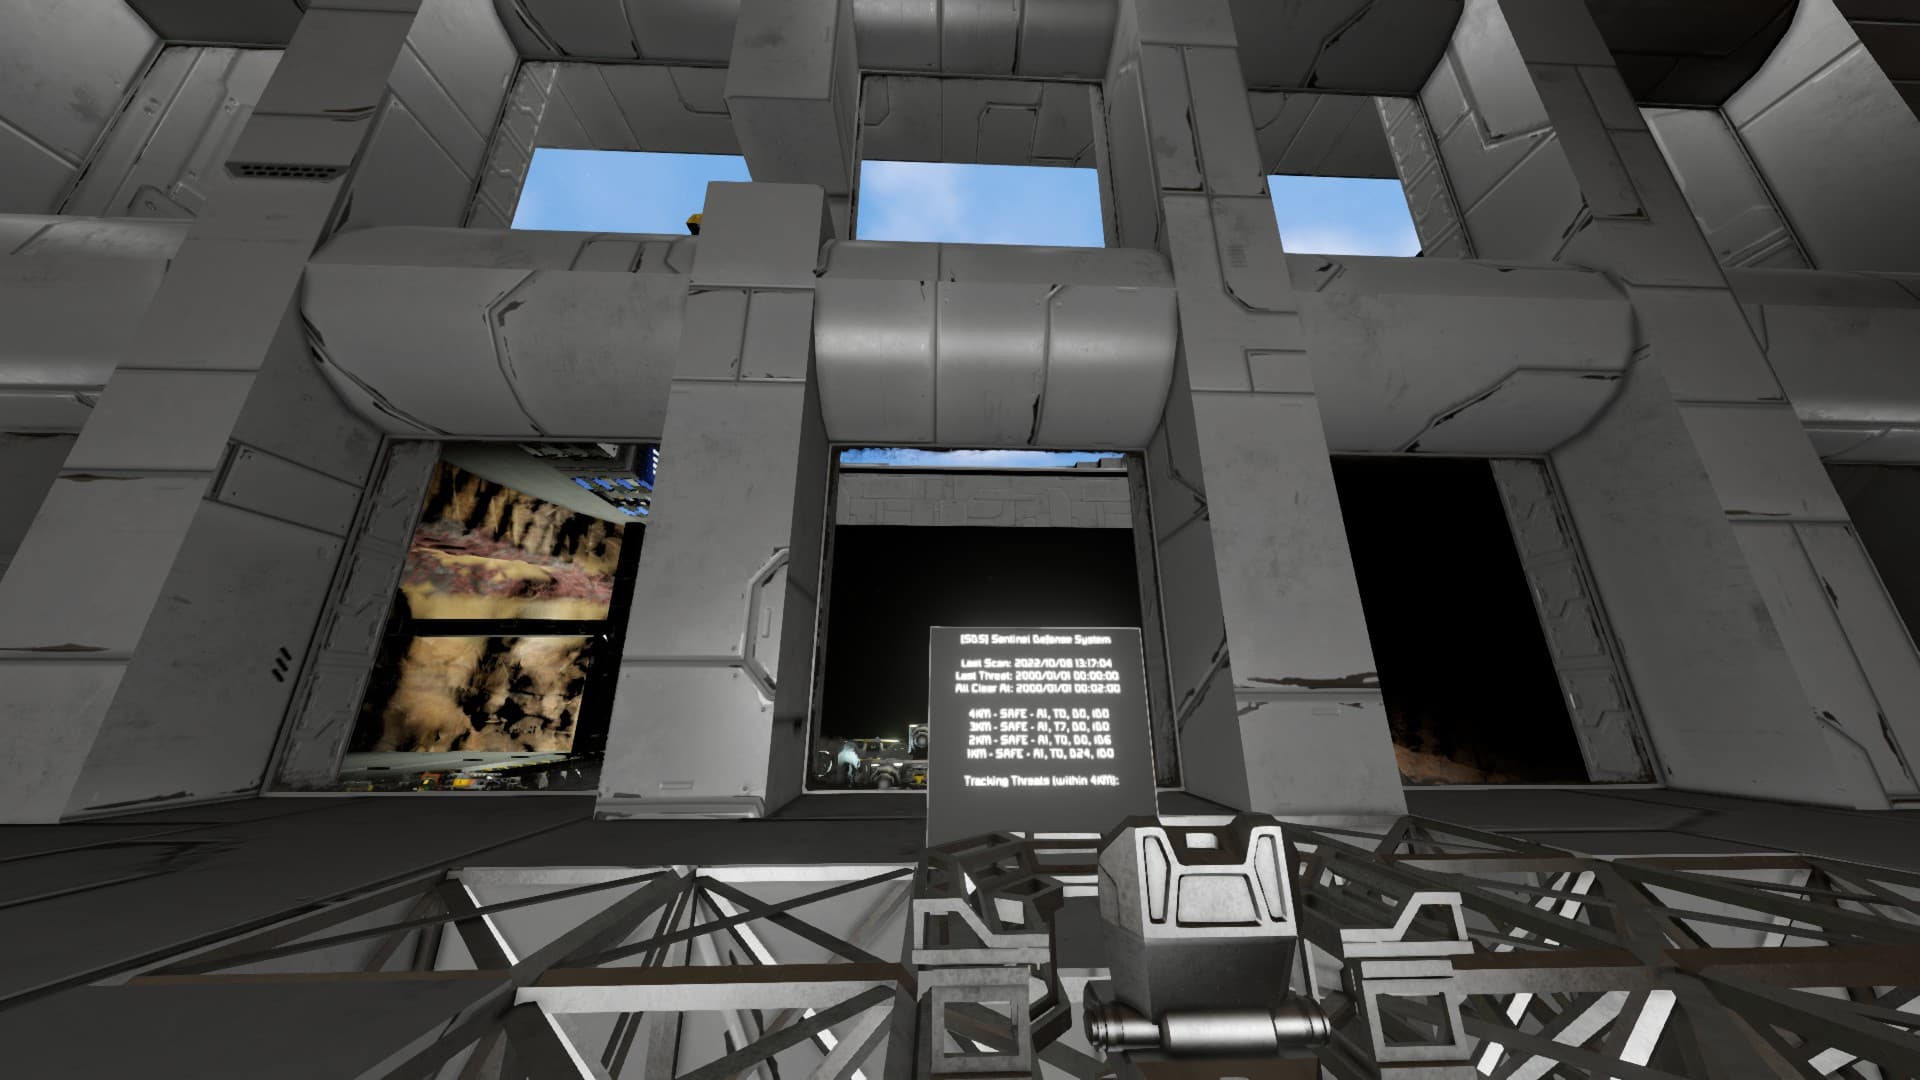
--- WARNING TRANSMISSION: Any ships attempting to leave the atmosphere before space launch day have a 100% chance of being destroyed by the space Bermuda triangle ---

Goals:

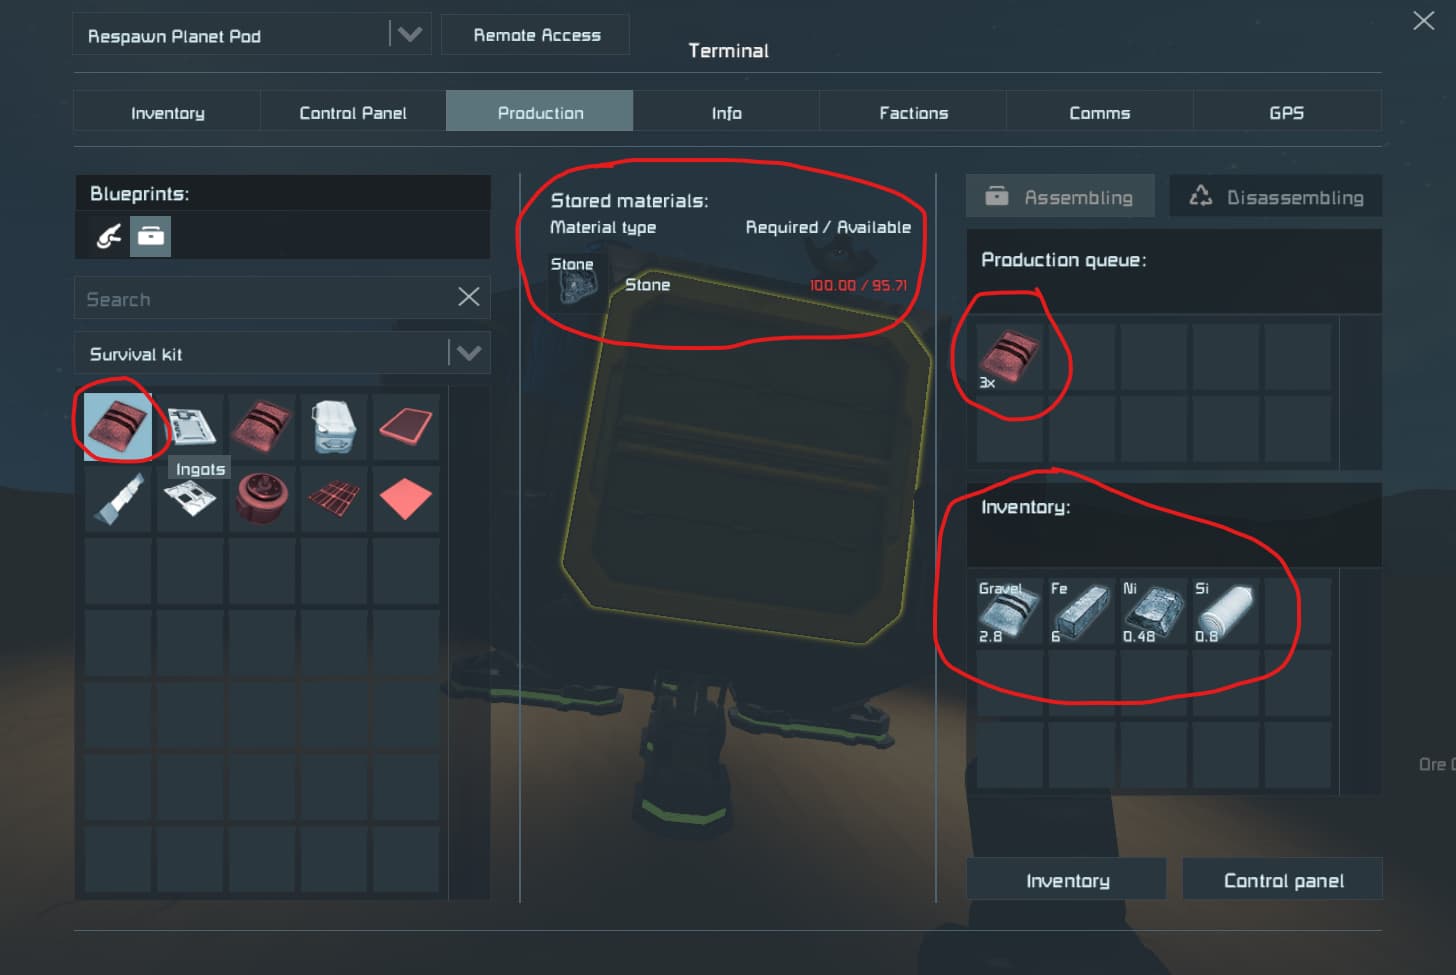
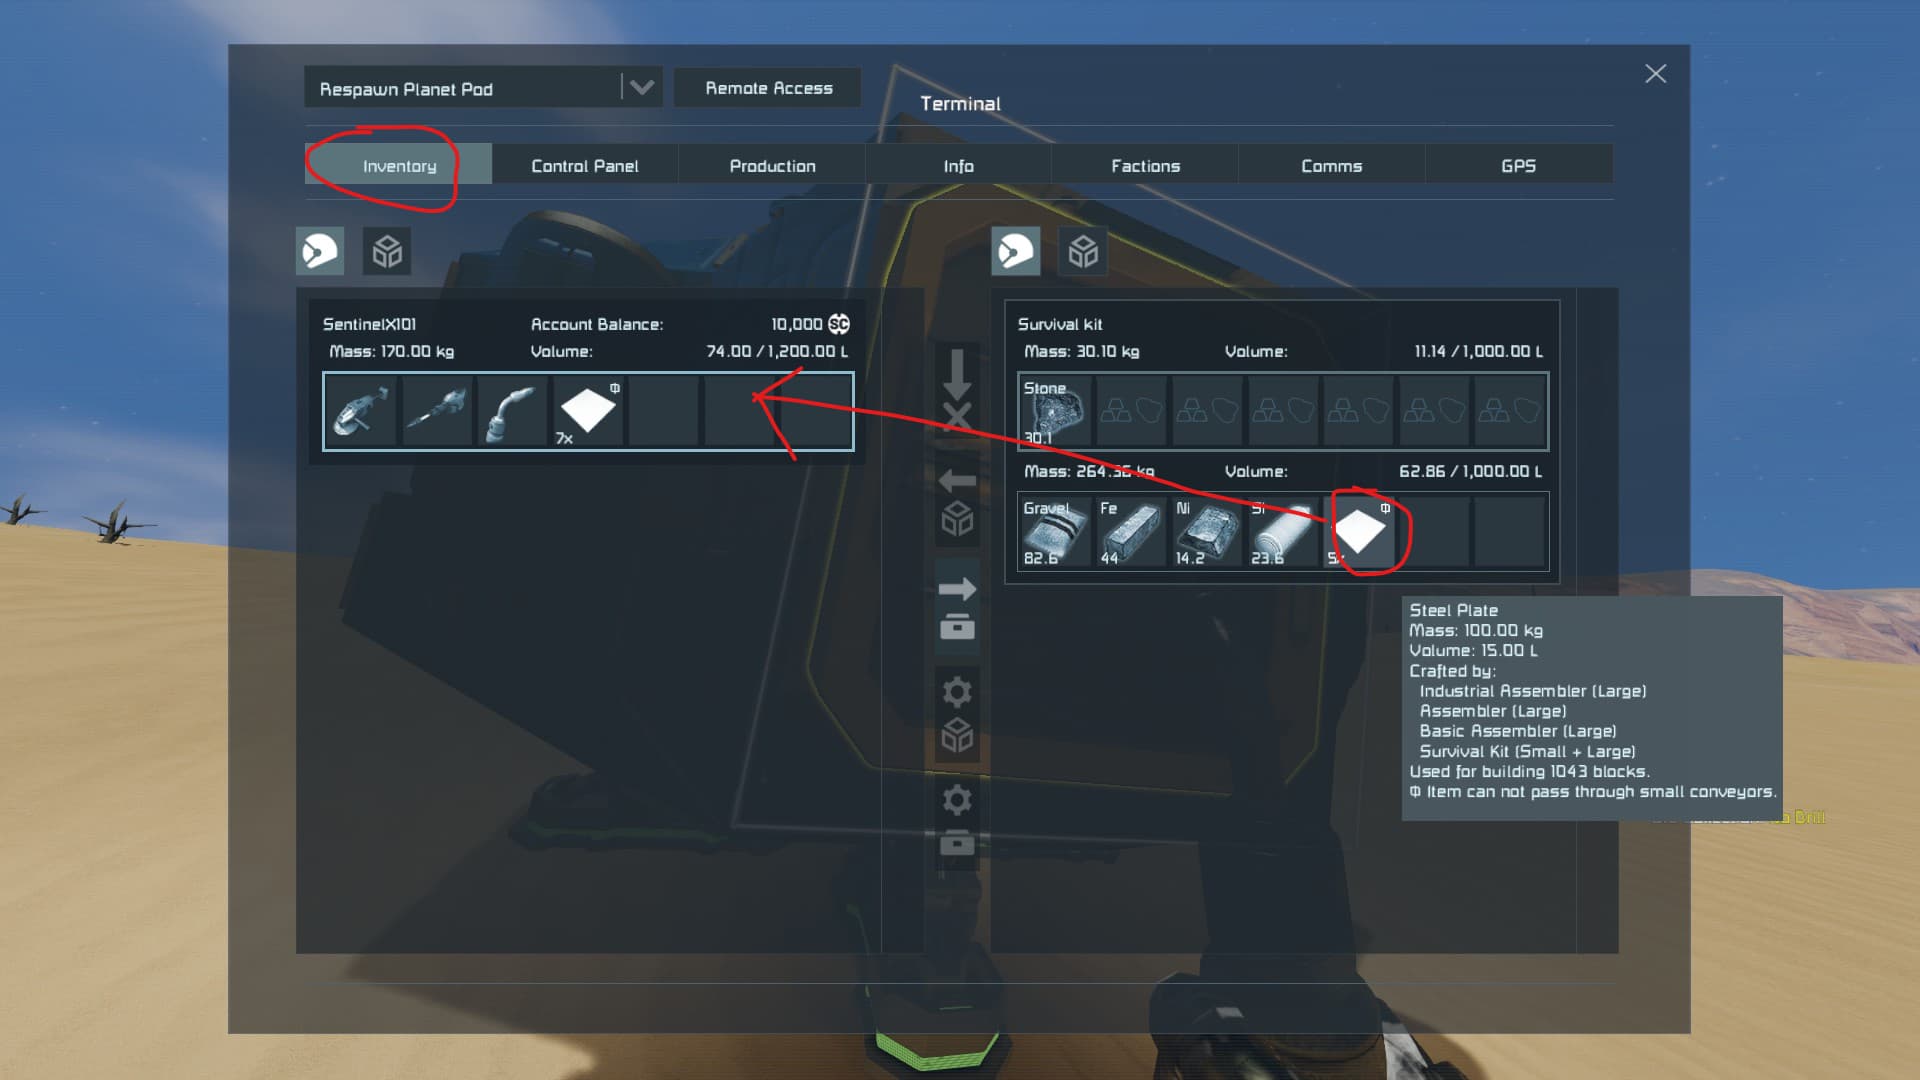
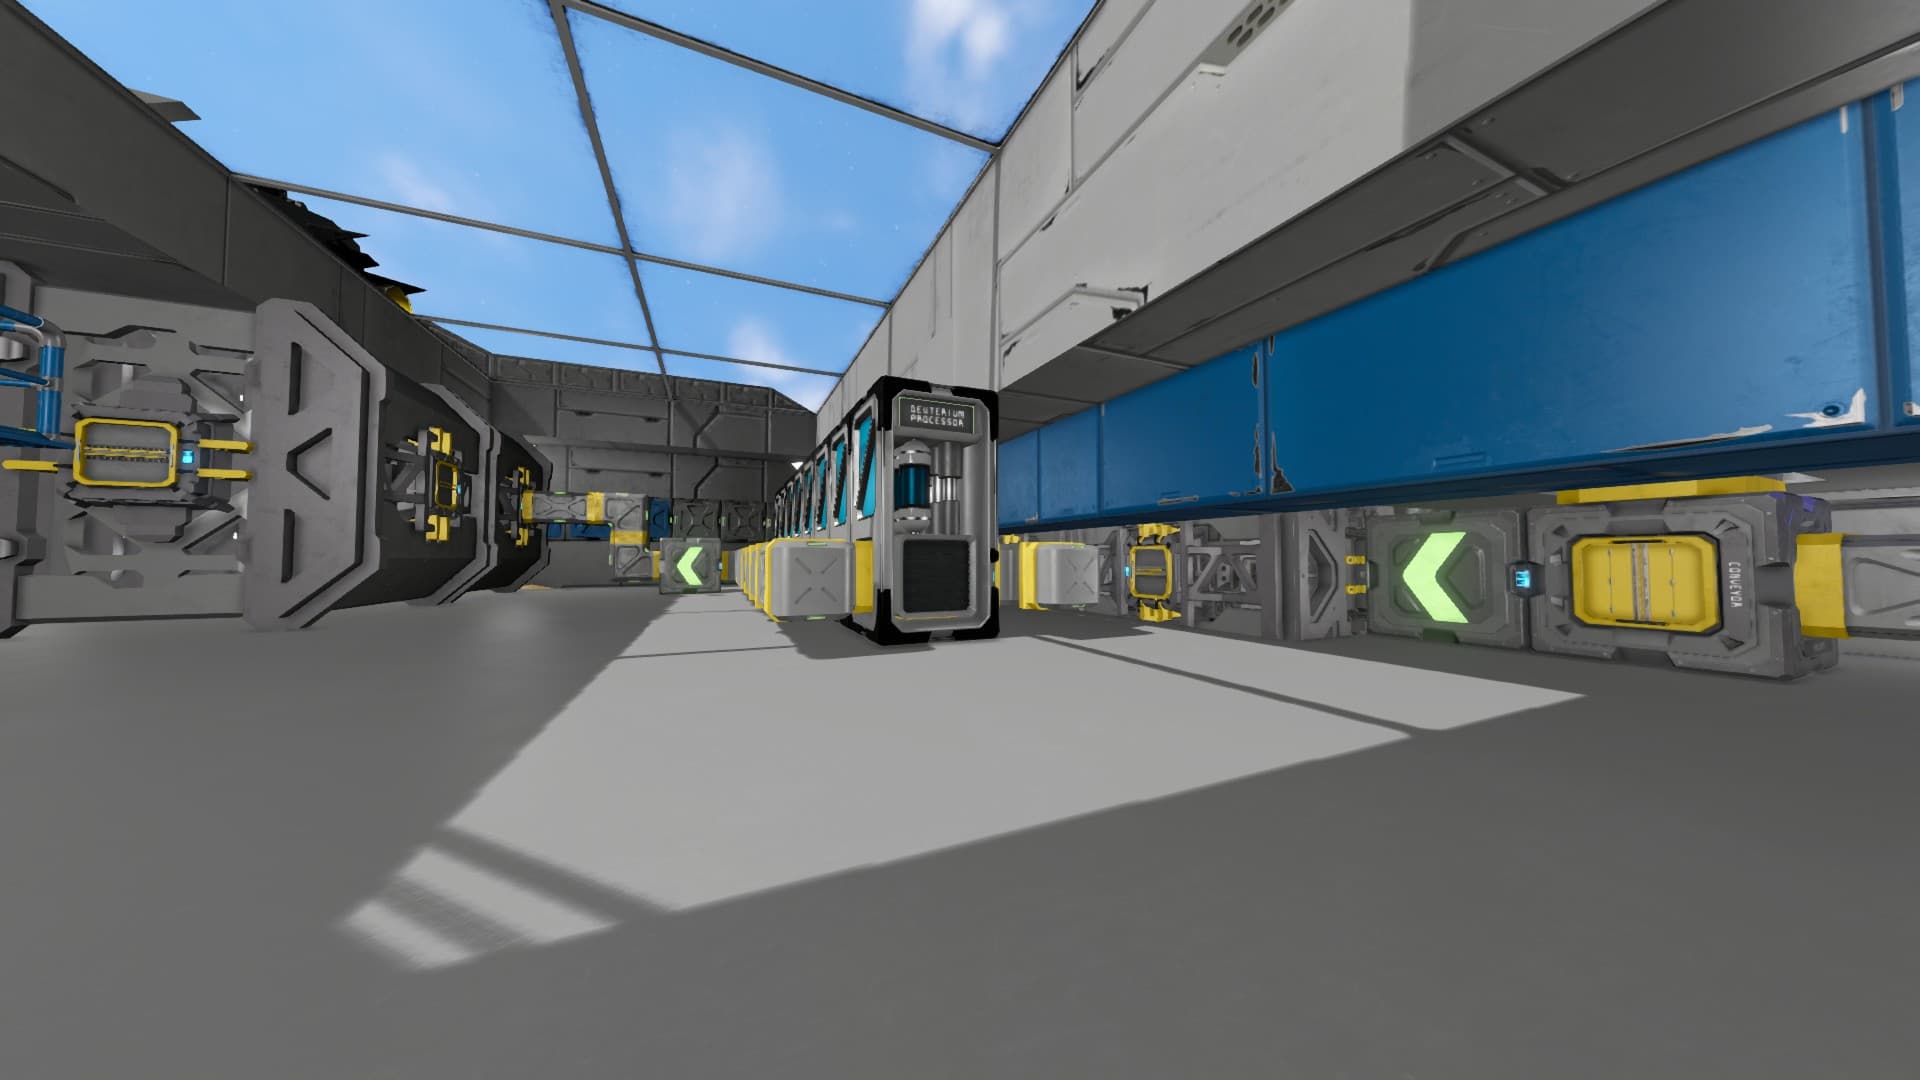
  • Build a large shared base
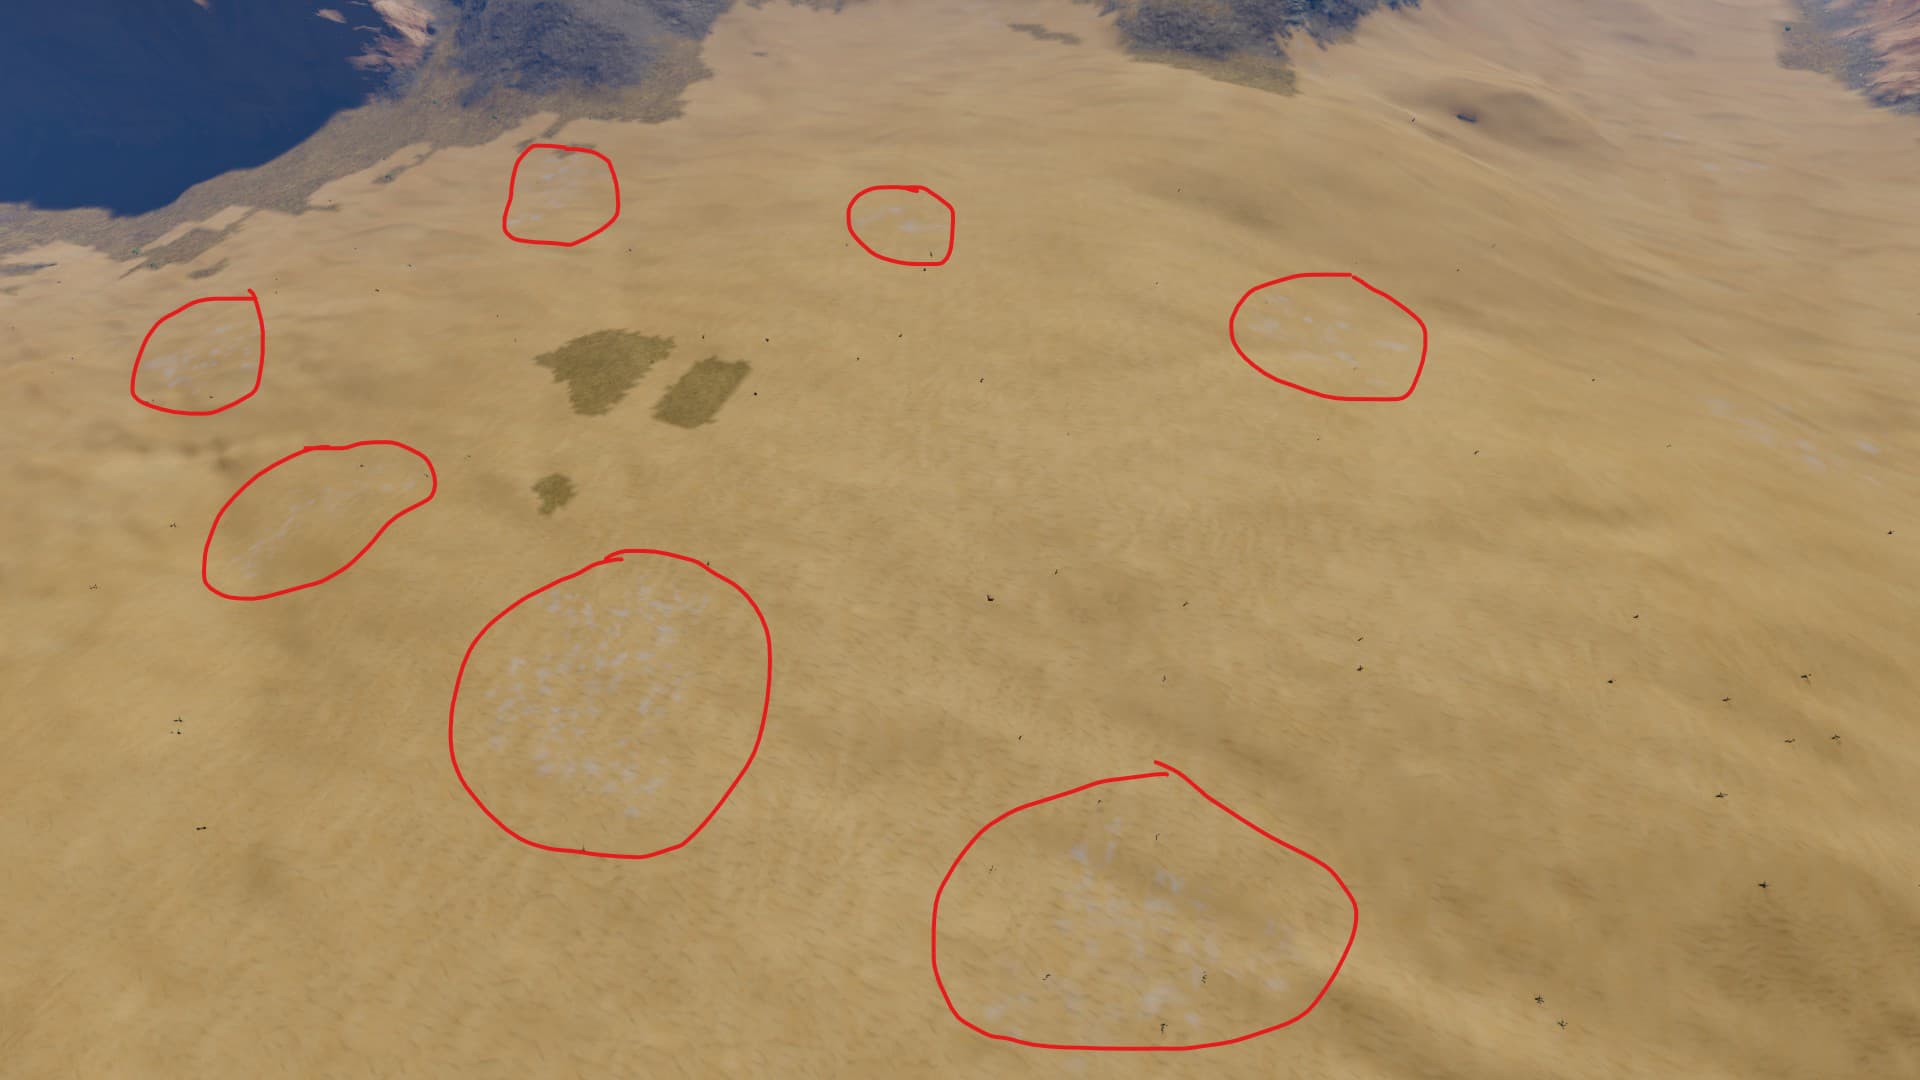
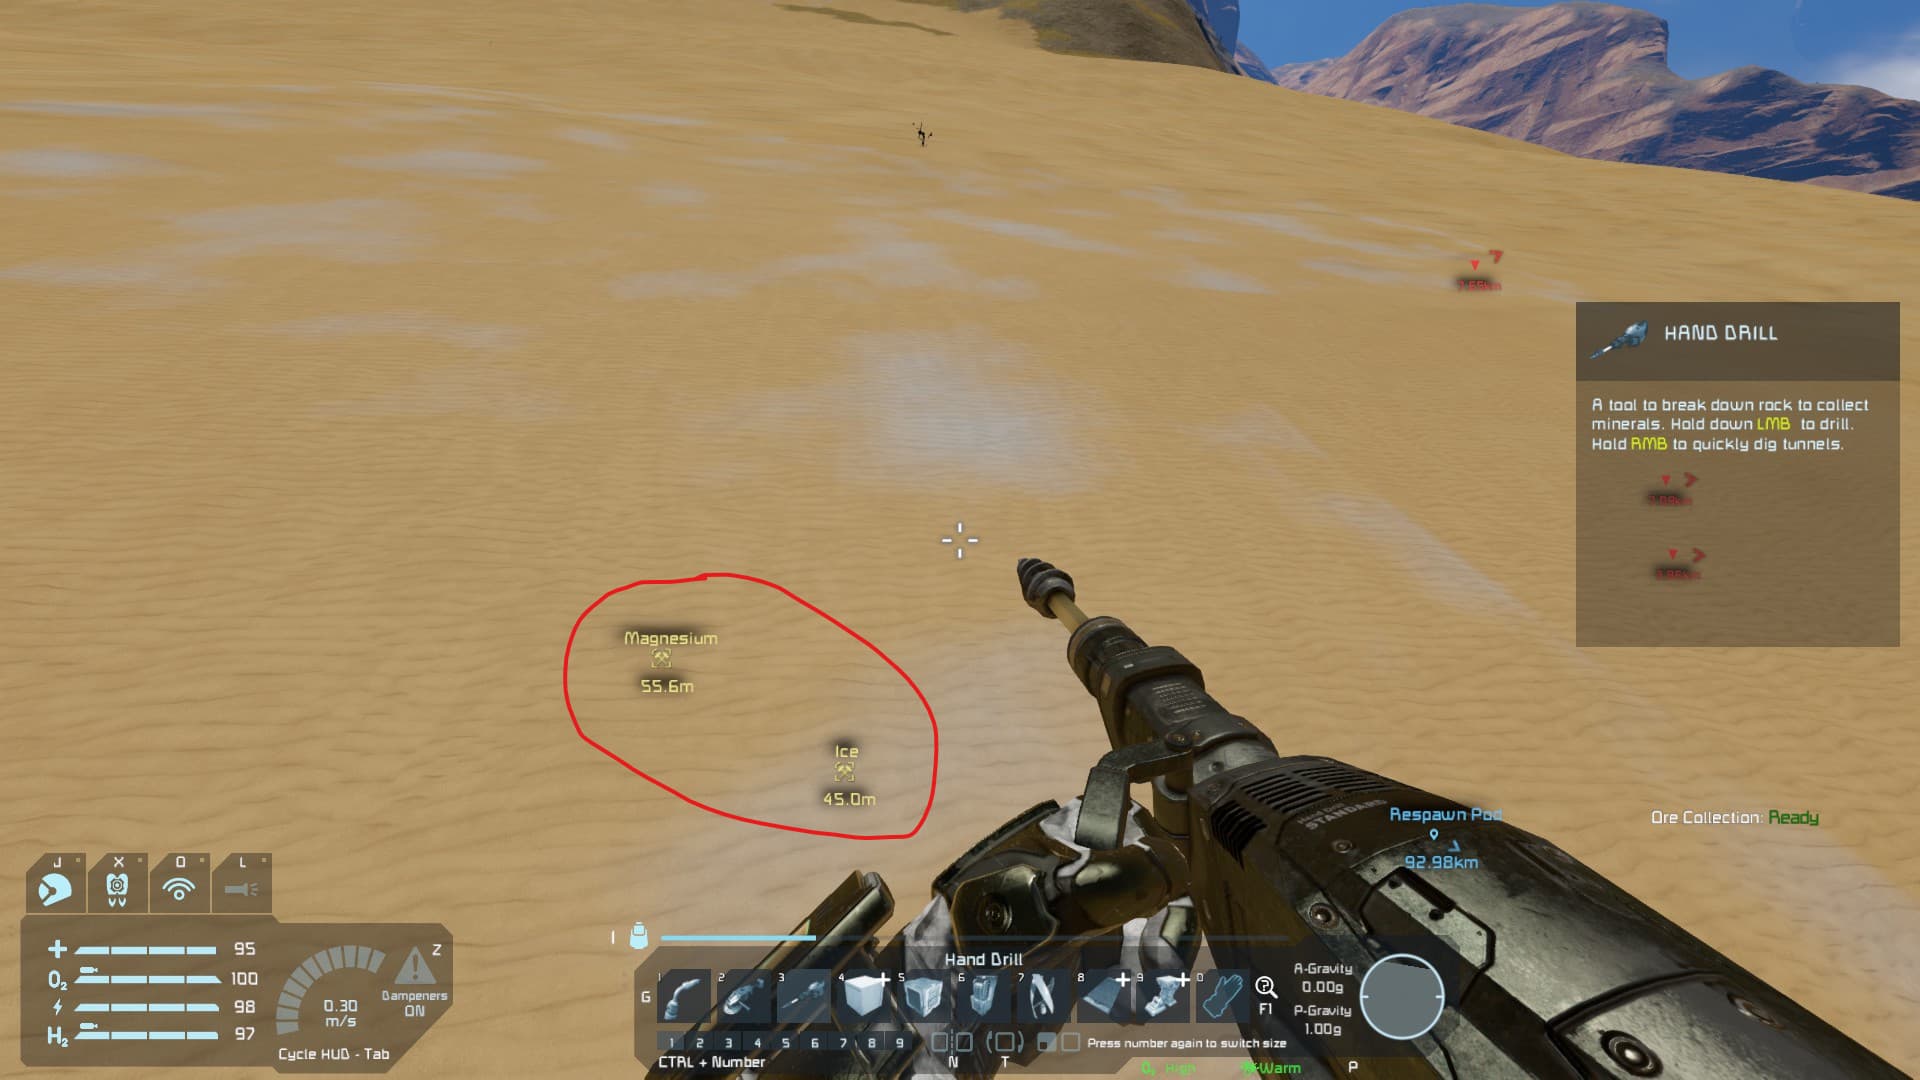
  • Gather planetary resources
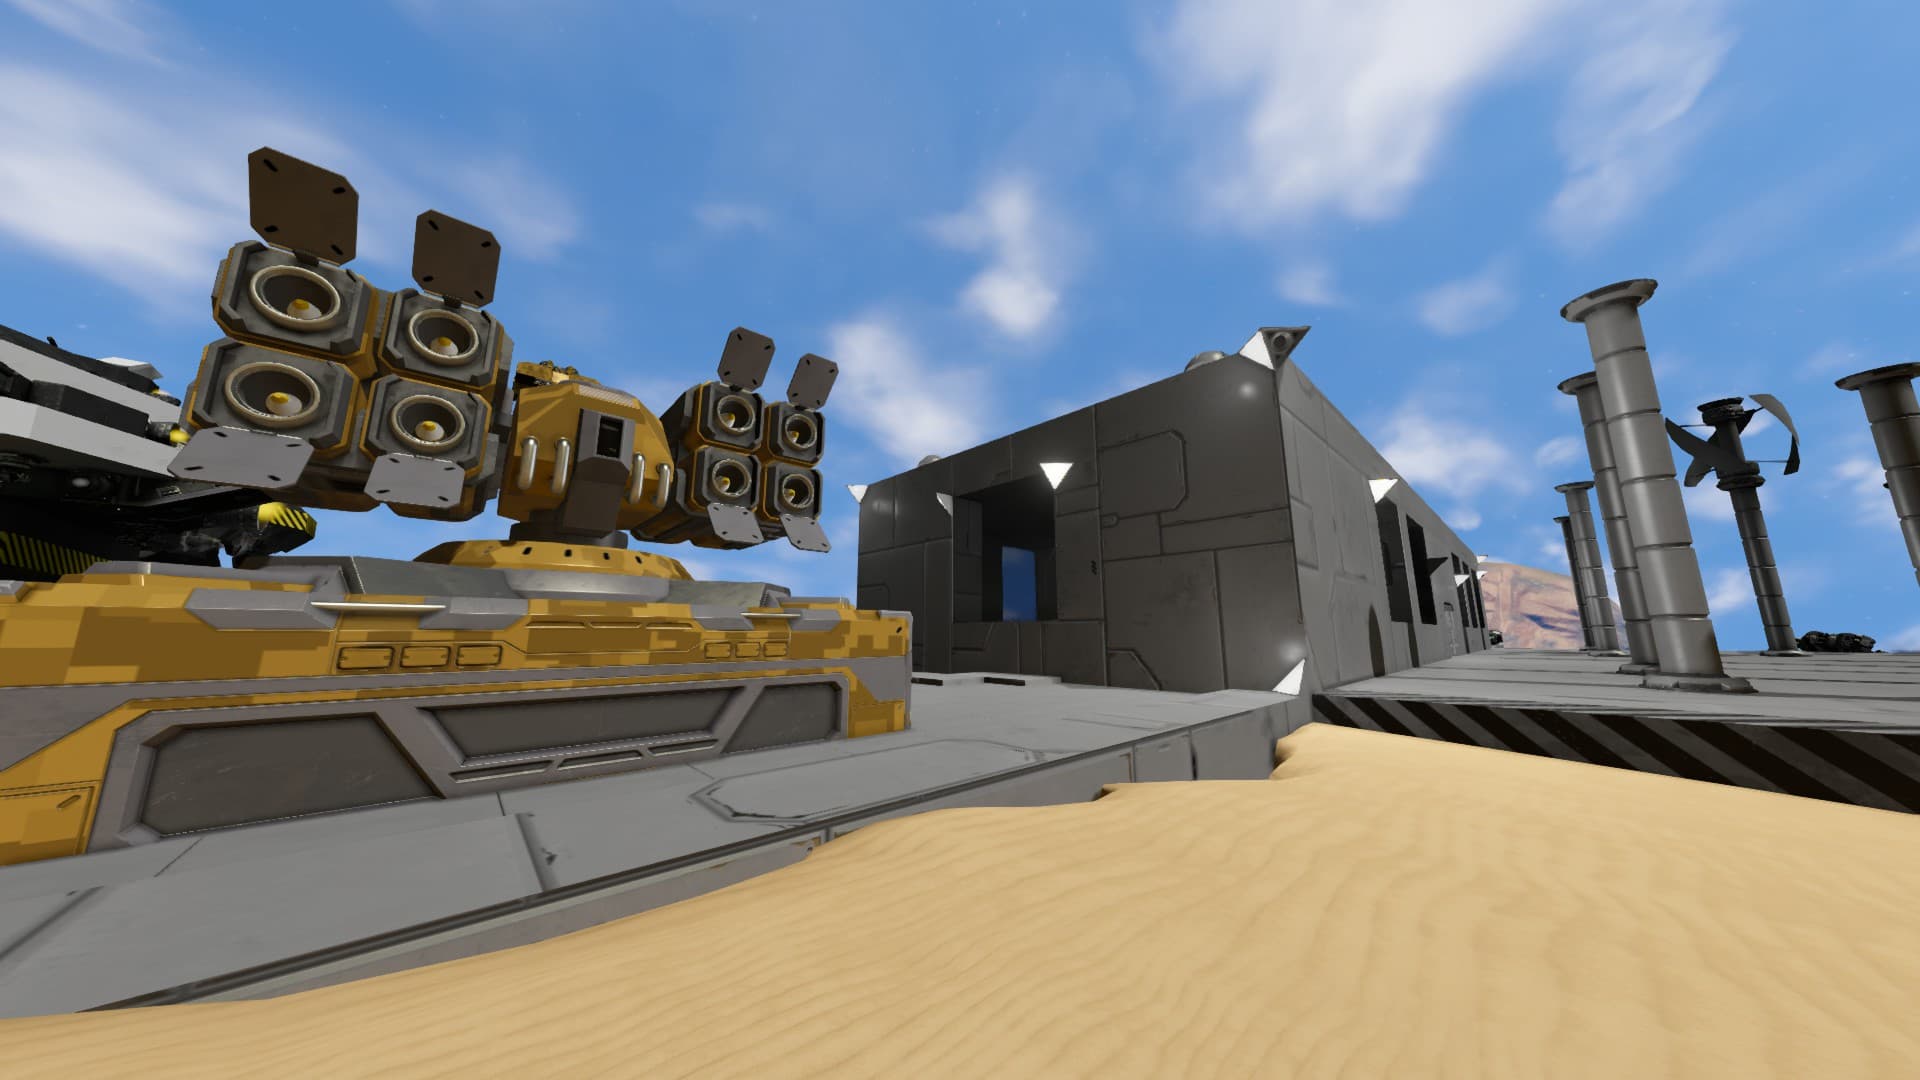
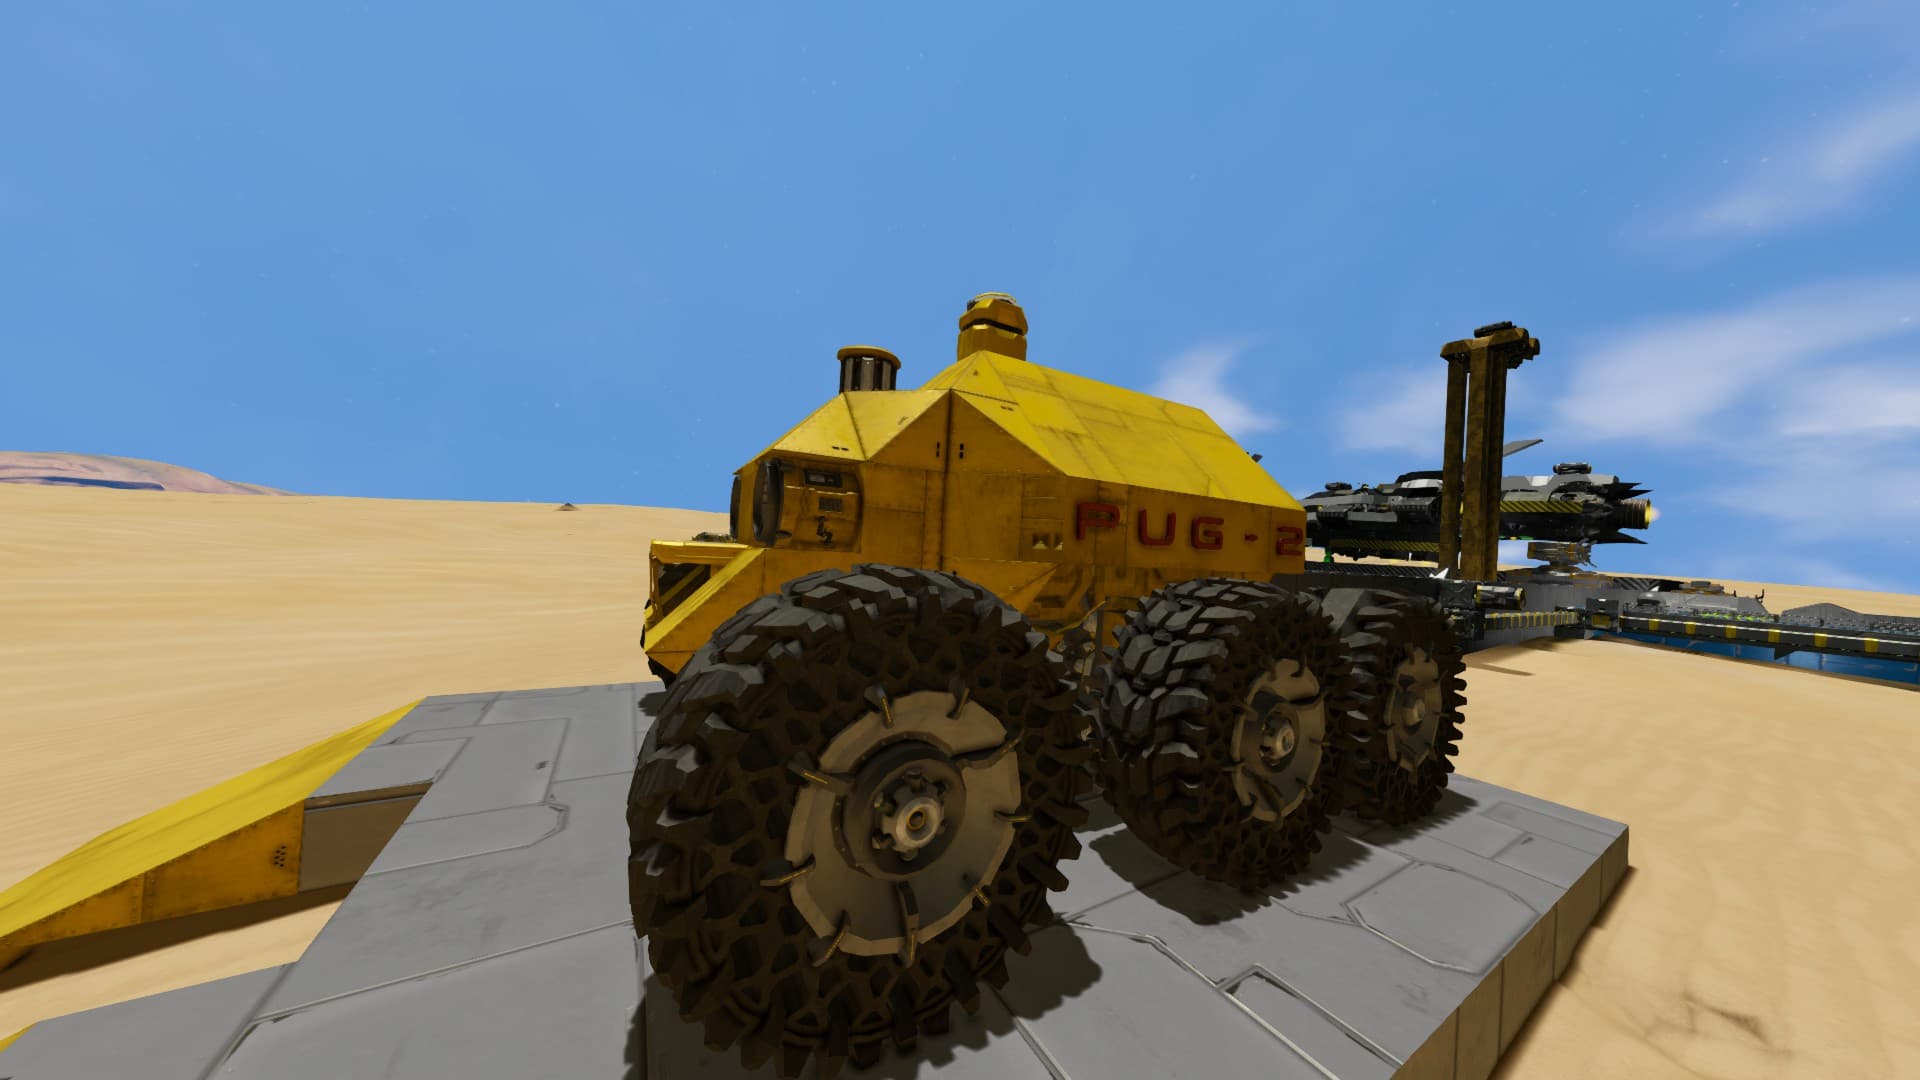
  • Create planetary rovers, miners, fighters, drones
  • :rocket: 
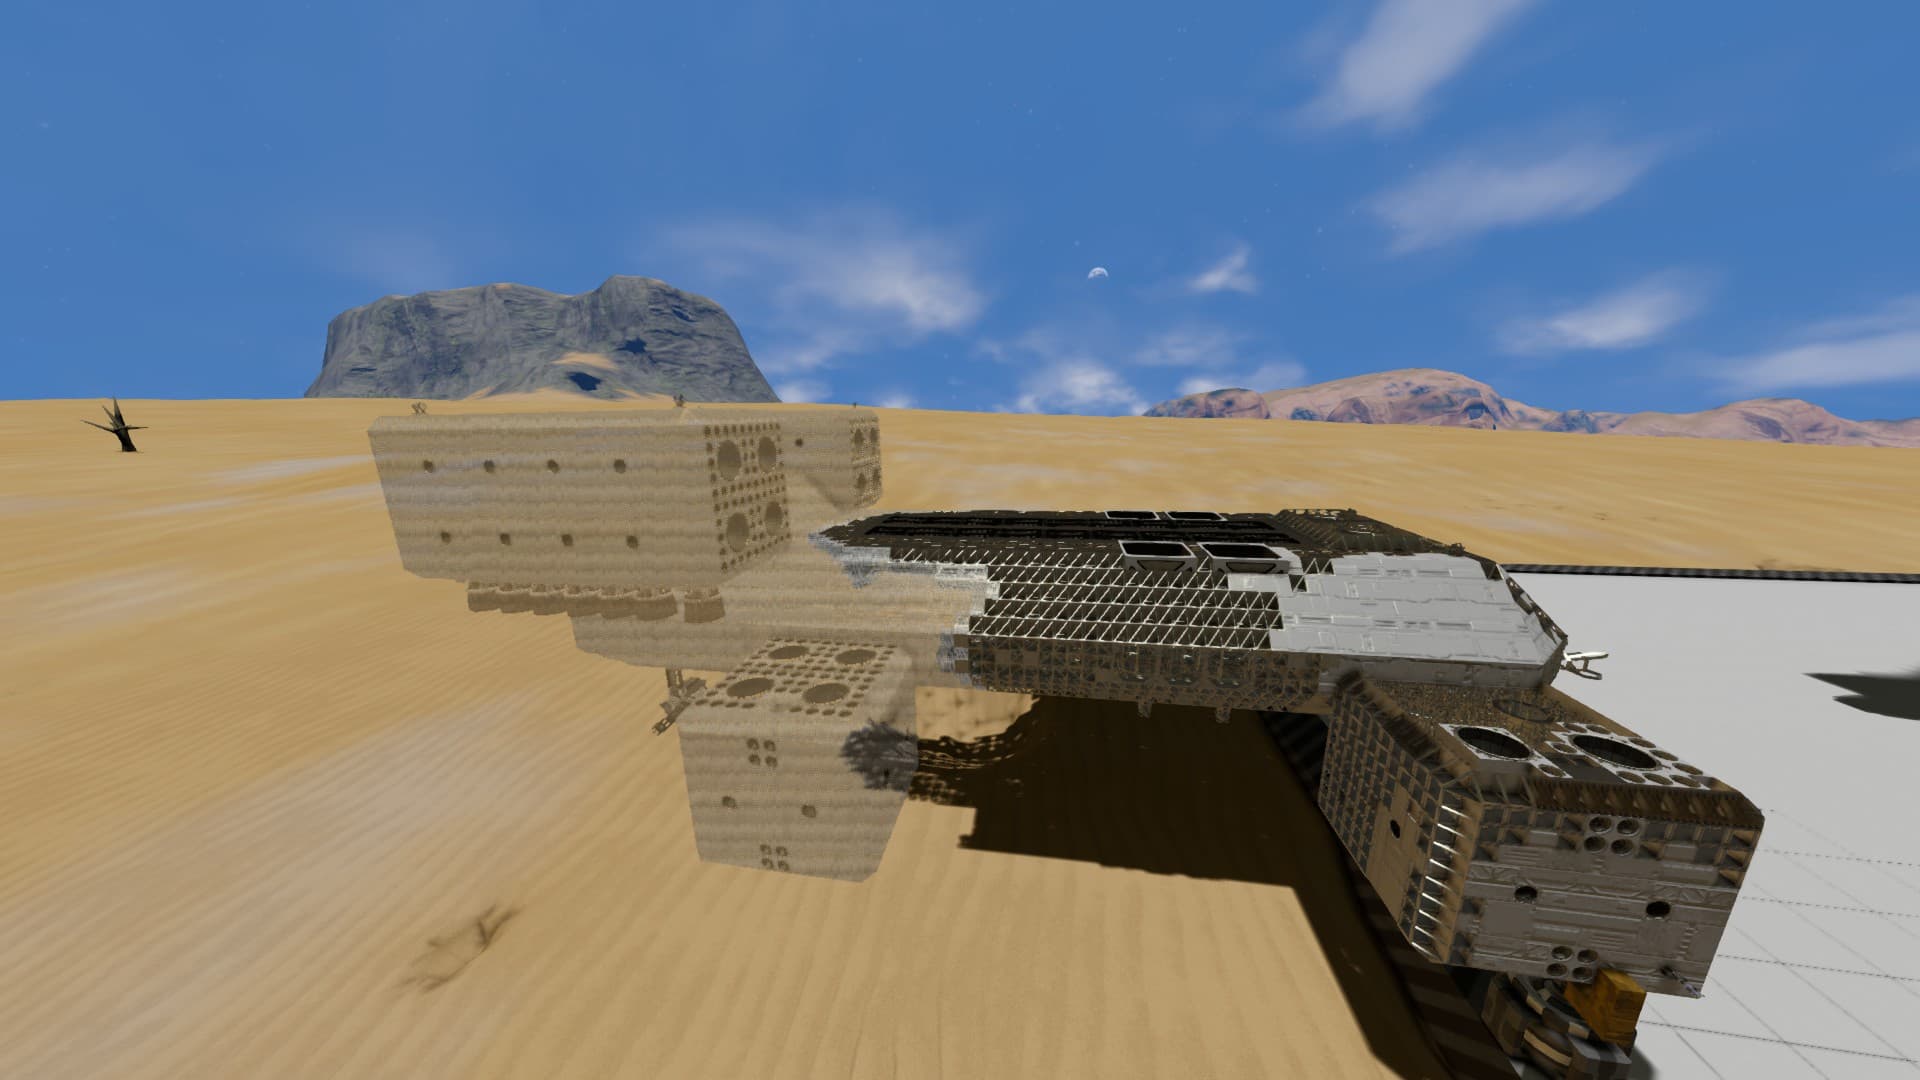
Construct hydrogen powered space ships for launch day :rocket:

:ringer_planet: Stage 2 - Space Launch - Friday 7th Oct

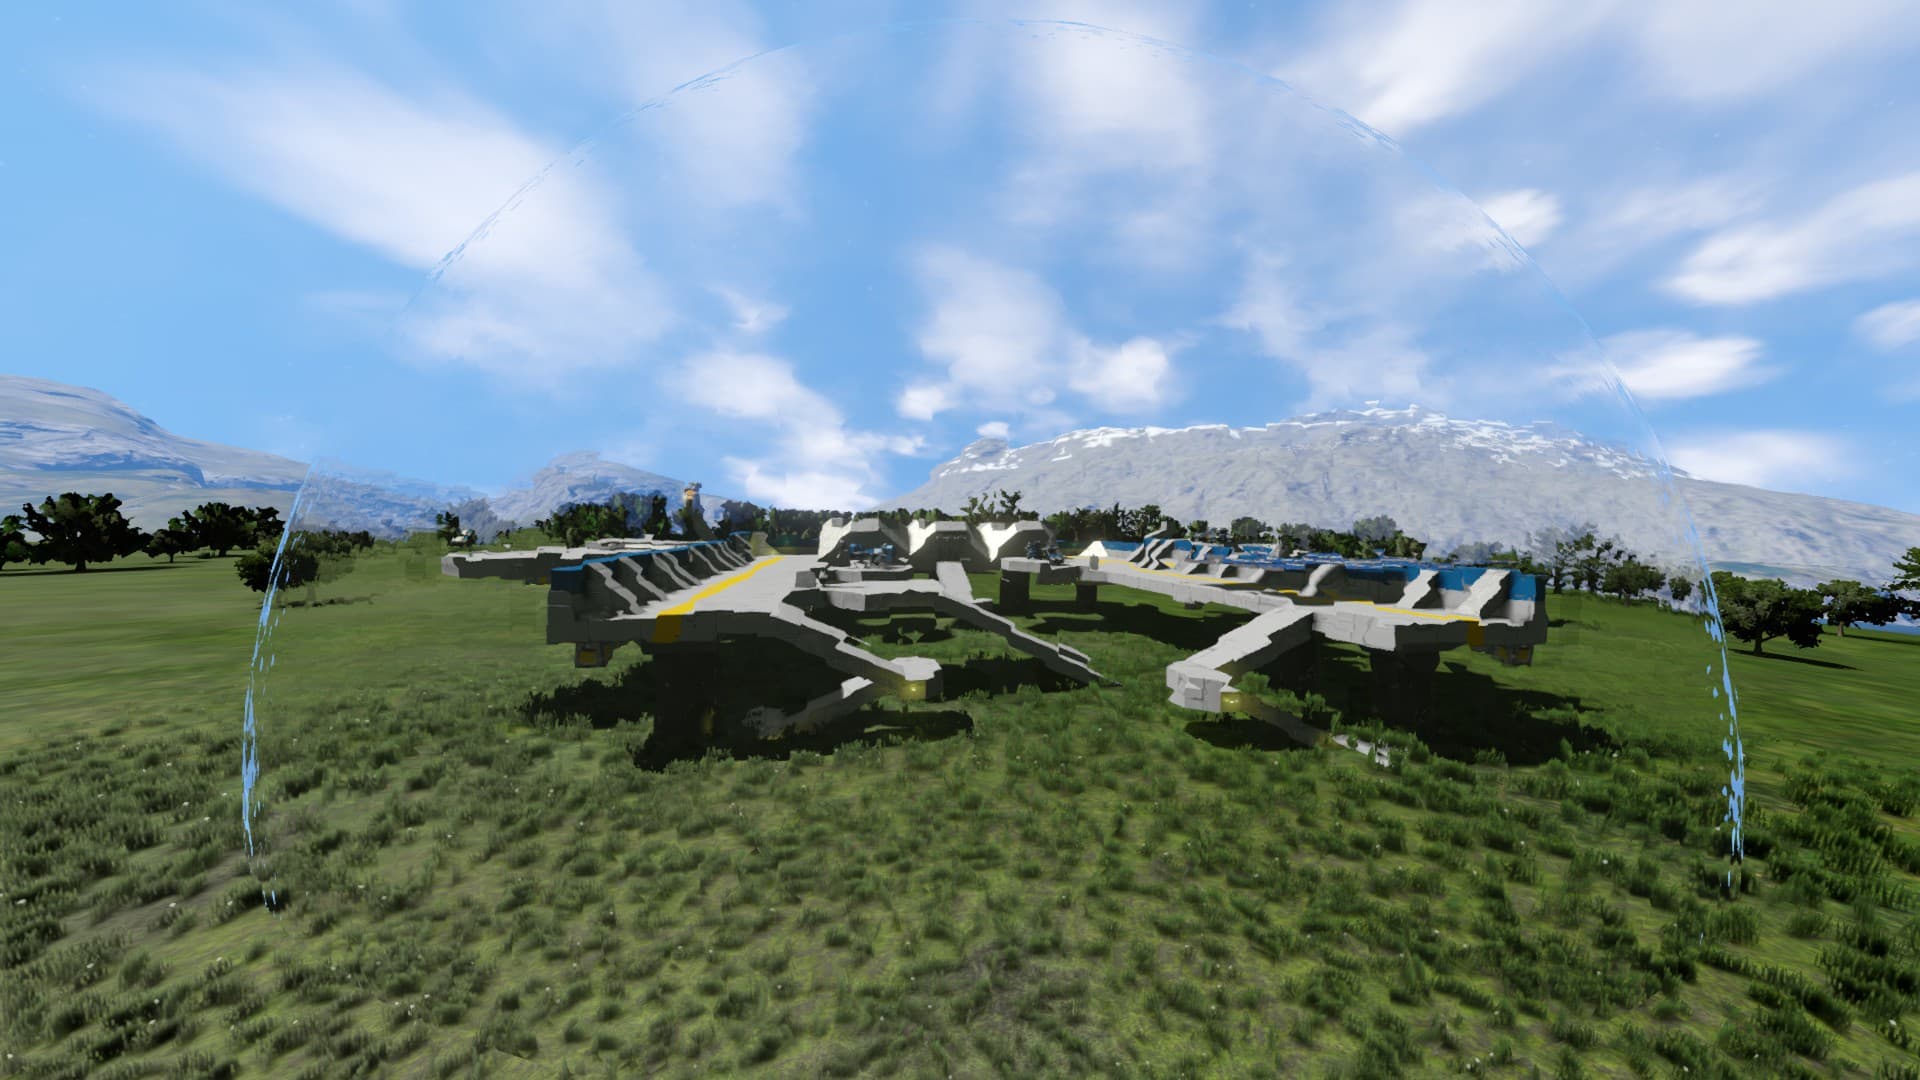
With a fleet of atmosphere and space capable ships built up over the week we finally commence our first launch off the planet! The whole galaxy opens up with new access to Uranium, Platinum, and the 7 other planets.

Goals:

  • Successfully launch into space
  • Construct large space base
  • Gather Uranium and Platinum
  • Expand and upgrade our fleet
  • :ringer_planet: Establish a base on the 7 remaining planets :ringer_planet:

:space_invader: Stage 3 - Expansion - Saturday 15th Oct

We redouble our efforts to construct bases on all planets in the solar system, expand with automation, perhaps discover some new planets… add the more experimental mods.

Goals:

  • Complete our expansion across the solar system
  • Ensure bases on all planets are active and protected
  • :space_invader:Add new more experimental mods (like the water mod, and more AI mods) :space_invader:

Spotlight - AI Ships: ACS Buzzard Mk 7

From the excellent AI Assertive Combat Systems mod.

Assertive Combat Systems (ACS) is one of the peaceful factions in this sector of space, maintaining many research stations, cargo ships, and patrol craft. With a large support network ACS rarely leave their ships far from help and always keep them accompanied by multiple light attack drones.

The Buzzard Mk 7 is one of the common small ACS ships found flying in atmosphere. It is a multi-role ship with the capability for light cargo transport, scouting, and as a combat landing craft. For its small size it packs in a lot of storage and crew facilities.

Entry Door and Cargo Loading Port

At the back of the ship is the only entry door as well as the yellow cargo loading and refuelling port.

Galley and Mess Hall

Entering through the entry door we go immediately into the shared galley/mess hall, storing provisions and supporting basic cooking. Plus acting as a central corridor through to the rest of the ship.


Dormitory and Space Toilet

The door opposite the main entry door leads to the dormitory and the state of the art space toilet.


Command Deck

Back out of the dormitory then up the stairs leads to the command deck, this area is almost always staffed as can be seen in the image below or occupied by combat droids in the case of autonomous missions.

Bridge

The bridge through the door on the command deck provides a wide field of view to the pilot.

Spotlight - Earthlike Planet Biomes

There are many biomes on the varied Earthlike planet we’ll be landing on, each with varying ore rarities and enviromental challenges. The main question is, which type of biome shall we locate our main base in?

Deserts

Most Common Ores: Iron, Magnesium, Nickel, Silicon, Gold, Cobalt

Savanna Plateau

Most Common Ores: Iron, Magnesium, Nickel, Silicon, Gold, Cobalt

Rolling Hills

Most Common Ores: Iron, Magnesium, Nickel, Silicon

Ice Lakes

Most Common Ores: Iron, Magnesium, Nickel, Silicon

Snowy Mountains

Most Common Ores: Iron, Magnesium, Nickel, Silicon

Snow Flatlands

Most Common Ores: Iron, Magnesium, Nickel, Silicon, Gold, Silver, Cobalt

Spotlight - Getting Started in Space Engineers: Mining

This is a quick tutorial of the very first steps to get started in Space Engineers.

Part 1: Using the Drop Pod

You start with a little craft called a drop pod, this craft can fulfulls the following basic functions (until its battery runs out):

  • Healing player damage
  • Recharging suit power for tools
  • Refulling hydrogen for the jetpack
  • Refining basic ores/stone
  • Producing components

It is essential for starting out, however every function it fulfills will be quickly replaced with more efficient larger versions in a fully functional base.

On the side you can find a small panel to the Survival Kit where you can recharge your suit energy, health and hydrogen used for the jetpack by holding F:

Just beside it is you can access its internal storage where we’ll be placing ores later by pressing F (or I):

On side beside it with the light you can find the internal storage of the O2/H2 Generator, this takes ice and turns it into oxygen and hydrogen which can also be used to refill bottles that will extend suit reserves.

It can be opened by pressing F while looking at it like the other interfaces, open it to show the UI and drag the hydrogen and oxygen bottles into your inventory to take them (or double click on them):

The jetpack won’t run out of fuel as quickly now and can always be refueled in any O2/H2 Generator with more ice, so we can proceed to the next part.

Part 2: Drilling for Stone

We can use the 3rd of our tools the Hand Drill to mine into the ground where we are for stone (even if we’re on sand, it still counts as stone), just drill my aiming at the ground and holding down the left mouse button (right mouse button will discard anything mined and is used for digging tunnels), crouching with C also helps:

Once some stone has been gathered put it into the Survival Kit inventory of the drop pod. Now in the Survival Kit go to the production tab:

Select the ingots option which will refine the stone into some basic materials in much smaller amounts than the actual ores. The ingots option can be clicked multiple times to queue it more, or CTRL clicked to queue 10, or SHIFT clicked to queue 100.

One we have ingots processed into the storage then we can also queue other basic components from the same menu.

The Survivial Kit will show the required amounts of stone or other resources in red if there are not enough in storage to be processed as above. The basic Survival Kit produces this much for 100 stone:

  • 100 stone = 3 Iron Ingots, 0.24 Nickel ingots, 0.4 Silicon Wafer, and 1.4 Gravel

These basic materials are all that is needed to produce many of the starting structures. However to gain larger amounts and for the rarer materials we need to survery and mine actual ores which we’ll look at in the next part.

Part 3: Surveying for Ores

Surface ores can be found relively easily by flying around high above the ground in the jetpack and looking for discoloured spots of ground. Try it by flying up and look for ground marking similar to the following:

Fly down to these while holding the Hand Drill which has a small ore detector inside it (similar to much larger ore detectors we’ll use inside ships in the future), this should show a blip indicating the ore below:

In this case magnesium and ice. For now just mark this deposit so we can return back to it later, it can be marked by pressing I, going to the GPS tab and clicking “New from current pos” where the name of the new entry created can also be updated. Every ore has many uses in manufacturing ship parts, here is a rundown of them:

  • Ice - Essential for refining into oxygen and hydrogen, for both ship thruster fuel, jetpack fuel
  • Iron Ore (Fe) - Used in almost all recipies
  • Nickel Ore (Ni) - Metal grids, thruster, advanced tools
  • Cobalt Ore (Co) - Motors, ammo, metal grids, power cells, tools
  • Magnesium Ore (Mg) - Explosives, ammo
  • Silicon Ore (Si) - Glass, displays, solar, computers, power, tools
  • Silver Ore (Ag) - Reactors, gravity, medical, tools
  • Gold Ore (Au) - Thrusters, superconductors, gravity
  • Platinum Ore (Pt) - IN SPACE ONLY - All advanced components
  • Uranium Ore (U) - IN SPACE ONLY - Reactor fuel, ammo

When mining down to ores manually instead of using ships make sure to have plenty of jetpack fuel, otherwise it is easy to get stuck underground.

In the next spotlight we’ll be looking at the next steps like base building and next steps so we can refine ores in the locations marked.

Bonus Spotlight - Beware Missiles

If something looks like a trail of missiles coming towards your brand new drop pod at high speed, then it probably is.

Thanks to WeaponCore some enemies can engage targets at more than 2KM, so stay clear of them.

Spotlight - Getting Started in Space Engineers: Building

This is the 2nd part of the getting started guide, going over basic base building using the build menu and build planner.

Part 4: The Build Menu

To build anything we need to make use of the build menu, this can be accessed by pressing G and looks like this:

There is a lot in this menu because all blocks are unlocked by default, but 90% of this menu we won’t be using. Many blocks are only cosmetic, many blocks are from mods that have very specific uses. To use items from this menu just drag them down onto the hotbar, just beware the resource cost of each.

To start off we’ll be building the foundation of the base with light armour blocks which should already be on the default hotbar, if not just drag them down to it.

Part 5: Production

Before we get started building we’ll need steel plates, these are required to place down the scaffolding of the of most basic blocks. To produce steel plates just go over to the drop pod, press F on the survival kit interface and go to the production tab, then click the iron plates to queue production - make around 20 to start off:

Production will use the ingots we created earlier from trace materials refined from stone. If there isn’t enough iron just get more stone and queue the ingot production earlier as previously.

Once produced we still need to take the steel plates, to do this go back to the inventory tab and drag the steel plates from the survival kit over to your inventory (or double click them):

Do the same with some interior plates which are also required for the scaffolding of some constructions.

Part 6: Laying The Foundation

Now that we have the steel ingots to build just go over close to the drop pod and start to construct the initial foundation for the base, a platform like the following will be fine. Just make sure it’s half in the ground, this will mean it’s anchored rather than being able to move like a ship:

Once the foundation is placed then on top of it place down a basic assembler, basic refinery connected to it, and separately a wind turbine:

This will provide power, ore refining and production similar to the basic variants in the drop pod.

Part 7: The Build Planner

We’ve placed down the scaffolding but we still need to build each component for the things we’ve placed down to finish them, this can be done manually, however the system called the build planner will make it a lot easier.

To use the build planner with the welder selected simply right click each of the things we’ve placed down, this will build up a list of everything we want to construct ourselves. Everything added to the build planner can be seen in the lower right of the build menu.

Once done go over to the drop pod again, and on the survival kit interface simply press SHIFT + middle mouse button.

You will receive the message that “All components were successfully put to production” this means that the survival kit has started to produce components for everything we added to the build planner. Go into the production tab again to see it:

If any of these are in red just keep bringing stone to the survival kit and letting it produce ingots to the produce the components. Eventually it will have all of the components which we can withdraw by clicking the middle mouse button on the storage (without shift).

With the welder then just go over and weld the rest of the base to completion.

The refinery and the assembler can be used the same as the ones in the survival kit, just bring it the ores from the previously located spots and set it to assembling other things. Or bring a lot more stone for basic constructions.

We have now seized the means of production.

Space Launch Day :rocket:

Attention all, today is space launch day! We’re had a wonderful week down on the planet, having built our largest ever planetary base - TSA D6 AKA The Hole. A behemoth complete with an automated defence system, hydrogen production, deuterium generators, nanite repair facilities, a 5 level underground bunker/hanger, several automated miners, and the still surviving original pink party base itself!

It’s hard to imagine the scale of the D6 base we created, weighing in at over 42 million kilograms, containing over 23 thousand blocks, with over 4000 meters of conveyors connecting ships and storage.

Here are just a few screenshots of the base, but to really understand the scale don’t miss joining in with the server today, for launch day!

Screenshots

Even with all of the pictures below so much is missing, so many other areas of the base, so many different vehicles, so many things that have been destroyed and lost to us like the space tractor. It has been an incredible week of space engineering!

View From Above

Entrance To The Pink Party Base

Inside The Pink Party Base

Deuterium Production

D6 Entrance Building

Ladder From The Entrance

Control Room

Computer Bank

Parts Storage And Ore Scanning

Cryo Pods And Recreation Area


Storage And Assembling Floor

Nanite Control And Hydrogen Storage Floor

Nanites Close Up

Back Up Inside The Hanger

Small Grid Hanger

Player Vehicles

Pug - 2

Turtle AA Platform

PAM Auto Miner

Disco Pyramid (With Tactical Disco Action Engaged)

Vorvadoss Class Battleship

The Colossal Spice Gurl

Lander One (Under Construction)

1 Like

Companion Creative Server - Now Live

As we’re now getting to the point were we’re regularly building larger more complex ships, a new creative server has been setup as a companion to the normal server. This is for collaborative creative ship building and testing.

Join the creative server at the following IP: 157.90.2.148

Choose to join the default First Colony faction and spawn at the medical room. Go outside of the safe zone bubble to start building in creative.

This server should have no hostiles spawning. It has also had all planets removed other than the Earthlike one and the moon, no spoilers!

1 Like